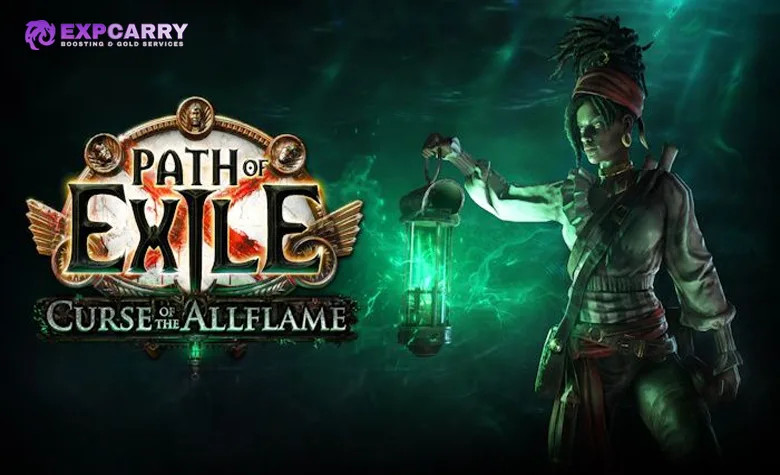
The Curse of the Allflame league mechanic follows a clear loop: find Charts across Wraeclast, board The Sovereign, descend in the Bathysphere, use Allflame Lanterns to create temporary safe areas on the sea floor, collect treasure and Dead Man's Sulphur, then turn completed expeditions into larger Voyages. The same progression also unlocks Allflame Crafting and rare Ducats with special item effects.
Pre-release note: Path of Exile 3.29 launches on July 24, 2026 PDT. The systems in this guide are based only on confirmed official information. Exact drop rates, optimal Chart layouts, reward values, encounter difficulty, and the final farming meta cannot be verified before the league is live.
Curse of the Allflame Mechanic in One Route
Players do not begin with a fully developed Voyage. Individual expeditions supply the Charts and resources needed to build more complex trips later. The intended progression can be summarized as follows.
- Find Charts while progressing through Wraeclast.
- Work with the corsair captain Valerie and her cursed navigator Vesper aboard The Sovereign.
- Use the Bathysphere to descend to a Charted area on the ocean floor.
- Deploy Allflame Lanterns to push back the surrounding water and create temporary pockets of safety.
- Defeat sea creatures, open treasure, investigate special locations, and harvest coral for Dead Man's Sulphur.
- Complete the objective before the lantern light fades, then return through the Bathysphere.
- Record the completed expedition as a Chart in Valerie's journal.
- Arrange up to nine Charts on the Voyage Board to create a connected Voyage.
- Run the assembled Voyage with its combined modifiers and repeated Chart rewards.
- Spend Dead Man's Sulphur and special Ducats on crafting aboard The Sovereign.
This loop is confirmed by the official Curse of the Allflame announcement. The important distinction is that a normal expedition generates progress for the Voyage system, while a Voyage combines several completed Charts into a larger and more heavily modified run.
How to Start the Allflame League Mechanic
Charts are the entry point to the mechanic. They are found across Wraeclast and lead the player to Valerie, The Sovereign, and the sea-floor expeditions. Grinding Gear Games has not confirmed an exact Chart drop rate or a fixed number of campaign encounters before launch.
Find Charts While Playing Normally
You should not need to abandon campaign or Atlas progression to search an isolated side area. Charts are described as being scattered across Wraeclast, which means the mechanic is designed to appear alongside ordinary character progression. Their exact frequency and whether later areas produce different Chart types remain launch-day questions.
Board The Sovereign
The Sovereign is the central ship for the league. Valerie manages the expedition and Voyage side of the mechanic, while Vesper is connected to the curse, Dead Man's Sulphur, and Allflame Crafting below deck. The ship is not merely a visual transport point; it is the management area that joins exploration, Voyage planning, and item crafting.
Select an Expedition
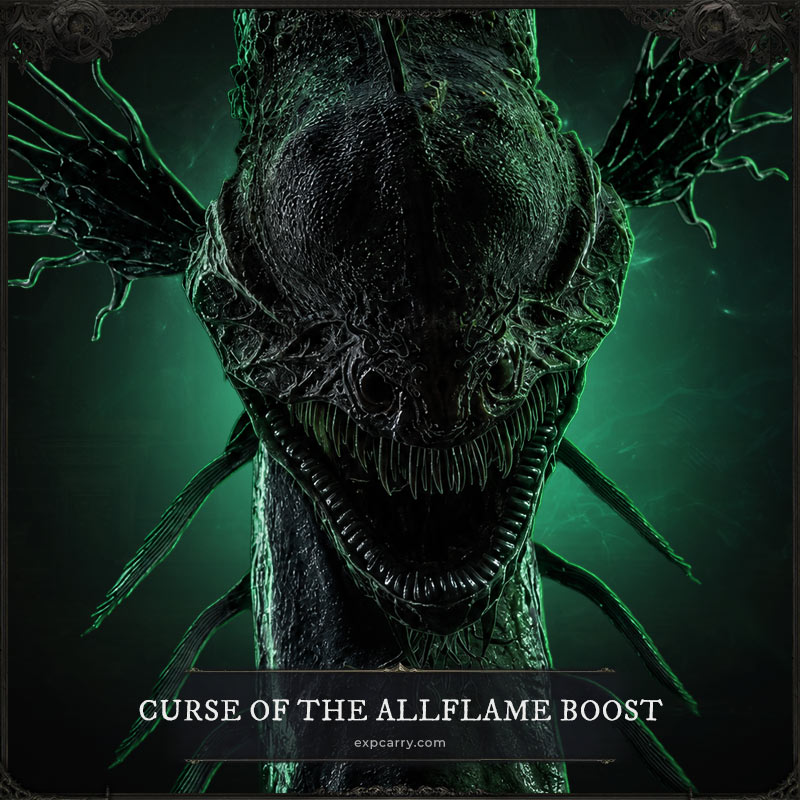
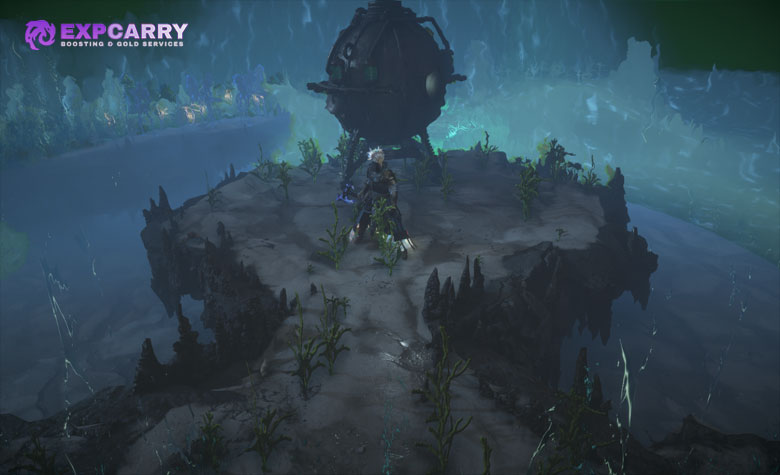
A Chart provides a destination beneath the Frozen Seas. The Bathysphere carries the character to the ocean floor, where the active portion of the encounter begins. Official previews confirm the broad sequence but do not yet establish whether every Chart uses identical objectives, timers, or reward rooms.
How Sea-Floor Expeditions Work
Each expedition is a timed push between temporary safe zones. The ocean itself is the main environmental threat, and Allflame Lanterns provide the space needed to fight, explore, and claim rewards.
Descend in the Bathysphere
The Bathysphere is an Allflame-powered vessel that transports the character to the sea floor. It also serves as the confirmed means of escape once the surrounding darkness closes in. Treat its location as the stable point of the expedition rather than assuming the whole area remains permanently safe.
Deploy Allflame Lanterns
Lanterns force back the water and create temporary pockets of safety. Their light fades, so the encounter rewards deliberate movement from one protected area to the next. The mechanic is not presented as unlimited free exploration; every detour consumes part of the available window.
Complete Encounters Before the Light Fades
Treasure, hostile sea creatures, and harvestable coral formations can appear within the depths. Each encounter must be completed while the lantern still protects the area. When the light disappears, the creatures beyond the safe zone descend on the expedition and the Bathysphere becomes the only confirmed escape route.
Harvest Dead Man's Sulphur
Strange coral formations provide Dead Man's Sulphur. This resource fuels expeditions and Vesper's curse, and it is also required for the new crafting system. The official PoE 3.29 patch notes confirm the main league structure, but they do not publish Sulphur costs or income rates.
Explore services related to this guide, selected from our Path of Exile catalog.
View All Path of Exile Services
How Allflame Lanterns Affect Your Route
Lantern placement determines where you can operate safely and how much of an expedition you can reach before retreating. Exact placement controls are not confirmed, but the previews clearly establish that Lanterns are temporary and strategic rather than permanent checkpoints.
- Use each safe area to clear immediate threats before interacting with slow rewards.
- Check the route ahead before committing to a side path that may not connect efficiently to the next objective.
- Prioritize mandatory encounters when the remaining light is uncertain.
- Keep the Bathysphere route in mind instead of exploring until escape becomes difficult.
- Use movement skills for repositioning, but do not assume speed alone can ignore the environmental danger.
These are editorial recommendations based on the confirmed fading-light structure, not a final optimized strategy. The live mechanic will determine how forgiving Lantern duration is and whether rewards justify longer detours.
How Charts Record Completed Expeditions
Completing a sea-floor expedition records a new Chart in Valerie's journal. That completed Chart is then available for Voyage planning, where its modifier can interact with other Charts and affect a much larger expedition.
Charts Are More Than Access Items
A Chart represents a previously explored area and carries a modifier into the Voyage Board. It can influence its own destination, adjacent Charts, or the entire Voyage. This makes Chart value dependent on placement and interaction, not only on the reward shown by one tile.
Confirmed Chart Modifier Examples
Official previews show a wide range of effects. Some Charts convert equipment drops into Gold. Others add friendly jellyfish, empower monsters with Wildwood Wisps, release Tormented Spirits, or introduce new encounters. These examples demonstrate that modifiers can change rewards, difficulty, allies, and enemy power.
Special Charts Reveal Unique Destinations
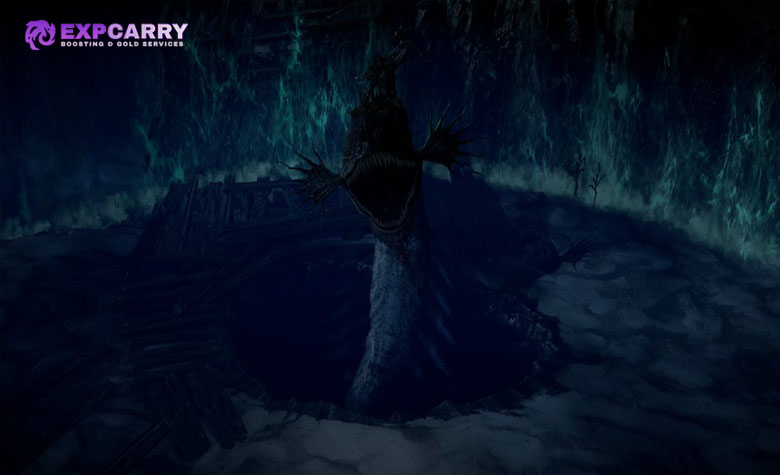
Some Charts lead to special locations rather than ordinary sea-floor areas. Confirmed examples include abandoned anchor fields filled with treasure, lost Kalguuran shipments, sunken Abyssal pits, and other hidden destinations. Rare Ducats are also tied to specialized Charts.
How the Voyage Board Works
The Voyage Board combines completed Charts into one interconnected expedition. A Voyage can contain up to nine Charts, allowing their modifiers and rewards to interact across a larger route.
Arrange Up to Nine Charts
Each placed Chart contributes an area and a modifier. Some modifiers affect adjacent Charts, while others apply to the entire Voyage. A strong layout therefore depends on which effects need neighbors and which benefits remain global regardless of position.
Read Adjacency Before Reward Value
A powerful modifier can lose value if it is placed where it affects only an unimportant neighbor. Before starting a Voyage, identify every adjacency effect, place the most valuable targets around it, and then fill remaining positions with global or self-contained Charts.
Account for Corruption Currents
Corruption Currents are randomized effects that change adjacent Charts with each new Voyage. They prevent one permanent layout from remaining optimal forever. Review the current Currents before arranging Charts rather than automatically repeating the previous board.
Balance Danger Against Completion
Stacking every difficult modifier may produce impressive theoretical rewards but can also create a Voyage your character cannot finish. Before launch, there is no verified best arrangement or profit-per-hour layout. Consistent completion should take priority until the dangerous combinations and reward scaling are tested by live players. The official Curse of the Allflame expansion page shows the confirmed Voyage framework without claiming one optimal board.
Dead Man's Sulphur and Allflame Crafting
Dead Man's Sulphur connects exploration to crafting. After collecting it from coral formations, you can use it with Vesper's system below deck on The Sovereign to preview several possible results from one crafting action.
Provide an Item, Currency, and Sulphur
Allflame Crafting requires a chosen item, a compatible crafting currency, and Dead Man's Sulphur. Vesper applies the currency through the Allflame and splits the item into several ghostly possibilities representing different outcomes.
Inspect the Ghostly Outcomes
You can inspect the generated possibilities before selecting one result to keep. Once a result is chosen, all remaining possibilities disappear. This provides more information than applying the currency normally, but it does not guarantee that any displayed outcome will be good.
Repeated Crafting Has a Cost
Each use makes the item increasingly intangible. As intangibility grows, Vesper can create fewer possible outcomes in future attempts. This introduces a long-term decision: accept a useful result now or spend another attempt knowing that later choices may become more limited.
Most forms of currency crafting are confirmed to work with this system, but Grinding Gear Games has not published a complete compatibility list or Sulphur cost table. Players planning a complex item should verify the live interface before risking expensive currency. If the build itself is still undecided, a current PoE custom build can define the required item stats before valuable Sulphur and currency are committed.
What Ducats Do in Curse of the Allflame
Ducats are rare relics found in specialized Charts at the deepest parts of the ocean. They unlock crafting effects that are not available through ordinary currency, and each named Ducat changes an item in a different way.
| Ducat | Confirmed purpose | What remains unknown |
|---|---|---|
| Kishara's Ducat | Creates several ghostly item copies while preserving individual modifiers | Exact copy count, eligible items, and selection rules |
| Genteel's Ducat | Can transform one attribute requirement into another | Targeting method, restrictions, and final values |
| Brinehook's Ducat | Grants mysterious Aspects inspired by ancient gods of Wraeclast | Available Aspects, weighting, and compatible item classes |
Ducats should not be treated as routine early-league crafting materials until their rarity and restrictions are known. Their identities and broad functions are confirmed, but final numerical rules have not been published.
How to Prepare a Build for Sea-Floor Expeditions
No build tier list for the mechanic is reliable before release. Based on the confirmed timed safe zones, mixed encounters, and need to move between objectives, a practical character should combine clear speed with defenses that remain active while repositioning.
- Reliable area damage: clear enemies quickly before spending Lantern time on treasure or coral.
- Controlled movement: use a movement skill that can cross hazards without carrying the character farther than intended.
- Recovery during combat: Life regeneration, leech, recovery on hit, or another dependable method reduces downtime.
- Ailment protection: underwater enemies and special Chart modifiers may create overlapping threats, so broad protection is safer than relying only on flasks.
- Single-target damage: special encounters and dangerous sea creatures may need to die before the Lantern expires.
- Consistent defenses: avoid a setup that becomes fragile whenever temporary buffs or kill-based effects fall off.
These priorities describe general readiness, not confirmed minimum statistics. The best builds will depend on live monster behavior, Lantern duration, terrain, boss access, and how strongly Voyage modifiers scale.
Recommended Early-League Progression
The safest launch approach is to learn the mechanic in layers. Individual expeditions teach Lantern timing and resource collection, while later Voyages add modifier combinations and more serious risk.
- Run early Charts without maximizing optional danger.
- Learn how quickly Lantern protection fades and how far your build can move safely.
- Identify mandatory objectives, coral formations, treasure interactions, and the return route.
- Save useful completed Charts until their adjacency effects can support a coherent Voyage.
- Build small, manageable Voyage combinations before using the most dangerous modifiers together.
- Collect Dead Man's Sulphur before attempting expensive Allflame Crafting.
- Test crafting on a replaceable item before committing rare currency or a valuable base.
- Reserve rare Ducats until their full live restrictions and market value are understood.
Curse of the Allflame is exclusive to its 3.29 challenge leagues during the active season. Standard characters cannot access the league-only Charts, Voyages, rewards, and bosses, according to the official Curse of the Allflame FAQ.
Common Allflame Mechanic Mistakes
Most early mistakes will come from treating an expedition like an ordinary Map with unlimited exploration time or building a Voyage around headline rewards without considering modifier interactions.
- Ignoring the fading Lantern: treasure is not useful if the surrounding darkness forces an early retreat.
- Moving without an escape plan: remember where the Bathysphere is before entering optional branches.
- Placing Charts by individual value: adjacency and Voyage-wide effects can matter more than the reward on one Chart.
- Forgetting Corruption Currents: a layout that worked previously may behave differently on the next Voyage.
- Stacking too much difficulty: unfinished Charts and failed encounters provide less value than a manageable Voyage.
- Using rare crafting materials immediately: confirm live restrictions and item eligibility before spending a Ducat or expensive currency.
- Assuming previewed outcomes are deterministic: Allflame Crafting offers several choices, but it does not promise a desirable result.
- Trusting pre-release farming rankings: no reliable reward-per-hour data exists before players can test the live mechanic.
Confirmed Facts and Launch-Day Unknowns
The official reveal explains the complete framework but deliberately leaves numerical balance and several interface details for the live game. Keeping those categories separate prevents speculation from becoming incorrect instructions.
| Confirmed before launch | Not yet confirmed |
|---|---|
| Charts lead to sea-floor expeditions | Chart drop rates and exact area requirements |
| The Bathysphere provides descent and escape | Failure penalties and whether partial rewards are retained |
| Allflame Lanterns create temporary safe areas | Lantern duration, placement limits, and upgrade options |
| Completed expeditions create Charts for Voyages | Full modifier pool and reward weighting |
| A Voyage can combine up to nine Charts | Best layout, maximum difficulty, and farming efficiency |
| Dead Man's Sulphur powers expeditions and crafting | Resource income and crafting costs |
| Ducats provide exclusive crafting effects | Rarity, restrictions, and market value |
Curse of the Allflame Checklist
Use this checklist to follow the intended mechanic without skipping the systems that connect exploration, Voyage planning, and crafting.
- Find a Chart while progressing through the current challenge league.
- Board The Sovereign and prepare the selected expedition.
- Descend in the Bathysphere.
- Deploy Allflame Lanterns to establish temporary safe zones.
- Clear threats and collect treasure before the light fades.
- Harvest coral for Dead Man's Sulphur.
- Return through the Bathysphere when the expedition is complete or unsafe.
- Record completed areas as Charts in Valerie's journal.
- Arrange compatible Charts and account for Corruption Currents.
- Run a Voyage containing up to nine connected Charts.
- Use Sulphur for carefully planned Allflame Crafting.
- Save rare Ducats until their effects and restrictions are fully understood.
The core decision is always the same: spend limited Lantern safety on the route that advances the expedition without exceeding what your character can finish. Successful dives create stronger Chart options, stronger Charts create more rewarding Voyages, and Voyages supply the resources and special crafting opportunities that define Curse of the Allflame.