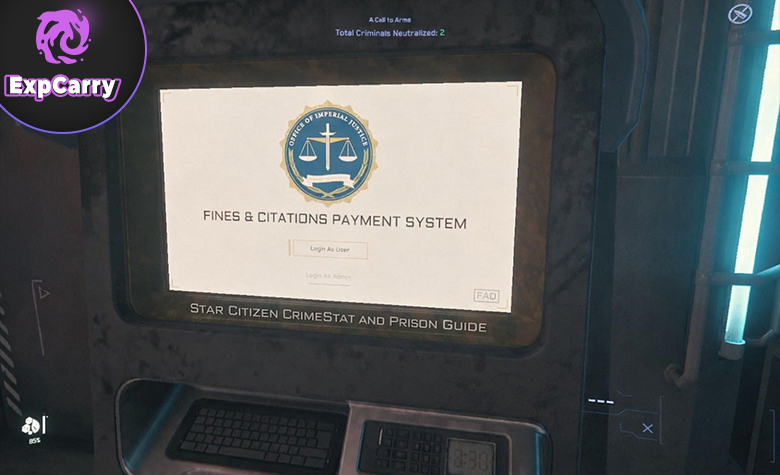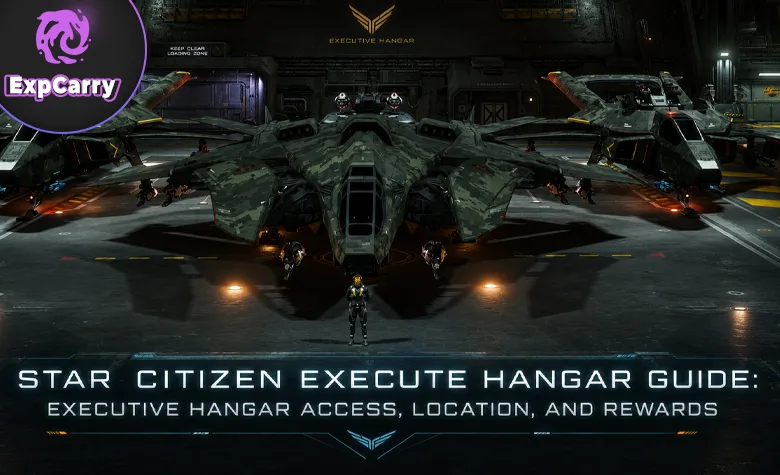
Star Citizen Execute Hangar is a common search phrase for the Executive Hangar in Pyro. This high-risk PvPvE activity requires seven unique compboards from Checkmate, Orbituary, and Ruin Station, along with keycards, fuses, and correctly timed access to the reward hangar at PYAM-EXHANG-0-1. The established route remains documented in the Alpha 4.10.1 LIVE period, although reward availability, loot spawns, and server behavior remain subject to patch changes.
This is not a personal hangar or an ordinary ship-storage feature. The Executive Hangar is the final objective of Pyro's contested-zone progression. Players gather Boards 1 through 7, travel to the active asteroid base, insert the boards during a valid green-only light phase, and use the ASOP terminal to obtain one in-game reward ship. Additional weapons and ship components may be available, but the final extraction is time-limited.
Short answer: Collect all seven unique compboards from the three main Pyro contested zones and take them to PYAM-EXHANG-0-1. Insert them when at least one indicator is green and none are red, then claim the reward ship and complete extraction before the hangar closes.
Star Citizen Execute Hangar: Correct Name, Location, and Access Requirements
"Execute Hangar" is a search variation rather than the activity's proper name. The correct term is Executive Hangar. Using that name makes it easier to find relevant maps, compboard routes, community timers, and troubleshooting information without confusing the activity with personal hangars or ordinary landing facilities.
The Executive Hangar is connected to the contested zones in the Pyro system. These are dangerous PvPvE locations where NPCs and other players can interfere with progression. The main objective is to recover seven numbered compboards while navigating security doors and protecting the access items needed for the final reward.
The destination is PYAM-EXHANG-0-1, a cluster of three asteroid bases near the Pyro star. Community documentation identifies only one base as active at a time. The bases share the same general layout, and players must locate the active installation, enter the interior, and reach the zero-gravity EVA area containing the indicator lights and compboard receptacles.
Seven distinct boards are required: Boards 1, 2, 3, 4, 5, 6, and 7. Duplicate boards cannot replace missing numbers. The final access mechanism is located inside the asteroid base rather than on its exterior hangar door. Two additional numbered positions are documented as already populated, so players only need to collect and insert Boards 1 through 7.
| Term | Meaning | Use in the guide |
|---|---|---|
| Execute Hangar | Common mistaken search phrase | Alternative wording used by players searching for the activity |
| Executive Hangar | Correct name of the Pyro reward activity | Main name used throughout the guide |
| PYAM-EXHANG-0-1 | Three-base Executive Hangar cluster in Pyro | Final destination for the seven compboards |
| Contested Zones | PvPvE locations containing boards and security access items | Progression route before visiting the Executive Hangar |
Executive Hangar Compboards, Keycards, and Contested Zone Route
The seven compboards are distributed across three stations: Checkmate provides Boards 1–3, Orbituary provides Boards 4 and 7, and Ruin Station provides Boards 5 and 6. Obtaining them requires navigating different combinations of fuse doors, security cards, and timed passages. Players should prepare their access items before entering the deeper sections of each contested zone.
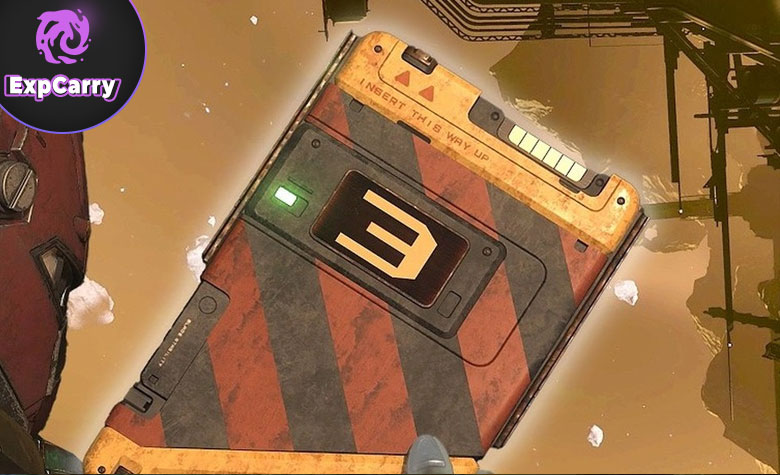
Red Supervisor Keycards can be printed at PYAM-SUPVISR-3-4 and PYAM-SUPVISR-3-5, which are associated with the PYR3 L4 and L5 areas. Blue Security Keycards can be obtained at Checkmate and Orbituary. Ruin Station has separate Crypt, Wasteland, and Last Resort cards associated with Ghost Arena and The Vault. Keycard printers have documented cooldowns, and the correct card must be available when a locked door requires it.
Checkmate Boards 1-3
Checkmate contains Boards 1, 2, and 3. Board 1 is located behind a fuse door followed by a red Supervisor door. Boards 2 and 3 are in the contested-zone hangar area, which has two documented access routes: one passes through a fuse door, a red door, and a blue door; the other passes through two fuse doors and two blue doors.
Checkmate is also a useful source of Blue Security Keycards. Its four documented blue-card printers make it a practical stop for preparing additional cards before the Orbituary routes. Check that the group has the required boards and access items before leaving.
Orbituary Boards 4 and 7
Orbituary contains Boards 4 and 7. The route to Board 4 includes a fuse door, a red Supervisor door, and another fuse door. Board 7 is found deeper in the contested-zone hangar route, beyond a sequence involving a fuse door, a red door, another fuse door, and two blue Security doors.
Blue Security Keycards can also be printed at Orbituary, although the documented printers are behind red access. Because the Board 7 route requires multiple security doors, groups should confirm their supply of fuses and keycards rather than assuming that every access item will be available at the final door.
Ruin Station Boards 5 and 6
Ruin Station contains Boards 5 and 6 in the area reached through Ghost Arena and The Vault. Ghost Arena connects the Crypt, Wasteland, Last Resort, and Vault routes. The three special keycards are obtained from their corresponding areas, with individual fuse-protected access routes.
The Vault is protected by a timed door. Community documentation describes a cycle with approximately one minute open and twenty minutes closed. Blue warning lights appear before the door opens, followed by brighter white lights during the opening phase. Board 6 is located inside The Vault, while Board 5 requires additional access using the Crypt Keycard. Players should use the actual door state rather than relying entirely on an external countdown.
| Requirement | Purpose | Important detail |
|---|---|---|
| Boards 1–7 | Unlock Executive Hangar access | All seven unique numbers are required |
| Red Supervisor Keycards | Open red security doors | Printed at PYAM-SUPVISR-3-4 and PYAM-SUPVISR-3-5 |
| Blue Security Keycards | Open blue security doors | Available through Checkmate and Orbituary |
| Crypt, Wasteland, and Last Resort Keycards | Access special areas in Ruin Station | Obtained through Ghost Arena routes and used in Vault progression |
| Fuses | Activate fuse-controlled doors | Can be recovered near doors, bought at supported locations, or fabricated on suitable salvage ships |
| Cargo capacity | Transport additional hangar loot | The reward ship may not accommodate every valuable component or weapon |
PYAM-EXHANG-0-1 Light Cycle, Board Insertion, and Final Extraction
Opening the Executive Hangar requires the correct indicator-light phase as well as all seven compboards. The zero-gravity access area contains five lights. The documented condition is precise: at least one light must be green, and none may be red. Players should not insert their compboards while any red indicator remains active.
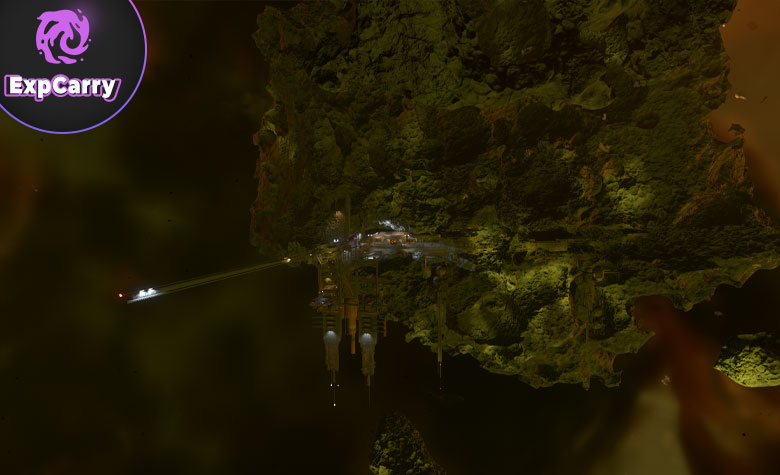
Community documentation describes a repeating cycle in which red lights turn green approximately every 24 minutes, followed by a green phase in which one green light switches off approximately every 12 minutes. This produces roughly two hours of charging and about one hour of green-phase progression, followed by a short reset interval. The valid insertion condition can continue after the first green light switches off, provided at least one remains green and no red lights are present.
Once the correct phase begins, move through the active base to the EVA area and insert Boards 1–7 into the corresponding receptacles along the pipes. This unlocks the route toward Engineering and the reward hangar. Community documentation describes an approximately 30-minute interior access period, so players should not assume that opening the first door makes the entire installation permanently accessible.
Inside the reward area, one player can claim the selected reward ship using the ASOP terminal. After the ship has been claimed and retrieved, the main hangar doors open for a separate extraction window of approximately ten minutes. The doors do not reopen after that window. The system also has a timed reset, and remaining in a closing or resetting restricted area can be fatal. The crew should move the reward ship and any valuable loose loot out immediately.
| Phase | Light behavior | Player action |
|---|---|---|
| Red power-up phase | Red lights progressively change to green | Do not insert boards while any red light remains |
| Clean green access phase | No red lights; at least one green indicator is active | Insert all seven compboards into their numbered slots |
| Green power-down phase | Green lights switch off progressively | Insertion remains valid only while at least one green light is active and none are red |
| Cooldown or blackout | Remaining indicators are off before the next cycle | Do not assume the slots are usable; wait for a valid phase and verify the site state |
Explore services related to this guide, selected from our Star Citizen catalog.
View All Star Citizen Services

Executive Hangar Rewards: Ships, Weapons, Components, and Loot Value
The main Executive Hangar reward is in-game ownership of one ship selected through the hangar's ASOP terminal. Community-maintained Star Citizen Wiki documentation lists eight reward ships, including military, stealth, and special variants. These are gameplay rewards rather than permanent account pledges, and their availability or persistence may change with future patches and wipes.
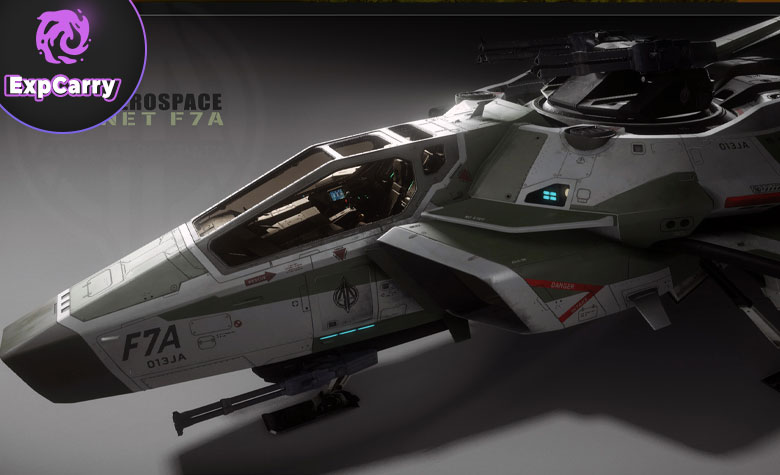
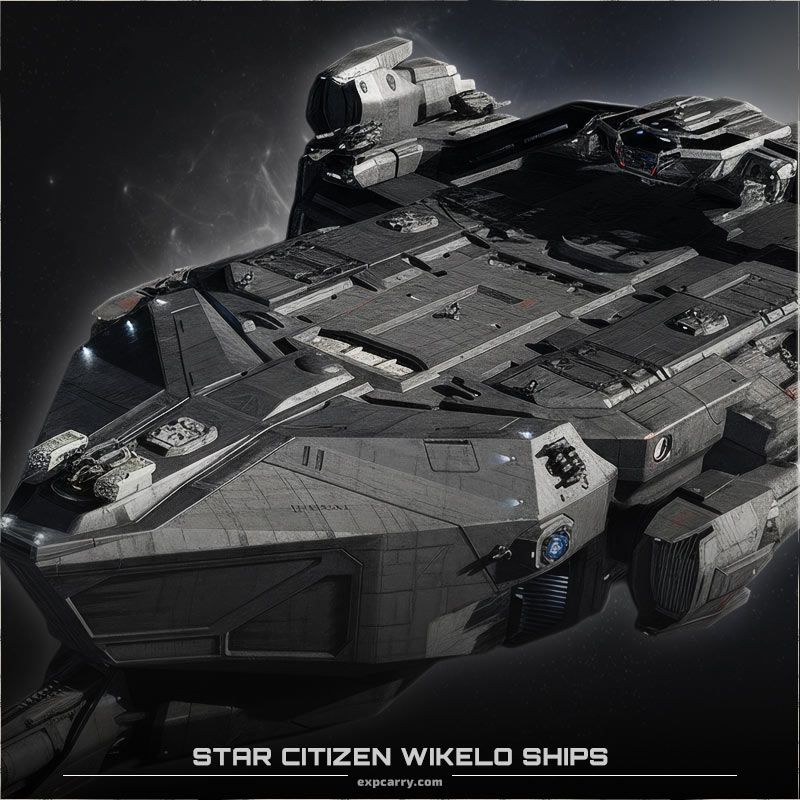
The documented reward list includes the Anvil F7A Hornet Mk II Executive, Anvil F8C Lightning Executive, Drake Cutlass Black Executive, Drake Corsair Executive, Gatac Syulen Executive, RSI Meteor Executive, Mirai Guardian MX Wikelo War Special, and RSI Scorpius Wikelo War Special. Individual names and ship availability should be checked against the current game build when a specific variant is the objective. The reward pool should not be treated as a guarantee that every listed ship will be available during every session.
| Reward type | Known examples | Why it matters |
|---|---|---|
| Executive reward ships | Anvil F7A Hornet Mk II Executive, Anvil F8C Lightning Executive, Drake Cutlass Black Executive, Drake Corsair Executive, Gatac Syulen Executive | Five documented Executive variants available through the reward system, subject to current availability |
| Additional documented ship rewards | RSI Meteor Executive, Mirai Guardian MX Wikelo War Special, RSI Scorpius Wikelo War Special | Three additional ships listed in community-maintained reward documentation; verify current availability |
| Rare FPS weapons | Railguns, grenade launchers, and other rare weapons | Useful equipment for high-risk FPS gameplay when these items spawn |
| Ship weapons | Loose ship weapons obtained from the hangar | Potential additional loot requiring sufficient transport capacity |
| Grade-A ship components | High-grade components in the reward area | Potentially valuable upgrades, depending on the component and current build |
| General hangar loot | Additional equipment and movable items | Can increase the value of a successful run when loot spawns are functioning |
Bringing a separate cargo-capable ship is sensible because the reward vessel may have limited internal storage or cargo capacity. Loot availability is not guaranteed on every run: previous patches included fixes for missing contested-zone rewards. Alpha 4.8 also introduced a broad progression wipe that removed previously earned in-game ships while preserving earned blueprints. Executive Hangar rewards should therefore be treated as in-game progression, not as permanent purchases protected from future wipes.
Executive Hangar Strategy, Checklist, and Run-Stopping Problems
Completing the Executive Hangar chain is possible with a small group, but the activity is built around several dangerous PvPvE locations and a final reward area that can attract hostile players. A coordinated crew can divide the work of collecting access items, watching security routes, handling the ASOP terminal, and transporting the reward ship and additional loot.
Before entering the final asteroid base, identify who holds each compboard, keycard, and fuse. Decide which player will claim the ship and which pilots will handle extraction. A separate security team should watch the entrance and any alternative access points. The final location is not automatically safe after the compboards have been inserted.
If the hangar fails to open, verify the full board set and the light phase first. Red indicators mean insertion is not permitted. An entirely dark panel does not satisfy the documented green-only condition. If the game does not recognize a board or ASOP retrieval fails, avoid assuming that an external timer proves the site is ready. The problem may involve the wrong active base, a missing item, an already-used reward area, or a server-side interaction issue.
| Checklist item | Ready condition |
|---|---|
| Boards 1–3 | Collected from Checkmate and individually verified |
| Boards 4 and 7 | Collected from Orbituary |
| Boards 5 and 6 | Collected from Ruin Station |
| Red Supervisor cards | Available to players assigned to red-door routes |
| Blue Security cards | Available for the required Checkmate and Orbituary doors |
| Ruin Station cards | Crypt, Wasteland, and Last Resort access prepared as needed |
| Fuses | Sufficient fuses carried or their locations confirmed |
| Light phase | At least one green light and no red lights, verified in-game |
| Reward claimant | Selected before reaching the ASOP terminal |
| Cargo extraction | Transport, pilots, and exit security prepared before claiming the ship |
Avoid putting every critical access item on one player. Inventory loss, death, disconnection, or an interaction bug can interrupt the run. Carry appropriate FPS equipment, medical supplies, and a tractor beam for handling objects when needed. Once the reward ship is retrieved, prioritize departure over optional loot: the extraction window is short, and the hangar reset is not a safe place to remain.
Patch-Sensitive Executive Hangar Farming in Star Citizen
As of the checked Alpha 4.10.1 LIVE release, the Executive Hangar should be approached as a patch-sensitive activity. Official patch notes establish the current game version, but they do not independently confirm every community-documented board route, reward-ship variant, or timer detail. Changes to loot generation, ASOP behavior, item persistence, and server synchronization can affect the practical outcome of a run.
Community timer tools can help estimate the Executive Hangar's light cycle, but they rely on synchronization with game behavior and may drift after maintenance or server changes. Use them to plan travel, then verify the active base and its five lights directly. The best preparation is to collect all seven numbered boards, secure the required access items, select the reward claimant, and have a complete extraction plan. The Executive Hangar remains a significant Pyro objective because it combines contested-zone progression, an in-game ship reward, and potentially valuable loot under strict timing and PvPvE pressure.