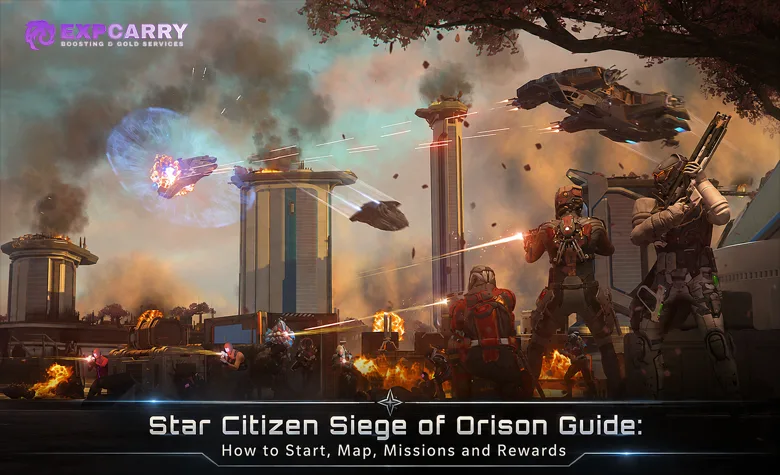
Siege of Orison is a cooperative FPS mission in Star Citizen in which players retake the floating platforms of Inspiration Park from the Nine Tails. Reintroduced in Alpha 4.10 as an instanced operation, it replaces the original server-wide dynamic event. In Alpha 4.10.2 LIVE, the mission follows three main stages: Solanki Platform, Hartmoore Platform, and the Admin Center, ending with the defeat of Mendo Ren and the shutdown of the final IFF Inverter.
Short answer: Siege of Orison is a repeatable instanced FPS mission for up to four players in Alpha 4.10.2 LIVE. Travel from Cloudview Center to Inspiration Station, enter the mission instance, complete Solanki, Hartmoore, and the Admin Center, then use Mendo Ren's keycard to disable the final IFF Inverter and claim your rewards.
The current LIVE build is 4.10.2-LIVE.12881860, released on October 9, 2026. This update fixes several Siege-related problems involving communication towers, the Command Center airlock, and instance transitions. The redesigned mission does not follow the original public-event schedule, although entry still depends on functioning server and instancing services.
What Changed in the New Siege of Orison
The Alpha 4.10 redesign preserves the Nine Tails occupation of Inspiration Park but changes mission access, progression, travel, and recovery. Older guides describing Brushwood Platform or a mandatory ship transfer no longer represent the current operation.
| Feature | Legacy version | Alpha 4.10 instanced version |
|---|---|---|
| Format | Server-wide dynamic event | Private instance for an eligible player or party |
| Main route | Solanki, Brushwood, Hartmoore, Admin Center | Solanki, Hartmoore, Admin Center |
| Travel | Shuttles and a ship transfer | Mission-controlled elevators and shuttles |
| Progress | Shared public objectives | Objectives tracked within the instance |
| Respawning | Older medical and recovery mechanics | Unlimited in-instance medical checkpoints without MedGel consumption |
| Activation | Scheduled public mission | Introduction and automatic mission acceptance on entry |
The original RSI Siege of Orison guide is historical reference material. The Alpha 4.10 patch notes describe the new instancing system, four-player limit, and checkpoint mechanics.
How to Check Whether Siege of Orison Is Available
The instanced mission entered LIVE on August 26, 2026, with Alpha 4.10.0. It remains part of Alpha 4.10.2 and is intended to be repeatable rather than available only during an announced event window.
Siege of Orison Schedule and Current Status
These dates distinguish the current mission from earlier public-event schedules and separate Orison activities.
| Date or period | Update | Status |
|---|---|---|
| Original event | Public Siege of Orison | Legacy format |
| August 26, 2026 | Alpha 4.10.0 | Instanced Siege released on LIVE |
| September 16, 2026 | Alpha 4.10.1 | Siege continues; Orison Relief is separate |
| October 9, 2026 | Alpha 4.10.2 | Siege-specific fixes released |
| October 12, 2026 | Current reference | Repeatable LIVE mission without a separately announced daily schedule |
Orison Relief Support and RSI Discovery Month have their own activities and rewards. Completing either is not equivalent to completing Siege of Orison.
How to Confirm Availability Before Traveling
Content being included in a LIVE patch does not guarantee that every server can create a working mission instance.
- Select LIVE in the RSI Launcher and confirm the supported game version.
- Check RSI Service Status for outages or degraded services.
- Look for the introductory Siege contract if you have not completed it previously.
- Travel to the instance entrance at Orison.
- Verify that the transition completes and mission objectives activate.
The introductory contract is not intended to repeat every time. Its disappearance after completion does not mean the main activity has ended.
Preparation Before Traveling to Orison
Siege contains several substantial firefights, interactive objectives, and a multi-phase final boss. Prepare for a longer operation than a standard bunker mission.
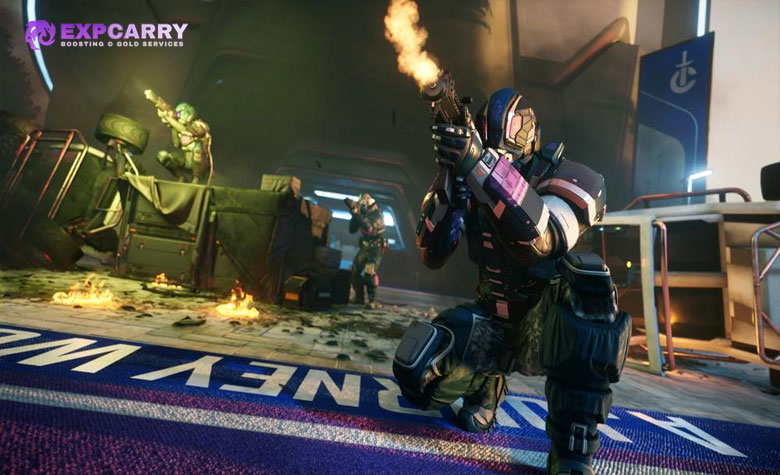
Setting your regeneration location at Orison General Hospital provides a fallback outside the instance. Once inside, activate the available medical checkpoints as you progress.
- Store a replacement combat loadout at Orison.
- Bring armor, a reliable primary weapon, a backup weapon, and compatible ammunition.
- Carry a medgun, refills, medpens, food, and drinks.
- Bring several spare fuses for Security Network Nodes that require them.
- Carry a multitool and appropriate attachments if you intend to move equipment or salvage.
- Use a backpack with space for ammunition, medical supplies, and valuable loot.
- Form your party before entering and agree on communication and revive priorities.
Some fuses and supplies can be found during the mission, but their availability should not be treated as guaranteed. Avoid bringing irreplaceable equipment if you intend to swap armor or recover large amounts of loot.
Explore services related to this guide, selected from our Star Citizen catalog.
View All Star Citizen Services

Where to Get the Contract and How to Enter the Instance
The introductory Mercenary contract Orison Platforms Under Attack points new players toward the entrance. The main contract, Retake Platforms From Nine Tails, is automatically assigned as players enter the supported mission area.
- Travel to Orison on Crusader in the Stanton system.
- Reach Cloudview Center and locate the elevators serving the Crusader Industries Showroom.
- Select the additional destination for Inspiration Station.
- Follow the station route to the tram and travel to the instance-access area.
- Use the elevators leading to the Siege of Orison lobby.
- Wait for the instance to initialize and the STANDBY barrier to clear.
- Proceed to the shuttle for Solanki Platform.
- Verify that Retake Platforms From Nine Tails appears in Contract Manager.
Do not confuse the transit to Inspiration Station with the shuttle inside the mission. If the loading barrier remains closed, check for an instance-creation error instead of assuming the encounter was removed.
Party Size and Instance Rules
Alpha 4.10 officially introduced Siege as a private instance supporting up to four players. Solo attempts are possible, but coordinated teams have better recovery options and can cover objective interactions more safely.
Alpha 4.10.2 fixed a transition issue described in its patch notes as affecting a fifth player entering an existing instance. This technical correction should not be interpreted as an official increase to the four-player mission limit.
The party leader owns the instance, and entry permissions are controlled by the instancing system. Group members should assemble before entering rather than relying on unrestricted late joining.
Recommended Party Roles
A four-player team can distribute responsibilities without locking anyone into a permanent role.
- Point player: advances through dangerous approaches and identifies immediate threats.
- Support shooter: handles elevated enemies, long sightlines, and reinforcements.
- Objective operator: works with fuses, network panels, and IFF Inverters.
- Medical support: coordinates revives, treatment, and checkpoint preparation.
Every player should still carry the equipment necessary to defend themselves, treat injuries, and activate basic mission interactions.
Siege of Orison Route Map
The current route follows three principal platforms. Internal floors, security nodes, and the final barge encounter form the main progression checkpoints.
| Stage | Location | Main objective | Completion condition |
|---|---|---|---|
| Staging | Cloudview Center and Inspiration Station | Enter the mission instance | Contract and first objectives activate |
| Stage 1 | Solanki Platform | Restore four network nodes, defeat Remy Kettle, disable IFFI | Solanki IFF Inverter is offline |
| Stage 2 | Hartmoore Platform | Cross the Ironclad section, restore two nodes, disable IFFI | Hartmoore IFF Inverter is offline |
| Stage 3 | Admin Center and barge | Reach the boss arena and defeat Mendo Ren | Mendo Ren's keycard is recovered |
| Final objective | Final IFF Inverter | Use the commander's keycard | Final inverter disabled and mission completes |
Brushwood Platform and the old captured-ship transfer do not belong to this route. Follow the active tracker if objective labels or small encounter details change in later builds.
Recommended Armor, Weapons, and Supplies
Heavy armor provides useful protection for a first attempt, while medium armor offers greater freedom of movement. A dependable rifle with a medium-range optic is suitable for both exposed approaches and interior combat.
| Slot | Recommendation | Purpose |
|---|---|---|
| Armor | Heavy or protective medium armor | Survive sustained enemy fire |
| Backpack | Compatible backpack with free capacity | Carry supplies and recovered items |
| Primary weapon | Assault rifle, battle rifle, or DMR | Handle mixed engagement distances |
| Secondary weapon | Sidearm or compact firearm | Backup for close combat |
| Medical | Medgun, refills, and medpens | Revives and injury treatment |
| Utility | Spare fuses and multitool | Network repairs and item handling |
| Sustain | Extra ammunition, food, and drinks | Maintain readiness across stages |
Some loot and heavy equipment may require space or loadout changes. Review Star Citizen armor options and verify compatibility in the LIVE client rather than assuming every weapon and backpack works with every suit.
The Objective Loop on Every Platform
Solanki and Hartmoore share security-network mechanics, but their layouts and the number of nodes differ. The Admin Center leads into a separate boss encounter.
The Star Citizen Live developer presentation provides background on the redesigned cooperative mission.
- Clear the immediate landing or arrival area.
- Identify Nine Tails enemies and avoid friendly Crusader Security personnel.
- Locate Security Network Nodes using the objective tracker and their antenna structures.
- Remove the protective cover if necessary and open the control housing.
- Inspect the fuse, replace it when required, and operate the lever.
- Complete every required node before expecting the next transition to unlock.
- Defeat the relevant commander and recover the required access keycard.
- Disable the local IFF Inverter and confirm that the tracker advances.
- Activate medical checkpoints and resupply before traveling onward.
A completed enemy encounter does not automatically mean its network objective is finished. Always check the mission state before leaving a floor or platform.
Solanki Platform Walkthrough
Solanki is the opening stage and contains four Security Network Nodes across its first two main combat levels. The third level contains the local IFF Inverter objective.
First level: clear Nine Tails infantry and elevated marksmen while working toward two network nodes. Watch for sniper firing lanes and collect spare fuses from nearby supplies if available. Activate both nodes to unlock further progression.
Second level: locate two additional network nodes and clear the surrounding enemies. Some encounters can include hostile Kopions. Repair and activate both nodes, then confirm the elevator or next passage becomes available.
Third level: locate the Nine Tails commander Remy Kettle, defeat him, and recover the keycard required for the Solanki IFF Inverter. Disable the inverter before boarding the shuttle to Hartmoore.
Optional elite enemies can carry keycards for special loot containers. These cache keys are separate from the access card required to advance the main mission.
Alpha 4.10.2 fixed a communication-tower issue in which towers could fail to resume rotating after network-node resets. If progression remains blocked, first verify all four nodes and the IFFI objective before reporting a current-build failure.
Hartmoore Platform Walkthrough
Hartmoore combines exposed firefights with an interior assault and vehicle-assisted movement. It contains two Security Network Nodes in the outdoor section after the Ironclad encounter.
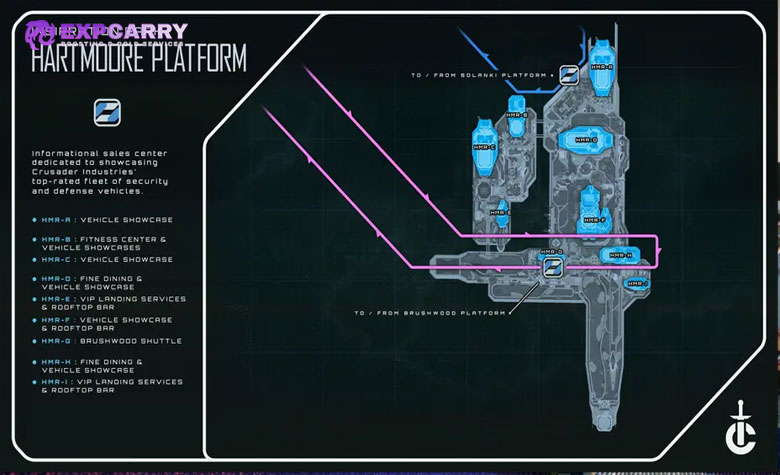
Arrival: clear the first combat area and use the available elevator to reach the next section. There are no required security nodes on the initial level.
Ironclad: enter the Drake Ironclad, eliminate its defending Nine Tails, and inspect any optional elite loot. The area introduces access to Greycat Ikti vehicles used to move through the following terrain.
Outdoor network: use the Ikti vehicles where useful, locate the two antenna-marked security nodes, repair any missing fuses, and activate both controls. Avoid unnecessary jumps or exposed movement near platform edges.
Upper levels: advance through the remaining enemies and elevators to the Hartmoore commander. Recover the access card and disable the second IFF Inverter.
Once the tracker confirms completion, replenish medical supplies and ammunition before taking the shuttle to the Admin Center. Hartmoore is the last major preparation stage before the final assault.
Admin Center and Mendo Ren Walkthrough
The Admin Center leads toward the large barge and the final boss arena. Clear dangerous marksmen and other enemies before crossing exposed walkways. Advance carefully around gaps, narrow paths, and elevated positions.
Medical checkpoints are available along the route. Activate an appropriate checkpoint and treat injuries before entering the boss chamber.
Mendo Ren is not defeated in a single ordinary firefight. The encounter uses four phases involving the boss's position, reactor controls, additional enemies, and a final direct confrontation.
Mendo Ren Boss Strategy
The arena contains three reactor structures and elevated walkways. The first three phases require interaction with reactors as the boss relocates and the encounter advances.
- Phase 1: locate the active reactor control and operate its lever while surviving the opening enemy wave.
- Phase 2: respond to Mendo Ren's changed position and operate the two reactor controls required for that phase.
- Phase 3: handle all three required reactor controls, manage reinforcements, and maintain access to cover.
- Phase 4: face Mendo Ren directly, avoid sustained fire from his heavy weapon, eliminate dangerous escorts, and defeat him.
- After the fight: recover the final IFF Inverter keycard from Mendo Ren.
- Final objective: reach the remaining inverter, use the keycard, and deactivate it to complete Siege of Orison.
The exact timing of enemy spawns and phase transitions can vary with instance performance. Do not crowd around reactor controls, and keep at least one safe route for repositioning and revives.
Alpha 4.10.1 corrected a problem in which the commander could die from collision damage while changing phases. Alpha 4.10.2 then fixed Command Center airlock doors opening before his actual death. Neither fix removes the need to complete the final inverter objective.
After the final shutdown, verify that the contract is completed and eligible rewards have registered before committing time to optional looting.
Checkpoints, Injuries, Death, and Rejoining
Siege uses in-instance medical-bed checkpoints. According to the official Alpha 4.10 design, their respawns are unlimited and do not consume MedGel. Under normal operation, death returns the player to the latest checkpoint rather than Orison General Hospital.
Activate medical checkpoints as they become available. Unlimited checkpoint respawns do not mean an interrupted or broken instance can always be recovered, nor do they guarantee preservation of everything carried by the player.
How to Handle a Downed Teammate
Secure the surrounding area before attempting a revive. Assign one player to treatment while others watch exposed approaches. After recovery, inspect injuries, ammunition, and equipment before returning to the objective.
How Rejoining Works
Party membership and the instance owner's mission state govern access. Alpha 4.10.2 corrected a specific problem involving an additional player being left behind during an instance transition, but this is not a guarantee that every disconnected player can rejoin any encounter state.
- Move the remaining group into a defensible position.
- Keep the original party and leader intact where possible.
- Attempt the supported re-entry route rather than creating a conflicting mission instance.
- Check that the returning player receives the correct objective state.
- Restart as a group if progression cannot be synchronized.
A complete team wipe during the Mendo Ren encounter may reset the fight. Recover at the checkpoint and verify the current boss state before re-entering.
Siege of Orison Rewards and Loot
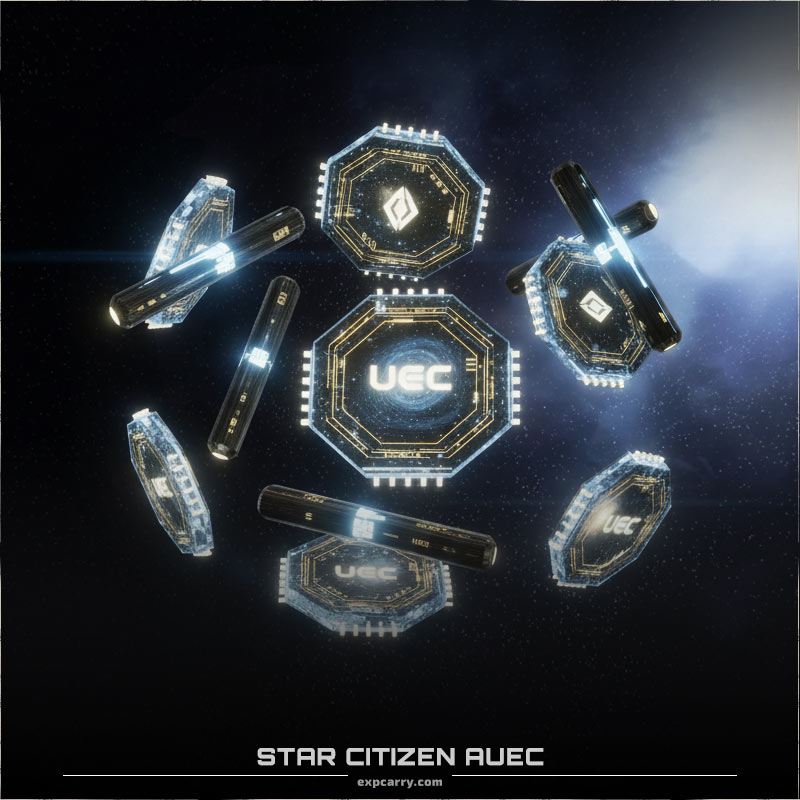
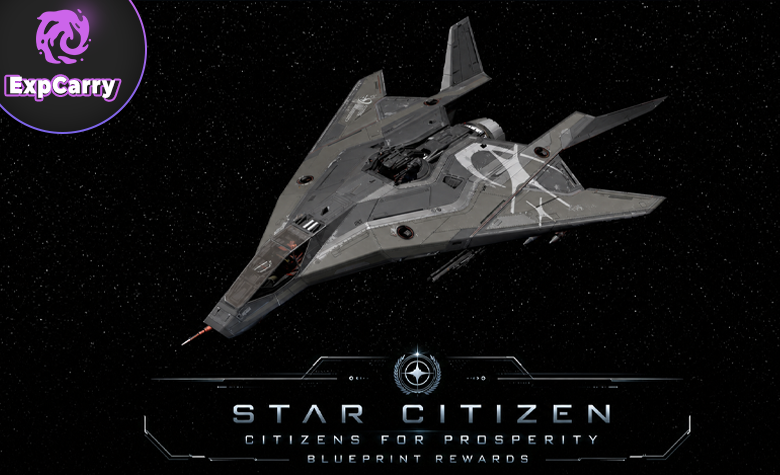
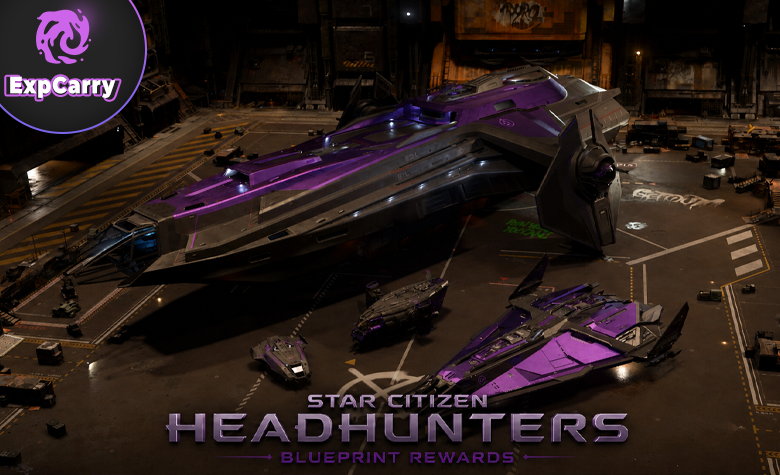
CIG lists aUEC, crafting blueprints, a bespoke weapon skin, and additional loot caches among the rewards of the reworked Siege. These reward categories must be distinguished from physical equipment found during the mission and from separate Wikelo exchanges.
| Reward | How to obtain it | Important detail |
|---|---|---|
| aUEC | Complete the contract | Read the current payment in Contract Manager |
| BUL-H4 blueprint | Eligible mission completion | One blueprint drawn from the three-piece reward pool |
| Bespoke weapon skin | Mission reward system | Verify delivery and ownership in LIVE |
| Physical BUL-H4 equipment | Crafting or recoverable mission equipment | Physical pieces are not the same as blueprints |
| Vendetta HMG | Recoverable equipment and associated exchange systems | Finding a weapon does not unlock its crafting blueprint |
| Optional loot | Enemies and special containers | Recovered items must be transported out |
BUL-H4 Super Heavy Armor Blueprints
The Siege reward pool is associated with three base blueprints: BUL-H4 Armor, BUL-H4 Helmet, and H4-PBF Ammo Carrier. Current reward-pool data identifies one draw per eligible completion, with each blueprint representing approximately one-third of the pool.
The armor is a one-piece body suit rather than separate arm, torso, and leg recipes. A successful run does not award the complete set, and duplicate protection should not be assumed. After unlocking a blueprint, players must obtain the necessary crafting materials.
Vendetta HMG and Special Equipment
The Apocalypse Arms Vendetta HMG works with the new super-heavy equipment system. The H4-PBF Ammo Carrier supports its specialized ammunition arrangement, and teammates can assist with reloading the equipment.
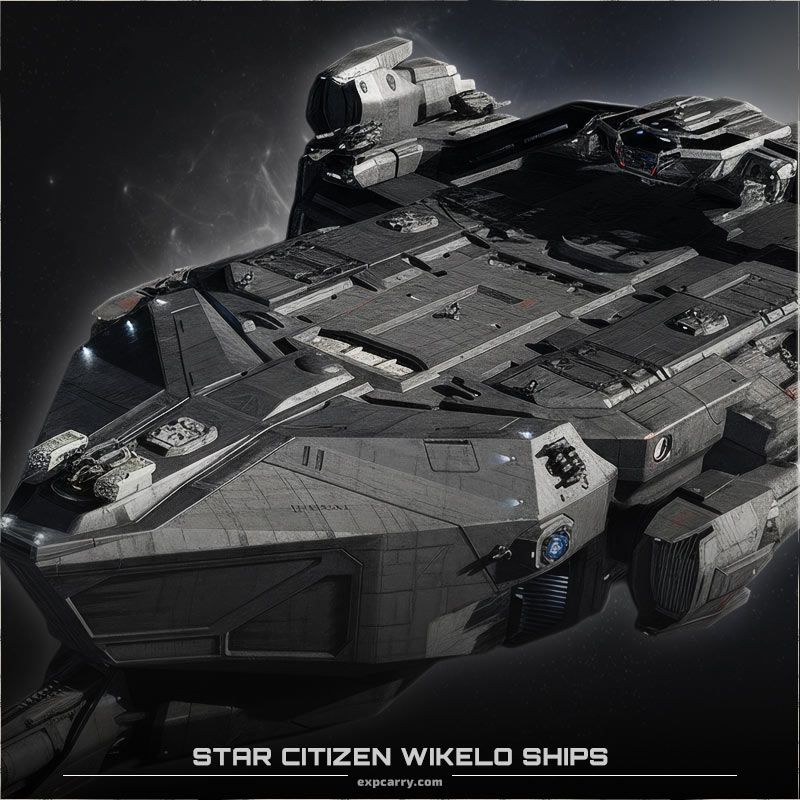
A physical Vendetta found during Siege is not the same as a Vendetta blueprint. Wikelo's separate Too Much Gun exchange provides a route associated with the Snow Camo Vendetta and its blueprint, subject to the currently displayed exchange requirements. The Heavy and Bright exchange separately concerns Snow Camo BUL-H4 equipment.
Mission Payout
Some third-party mission databases report a payout near 979,000 aUEC, but this should not be treated as a guaranteed Alpha 4.10.2 payment. Check the actual contract reward before entering and account for time, ammunition, equipment losses, and failed attempts.
Physical Loot and Optional Containers
Nine Tails equipment, weapons, ammunition, and special containers provide additional reasons to explore the instance. Some elites drop keycards granting access to optional caches.
- Prioritize the mission objective before collecting large quantities of loot.
- Use optional cache keycards on their corresponding containers.
- Keep sufficient inventory space for valuable equipment.
- Remember that looted armor can replace parts of your current loadout.
- Check whether recovered containers can pass through instance and armistice boundaries.
- Do not confuse physically recovered items with permanent account entitlements.
Secure any intended physical loot before leaving. Completing the contract and successfully extracting its optional equipment are separate achievements.
Current Siege of Orison Issues and Workarounds
Alpha 4.10.2 includes confirmed fixes, while some problems discussed in earlier releases have not been independently verified as unresolved in the current build.
| Issue | Status | Recommended action |
|---|---|---|
| Communication towers fail to rotate after node reset | Fixed in 4.10.2 | Report a new reproducible occurrence |
| Command Center airlock opens before boss death | Fixed in 4.10.2 | Complete all phases and confirm the final objective |
| Additional player left behind during transition | Specific issue fixed in 4.10.2 | Check party membership and permitted instance size |
| Boss dies during phase teleport | Fixed in 4.10.1 | Report only if reproduced in the current build |
| Mendo Ren missing after a wipe | Earlier reports; current status unconfirmed | Check encounter reset and submit reproduction details |
| Mission remains at shuttle objective | Earlier reports; current status unconfirmed | Check contract activation and current tracker |
| Loading barrier or elevator remains stuck | Possible instance initialization failure | Check service status and retry if necessary |
| Network stage does not unlock | Could be an incomplete objective | Check every node, keycard, and inverter requirement |
| Player cannot rejoin | Depends on instance state | Test supported re-entry and keep the party together |
| Missing expected payment | Requires case-specific verification | Record contract, completion state, and balance |
The official Alpha 4.10.2 Known Issues page does not list every possible community-reported mission failure. The Alpha 4.10.2 patch notes document the specific fixes included in the release.
For reproducible failures, submit an RSI Issue Council report with the LIVE build, mission stage, party size, last completed objective, expected behavior, actual behavior, and screenshots or video when possible.
Target Identification and Friendly-Fire Safety
Do not assume every armed NPC is hostile. The operation can contain both Nine Tails enemies and friendly Crusader Security personnel. Use faction markings, uniforms, HUD information, and communication to identify targets.
Call out elevated shooters and enemy positions before firing, keep clear of friendly firing lanes, and warn teammates before using grenades. Attacking friendly personnel may create legal or mission-related consequences.
Mistakes That Commonly End a Run
Most preventable failures result from outdated routes, missed interactions, insufficient preparation, or rushing through the final encounter.
- Following the legacy route: Brushwood and the mandatory ship transfer are no longer required.
- Looking for a public event timer: the current mission uses repeatable instancing.
- Confusing separate activities: Orison Relief and RSI Discovery Month are not Siege completion.
- Entering separately: form the intended party before activating the instance.
- Ignoring fuses: some security nodes require repairs before activation.
- Leaving Solanki early: complete four nodes and disable its IFF Inverter.
- Skipping the Hartmoore network: complete both nodes and the second inverter.
- Failing to activate checkpoints: use medical beds along the route.
- Fighting Mendo without cover: coordinate reactor controls and avoid his heavy-weapon fire.
- Stopping after the boss dies: recover his keycard and deactivate the final IFF Inverter.
- Trusting an old payout: verify the current contract reward.
- Looting before confirming completion: verify mission status before extracting.
Quick Siege of Orison Checklist
Use this checklist to confirm that every essential stage is complete before leaving the instance.
| When | Check |
|---|---|
| Before traveling | Current LIVE build and server status verified |
| Before entering | Party, weapons, fuses, medical supplies, and spare equipment ready |
| At Inspiration Station | Instance loads and contract activates |
| At Solanki | Four nodes, Remy Kettle keycard, and first inverter complete |
| At Hartmoore | Ironclad section, two nodes, and second inverter complete |
| Before Mendo Ren | Checkpoint activated, injuries treated, team resupplied |
| After Mendo Ren | Commander defeated and final keycard collected |
| Before extraction | Final inverter disabled, rewards verified, and useful loot secured |
Conclusion
Siege of Orison in Alpha 4.10.2 is a repeatable three-platform FPS operation rather than the original public dynamic event. Enter through Inspiration Station, complete four network nodes and the first inverter at Solanki, then clear Hartmoore's Ironclad section, restore its two nodes, and disable the second inverter. At the Admin Center, reach the barge and complete Mendo Ren's four-phase encounter.
The most important final step is to recover Mendo Ren's keycard and deactivate the last IFF Inverter. Only then should players consider the mission complete. Use the in-game tracker and current contract rewards as authoritative references, activate medical checkpoints, and check current patch notes before applying workarounds from older versions.