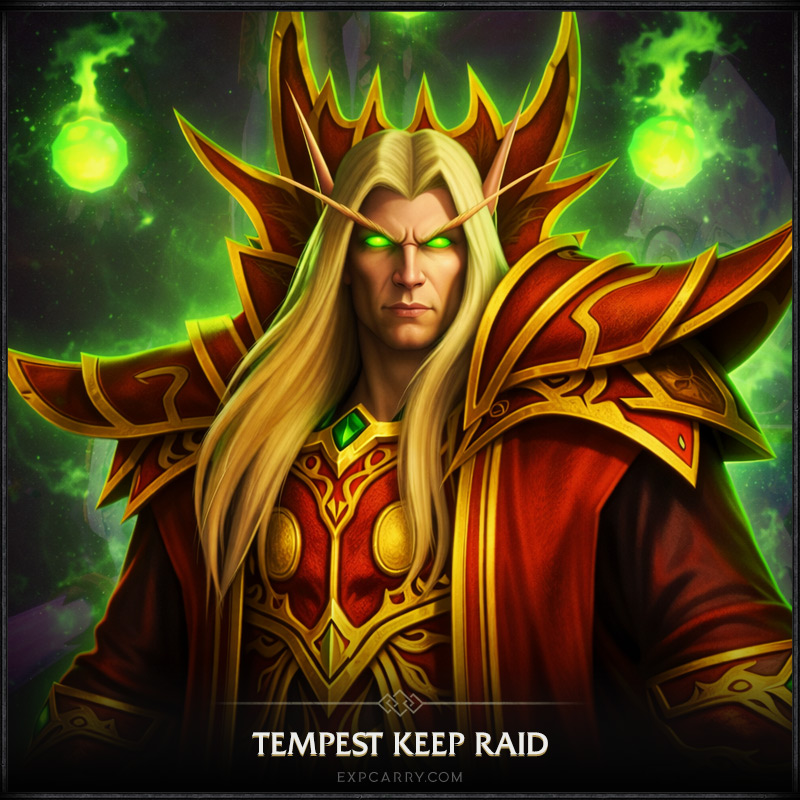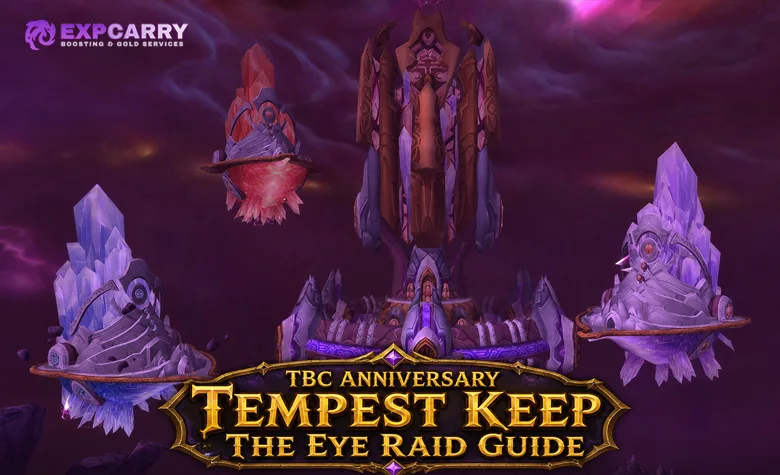
Tempest Keep: The Eye is a level 70, 25-player raid in Netherstorm with four mandatory bosses: Al'ar, Void Reaver, High Astromancer Solarian, and Kael'thas Sunstrider. In TBC Classic Anniversary, The Eye opened on May 14, 2026 as part of the Overlords of Outland phase. The official Overlords of Outland announcement confirms the complete boss roster and three Tier 5 tokens from both Void Reaver and Kael'thas Sunstrider.
Use this guide to prepare entry, build assignments, follow the recommended route, execute each encounter, and review the full boss drop lists. It also covers Tier 5 token classes, valuable trash epics, and profession patterns. Every tactic reflects the post-nerf encounters used in TBC Anniversary, including the bomb version of Wrath of the Astromancer and the non-split Dive Bomb on Al'ar.
Tempest Keep The Eye Requirements and Raid Overview
| Raid feature | Current information |
|---|---|
| Format | Level 70, 25 players |
| Location | Netherstorm, Outland; the entrance is on the eastern side of the central Tempest Keep structure |
| Access | A flying mount, flight form, or a Warlock summon is required to reach the entrance |
| Opening date | May 14, 2026 at 3:00 p.m. PDT |
| Attunement | The Tempest Key questline is required in TBC Anniversary |
| Bosses | Four encounters, all required to complete the raid |
| Tier 5 slots | Shoulders from Void Reaver and chest from Kael'thas Sunstrider |
| Loot levels | Item level 128 standard epics, item level 133 Tier 5 pieces, and item level 138 non-tier Kael'thas loot |
The attunement begins after the Cipher of Damnation storyline and continues through the Trials of the Naaru, which require Heroic dungeon objectives and Magtheridon's defeat. Blizzard's official attunement walkthrough lists the major quest steps and dungeon requirements. Players who need help planning the remaining objectives can also review the Tempest Keep Attunement service before raid night.
Recommended Raid Composition and Assignments
A safe progression roster uses four tanks, seven healers, and fourteen damage dealers. Experienced groups can reduce the healer or tank count, but additional coverage makes platform control on Al'ar, threat rotation on Void Reaver, add handling on Solarian, and the simultaneous advisor phase on Kael'thas more reliable.
- Assign one tank to each Al'ar platform area and one off-tank to Ember of Al'ar adds.
- Keep at least three tanks high on threat during Void Reaver because Knock Away repeatedly changes the active target.
- Assign interrupts and stuns for Solarian Priests before the pull.
- Choose one durable Warlock to tank Grand Astromancer Capernian during Kael'thas.
- Assign tanks and death positions for Lord Sanguinar and Master Engineer Telonicus.
- Bring enough interrupts to stop every Fireball and every Cosmic Infuser heal during Kael'thas.
- Use a balanced ranged group for Al'ar adds, Arcane Orb movement, Solarian portals, legendary weapons, and Phoenix Eggs.
Fire Resistance gear is not a general raid requirement. Normal tanking gear and strong communication are more useful for progression. Consumables should include flasks or elixirs, food, weapon enhancements, healing and mana potions, and protection potions chosen for the encounter. Every raider should also set a personal loot plan before the clear because Tier 5 tokens and several Kael'thas items are highly contested.
Tempest Keep Boss Order and Progression
| Clear position | Boss | Primary challenge | Highlight reward |
|---|---|---|---|
| 1 | Al'ar | Platform tanking, add control, and two-phase movement | Weapons, caster accessories, and class trinkets |
| 2 | Void Reaver | Threat rotation, ranged spacing, and Arcane Orb movement | Tier 5 shoulder tokens |
| 3 | High Astromancer Solarian | Bomb movement, add control, and healer coordination | Weapons, armor, and class trinkets |
| 4 | Kael'thas Sunstrider | Five phases, legendary weapon use, and coordinated target swaps | Tier 5 chest tokens and Ashes of Al'ar |
Al'ar blocks access to the inner wings and should be defeated first. Void Reaver and Solarian can then be approached according to the raid's strengths, although Void Reaver is usually the easier second encounter. Kael'thas is the final boss and requires the other three encounters to be cleared.
Explore services related to this guide, selected from our TBC Raids catalog.
View All TBC Raids Services


Al'ar Strategy and Loot
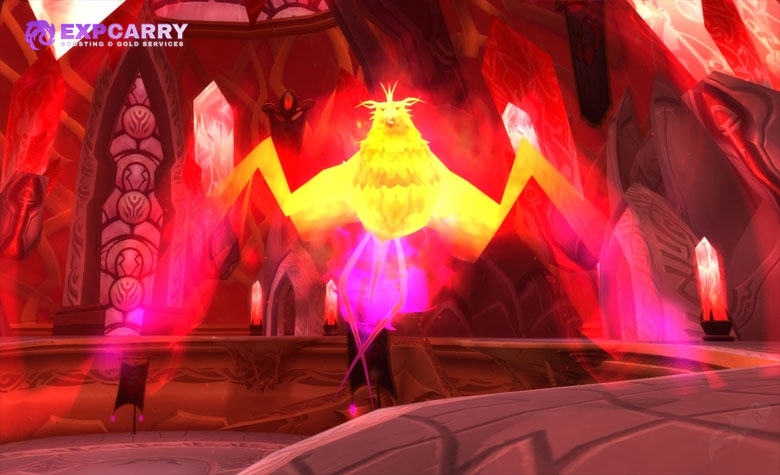
Al'ar is a two-phase encounter built around constant tank coverage. The boss is immune to Fire damage. During phase one, Al'ar moves between the upper platforms while Ember of Al'ar adds spawn below. If no player remains in melee range after a platform move, Flame Buffet rapidly stacks on the raid, so each platform tank must be ready before the boss arrives.
- Place tanks around the upper ring and keep the raid on the lower floor with clear access to every ramp.
- When Al'ar changes platforms, the next tank engages immediately while the previous tank follows the route to the next assignment.
- Tank Ember of Al'ar adds away from the raid and kill them at controlled positions because each add explodes on death.
- When Al'ar flies to the center for Flame Quills, every player leaves the upper platforms and ramps until the attack ends.
- After Al'ar dies, prepare for Rebirth and establish the phase two tank position before damage resumes.
- Swap tanks immediately after Melt Armor because the affected tank loses most of their armor.
- Move out of Flame Patch and spread before Dive Bomb. In the post-nerf version, the impact deals flat damage within its area and should not be split by stacking.
- Pick up the two Embers created by each Dive Bomb and kill them away from other players while continuing damage on Al'ar.
Many older guides recommend stacking for Dive Bomb. That instruction belongs to an earlier version of the encounter and is unsafe for the Anniversary post-nerf tuning. Spread, stabilize the raid after impact, and keep add explosions separated.
| Loot category | Items |
|---|---|
| Armor and accessories | Band of Al'ar, Phoenix-Ring of Rebirth, Phoenix-Wing Cloak, Mindstorm Wristbands, Gloves of the Searing Grip, Fire Crest Breastplate |
| Weapons | Netherbane, Claw of the Phoenix, Talon of the Phoenix, Arcanite Steam-Pistol |
| Trinkets and quest item | Talisman of the Sun King, Talon of Al'ar, Tome of Fiery Redemption |
Void Reaver Strategy and Loot
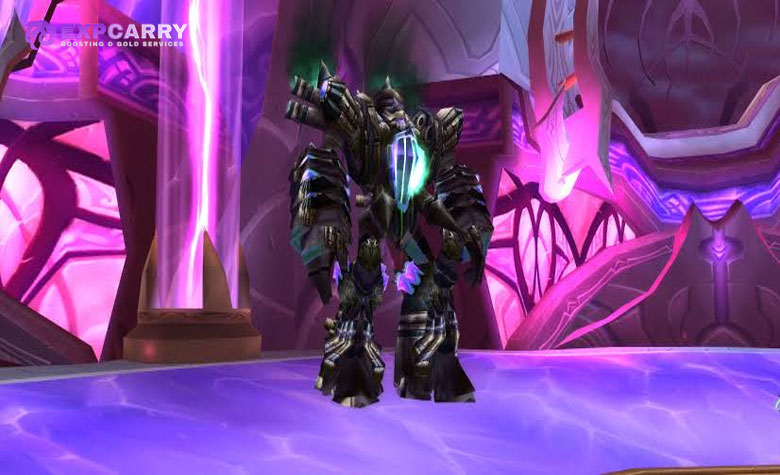
Void Reaver is a single-phase encounter with a ten-minute enrage. The boss is immune to taunts. Tanks remain together in front and build threat continuously, while melee stay behind and ranged players form a wide circle around the room.
- Use three or four tanks. Every tank attacks from the start and remains near the top of the threat table.
- When Knock Away reduces the current tank's threat, allow the next tank to take control without attempting a taunt.
- Keep melee behind the boss and heal through Pounding, which deals repeated Arcane damage around Void Reaver.
- Spread ranged players and healers around the outer room so one Arcane Orb cannot hit several people.
- Watch each slow-moving Arcane Orb and move before it lands. The impact deals heavy damage and silences affected players.
- Do not chase the boss during a tank transition. Tanks should hold a stable central position and turn Void Reaver as little as possible.
| Loot category | Items |
|---|---|
| Tier 5 shoulder tokens | Pauldrons of the Vanquished Champion, Pauldrons of the Vanquished Defender, Pauldrons of the Vanquished Hero |
| Armor | Cowl of the Grand Engineer, Girdle of Zaetar, Void Reaver Greaves, Fel-Steel Warhelm, Wristguards of Determination |
| Trinkets | Warp-Spring Coil, Fel Reaver's Piston |
High Astromancer Solarian Strategy and Loot
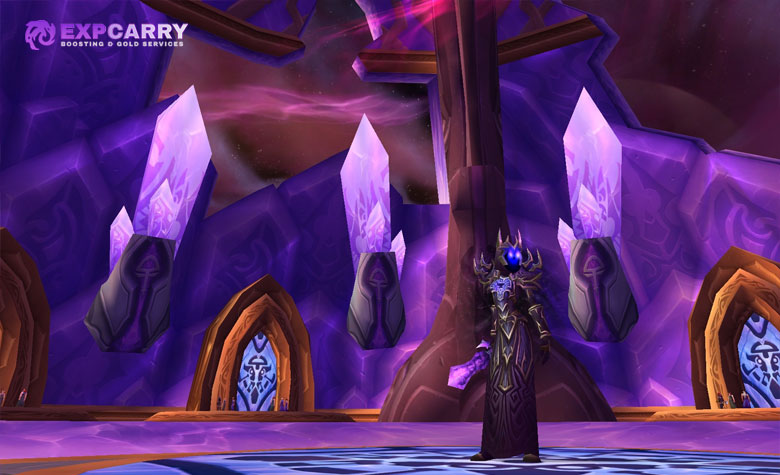
Solarian alternates between a main phase and an add phase before transforming at 20 percent health. The current post-nerf encounter does not use the old bouncing Wrath mechanic or an Arcane Resistance soaker. Wrath of the Astromancer is a timed bomb: the affected player leaves the group, waits for the explosion, and returns after nearby players are safe. Mark of Solarian steadily reduces Arcane Resistance, so Blinding Light and Arcane Missiles become harder to absorb as the fight continues.
- Stack the raid near Solarian while leaving a clear route for the Wrath of the Astromancer target.
- Move the Wrath target away immediately. The explosion after about six seconds damages and launches nearby players, so no one should follow.
- Heal the raid through Blinding Light and give focused healing to Arcane Missiles targets.
- When Solarian disappears, tanks collect the Solarian Agents emerging from the portal beams before the raid uses area damage.
- When Solarian returns, kill the two Solarian Priests first. Interrupt or stun every heal and keep the remaining Agents controlled.
- Repeat until 20 percent, when Solarian transforms into a voidwalker.
- During the final phase, keep the tank stable, heal Arcane Bolt damage, and use Fear Ward, Tremor Totem, or fast recovery for Psychic Scream.
Once Solarian is defeated, the remaining challenge is a long execution fight rather than another short gear check. Groups that want a scheduled clear can compare their roster and loot goals with the Tempest Keep raid service before committing time to Kael'thas progression.
Kael'thas Sunstrider Strategy and Loot
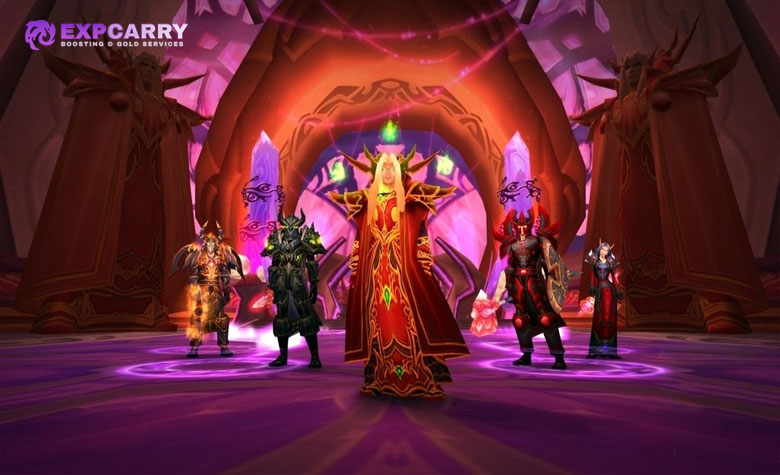
Kael'thas is a five-phase encounter. The fight rewards disciplined positioning more than raw damage. Advisor death locations determine phase three, legendary weapon assignments determine phase four, and poor Phoenix Egg control can overwhelm the raid before Gravity Lapse begins.
Phase One Advisor Positions
- Thaladred the Darkener fixates on one player at a time. Kite him around the room, stay more than 30 yards away, and keep melee out.
- Tank Lord Sanguinar near a wall and use Fear Ward or Tremor Totem to limit disruption from his fear.
- Use a Warlock to tank Grand Astromancer Capernian at range. All other players stay more than 30 yards from her, and melee never approach her Arcane Burst range.
- Tank Master Engineer Telonicus near a wall, spread for Bomb, and track Remote Toy on the active tank.
- Leave each advisor in the assigned location. All four revive together in phase three, so uncontrolled death positions make the overlap much harder much harder.
Phase Two Legendary Weapons
Seven weapons spawn simultaneously. Tanks collect them before damage begins. Keep the bow and axe separate, interrupt the mace, and group the safer targets for area damage. Every eligible raider should loot the required weapon immediately after it dies and use its special effect during the following phases.
| Legendary weapon | Priority and use |
|---|---|
| Netherstrand Longbow | Face it away from the raid; ranged players loot it for damage and protection against its ranged effect |
| Devastation | Tank it away from other weapons because Whirlwind can kill nearby players |
| Cosmic Infuser | Interrupt its heal; healers use the weapon effect to strengthen healing and gain protection |
| Staff of Disintegration | Casters activate the staff aura to protect nearby players from disorient, silence, and stun effects |
| Phaseshift Bulwark | The Kael'thas tank uses its effect for protection against the Shock Barrier and Pyroblast sequence |
| Infinity Blade | Melee use its special effect to remove Mind Control from affected allies |
| Warp Slicer | Physical damage dealers use it for the encounter-specific damage effect |
Phase Three All Advisors
- All four advisors revive at their phase one death locations. Tanks and the Thaladred kiter move to their assignments before the resurrection.
- Split damage by role. Ranged players kill Thaladred and then Capernian while remaining outside their lethal ranges.
- Melee players kill Sanguinar and then Telonicus because approaching Thaladred or Capernian is unsafe.
- Maintain the Warlock tank's threat and healing on Capernian while the physical tanks keep Sanguinar and Telonicus separated.
- Keep the staff aura active, use the healer mace effect, and avoid dragging advisors together.
- Finish as many advisors as possible before Kael'thas becomes active. Surviving advisors remain dangerous during phase four.
Phase Four Kael'thas
- Tank Kael'thas near the center and interrupt every Fireball.
- When Shock Barrier appears, destroy it immediately and then interrupt Pyroblast. The tank should use the shield effect if a Pyroblast cannot be stopped in time.
- Move out of Flamestrike as soon as the ground effect appears.
- When a Phoenix spawns, assign a tank to kite or control it away from the raid. Kill the Phoenix and then destroy the Phoenix Egg before it hatches.
- Keep the staff aura active for Arcane Disruption.
- When players are Mind Controlled, assigned melee use the special effect from Infinity Blade with a controlled, low-damage attack to free them.
Phase Five Gravity Lapse
At 50 percent health, Kael'thas enters the final phase and stops using Pyroblast and Mind Control. Gravity Lapse launches the raid and allows everyone to swim through the air for about 30 seconds.
- Spread in three dimensions so Nether Beam does not chain through multiple players.
- Avoid the Nether Vapor clouds around Kael'thas. Their stacking debuff quickly makes incoming damage lethal.
- Do not fly too high or too close to the room edges. Begin descending before Gravity Lapse ends to reduce fall risk.
- After landing, restore normal positions, interrupt Fireball, avoid Flamestrike, and control Phoenixes and Eggs.
- Repeat the air and ground cycles until Kael'thas dies.
| Loot category | Items |
|---|---|
| Mount | Ashes of Al'ar |
| Tier 5 chest tokens | Chestguard of the Vanquished Champion, Chestguard of the Vanquished Defender, Chestguard of the Vanquished Hero |
| Armor and accessories | Band of the Ranger-General, Sunshower Light Cloak, Royal Cloak of the Sunstriders, Thalassian Wildercloak, Gauntlets of the Sun King, Crown of the Sun, Leggings of Murderous Intent, Sunhawk Leggings, Royal Gauntlets of Silvermoon |
| Weapons | Rod of the Sun King, The Nexus Key, Twinblade of the Phoenix |
| Quest items | Verdant Sphere, Kael's Vial Remnant |
Tier 5 Tokens and Class Distribution
Void Reaver drops three shoulder tokens and Kael'thas drops three chest tokens in TBC Anniversary. Each token family serves three classes, so loot councils should compare attendance, set bonuses, and upgrade size before assigning them.
| Token family | Classes | Void Reaver | Kael'thas Sunstrider |
|---|---|---|---|
| Vanquished Champion | Paladin, Rogue, Shaman | Pauldrons of the Vanquished Champion | Chestguard of the Vanquished Champion |
| Vanquished Defender | Warrior, Priest, Druid | Pauldrons of the Vanquished Defender | Chestguard of the Vanquished Defender |
| Vanquished Hero | Hunter, Mage, Warlock | Pauldrons of the Vanquished Hero | Chestguard of the Vanquished Hero |
Notable Tempest Keep Trash Loot
Tempest Keep trash can drop item level 128 bind-on-pickup epics and bind-on-pickup profession recipes. Clear dangerous packs with the same care used for bosses: use crowd control on casters, assign interrupts, avoid uncontrolled line-of-sight pulls, and never let patrols join an active pack.
| Loot type | Notable drops |
|---|---|
| Epic armor and accessories | Seventh Ring of the Tirisfalen, Mantle of the Elven Kings, Fire-Cord of the Magus, Bark-Gloves of Ancient Wisdom, Girdle of Fallen Stars, Bands of the Celestial Archer |
Tempest Keep Profession Recipes
Trash enemies can drop raid-quality belt and boot patterns for Blacksmithing, Leatherworking, and Tailoring. These recipes are bind on pickup, so the correct crafter must be present when the item drops.
Tempest Keep Final Verdict
Tempest Keep is a compact raid with a steep final encounter. Al'ar tests movement and tank coverage, Void Reaver punishes poor spacing, Solarian demands clean bomb and add control, and Kael'thas combines every major raid skill across five phases. A group that prepares assignments before the pull, treats legendary weapons as encounter tools, and protects each transition can clear all four bosses consistently while progressing toward Tier 5 sets and the raid's rarest rewards.