World of Warcraft Arena is rated player-versus-player combat built around coordinated teams, short fights and deliberate use of crowd control, defensive cooldowns and positioning. Start with 2v2 to learn your class and arena fundamentals with less information to track, then move to 3v3 when you are comfortable coordinating with two teammates. The most important beginner decision is choosing a clear role: healer, damage dealer or, in limited situations, a specialization that can support the team through control and utility.
How WoW Arena Works
Arena matches take place in small instanced maps. Your team wins by defeating the opposing players. There are no objectives to capture and no permanent advantage from killing one specific target early; success comes from creating a favorable exchange of cooldowns and converting that advantage into a kill.
Rated Arena is divided into different brackets. The two most important for beginners are:
- 2v2: Two players fight two opponents. The bracket is easier to read because fewer abilities are active at once, making it useful for learning positioning, crowd-control timing and defensive trading.
- 3v3: Three players fight three opponents. This is the central coordinated Arena format, with more compositions, cross-crowd control, interrupts and defensive interactions to track.
Unrated skirmishes are useful for learning maps and testing abilities without committing to a rating push. Rated games are where your rating, seasonal rewards and ladder progress matter.
Which Arena Role Should You Play?
Healer
A healer keeps teammates alive, dispels harmful effects where possible and helps control the pace of the match. Healing in Arena is not simply a matter of restoring health after damage. You must anticipate enemy crowd control, preserve powerful cooldowns and avoid standing in positions where both opponents can force you out of the fight.
- Track your partner’s defensive cooldowns and health before committing major healing cooldowns.
- Move between healing casts so you are harder to interrupt or crowd-control.
- Use line of sight to deny enemy damage while maintaining a healing angle on your teammate.
- Learn when to contribute damage or crowd control without sacrificing your team’s survival.
Healer/DPS is the most common beginner-friendly 2v2 structure because the healer can stabilize damage while the damage dealer creates pressure. It also teaches both players how to survive enemy cooldowns over a longer match.
Damage Dealer
A damage dealer is responsible for creating pressure, forcing defensive cooldowns and converting enemy mistakes into kills. New players often focus only on damage meters, but Arena damage is valuable because of what it forces: trinkets, major defensives, movement, healing cooldowns or positioning errors.
- Choose a target before the match begins and understand when switching targets is worthwhile.
- Coordinate burst with crowd control instead of using every offensive cooldown immediately.
- Use defensive abilities before your health becomes critical.
- Peel for your healer or partner when the enemy is using major offensive cooldowns.
A damage dealer should know the basic defensive tools of the team’s healer and partner. This prevents overlapping cooldowns and makes your attacks easier to coordinate.
Support and Utility
Some specializations contribute through off-healing, dispels, interrupts, roots, slows, immunities, purges or strong defensive utility. These tools do not replace the responsibilities of a dedicated healer in most 2v2 or 3v3 teams, but they can determine which team controls the match.
Utility is strongest when it has a clear purpose. Use a root to stop a healer from reaching a teammate, an interrupt to deny an important cast or a purge to remove a defensive effect. Avoid spending every utility ability as soon as it becomes available.
How to Build a Beginner Arena Team
Start with a partner whose role complements yours. A healer and damage dealer is the simplest 2v2 structure for learning the game. Two damage dealers can also work, but the match usually becomes more dependent on coordinated crowd control, short burst windows and fast defensive decisions.
For 3v3, avoid choosing teammates only because they play the same class. Look for a team that combines several of the following:
- Reliable damage during a coordinated offensive window.
- Multiple forms of crowd control that do not overlap unnecessarily.
- Interrupts, purges, dispels or other ways to stop enemy setups.
- Defensive cooldowns and peels for the healer.
- Mobility or control that helps the team choose when to fight.
At beginner ratings, communication and familiarity matter more than theoretical composition strength. A team that understands its win condition will usually perform better than a supposedly stronger composition played without a plan.
Explore services related to this guide, selected from our Arena catalog.
View All Arena Services
Roles and Responsibilities in 2v2
| Team role | Main responsibility | Beginner priority |
|---|---|---|
| Healer | Keep the team stable, avoid crowd control and preserve major cooldowns. | Position safely and call when you are controlled. |
| Damage dealer | Create pressure, coordinate crowd control and stop enemy damage. | Use defensives early and protect the healer. |
| Damage/Damage | Force a quick defensive response through coordinated burst. | Agree on one target and one crowd-control sequence. |
In 2v2, every mistake is more visible because there are fewer players to cover it. If your healer is crowd-controlled, the damage dealer often needs to stop attacking and use a defensive, peel or interrupt. If the damage dealer is unable to connect with the target, the healer may need to help with control or damage while remaining safe.
Roles and Responsibilities in 3v3
3v3 adds a third player, but it does not simply make the match easier. More players means more damage, more crowd control and more opportunities for a team to overlap or waste cooldowns.
- Healer: Maintain line of sight, track enemy crowd control and communicate incoming swaps or burst.
- Primary damage dealer: Establish pressure and coordinate the main offensive cooldowns.
- Secondary damage or support player: Add crowd control, interrupts, peels and secondary burst.
- Entire team: Agree on the kill target, stop enemy setups and avoid using major defensive cooldowns at the same time.
Designate one player to make short, clear calls. Useful calls include the target, the next crowd-control ability, the enemy defensive that was used and whether the team should retreat. Too many simultaneous calls make it harder to react.
What to Do Before the Match Starts
- Choose a primary target. Identify the enemy who is easiest to pressure or whose defensive tools are most limited.
- Identify the dangerous cooldowns. Know which enemy abilities can create a kill attempt and decide who will interrupt, stun, dispel or use a defensive.
- Plan your opening. Decide whether you will attack immediately, use crowd control first or force the enemy healer away from the fight.
- Check your positioning. Do not begin in a place where the enemy can instantly crowd-control both you and your partner.
- Confirm communication. Use simple calls for enemy trinkets, major defensives, crowd control and swaps.
You do not need a complicated script. A basic plan such as “pressure the healer, use crowd control on the damage dealer and trade defensives when they burst” is enough to make your first games more structured.
Basic Arena Strategy
Focus on Cooldown Trading
Arena is built around exchanges. If the enemy uses a major offensive cooldown and you answer with a minor defensive, you may still have important tools available for the next attack. If you use every defensive at once, the next enemy setup may end the match.
Try to match the size of your response to the threat. Use positioning, crowd control, interrupts and line of sight against manageable pressure. Reserve major defensive cooldowns for coordinated enemy burst or situations where your team cannot otherwise survive.
Use Crowd Control With a Purpose
Crowd control is most effective when it supports a specific action. Common purposes include:
- Stopping a healer from healing during your burst.
- Preventing an enemy damage dealer from peeling.
- Interrupting a dangerous cast when the normal interrupt is unavailable.
- Creating time for your healer to recover.
- Separating an enemy from their partner.
Do not overlap identical crowd-control effects unless the timing is necessary. Coordinate who uses the first stun, who follows with the next effect and which ability is reserved for the enemy’s escape.
Respect Diminishing Returns
Repeated crowd-control effects of the same category become less effective when used close together. In Patch 12.1 testing, Blizzard described changes to the crowd-control diminishing-return system, including a shorter sequence before immunity and an updated reset interval. The exact behavior should be checked against the live patch when the season launches.
For practical play, the rule is simple: avoid chaining every similar stun or incapacitate at once. Use different control types where possible, and allow diminishing returns to reset before attempting the same sequence again.
Play Around Line of Sight
Pillars and other map features are defensive tools. A healer can move behind a pillar to avoid direct damage, while a damage dealer can use the same terrain to force an opponent into a bad position.
- Stay close enough to receive healing, but not so close that one crowd-control effect catches the entire team.
- Do not chase around a pillar without checking whether your healer can follow.
- Use corners to deny enemy casts and force opponents to move.
- Recognize when leaving line of sight is safer than continuing damage.
How to Choose Targets
Target selection depends on the enemy composition, but beginners should avoid switching constantly. Start by pressuring one opponent and watch the response. A switch is useful when the original target uses a major defensive, moves out of reach or when the second target becomes vulnerable because of positioning.
Ask three questions before changing targets:
- Can my team reach the new target?
- Do we have crowd control or burst available for the switch?
- Will abandoning the current target give the enemy time to recover?
Many teams win not by killing the first target they attack, but by forcing that target’s defensives and then switching when the enemy formation breaks apart.
How to Use Trinkets and Defensive Cooldowns
Your PvP trinket removes or breaks certain crowd-control effects, but using it does not automatically make you safe. Before trinketing, consider whether the enemy can immediately apply another crowd-control effect or use its main burst. A good trinket often creates an opportunity to escape, heal or stop the enemy’s setup.
Defensives should usually be used before your health reaches a critical level. Tell your team when a defensive is active so they do not overlap another major cooldown unnecessarily. Likewise, call when you are out of defensives; your partner can then play more defensively and use peels or crowd control to cover you.
How to Improve After Each Loss
Do not review only the final kill. Identify the first moment when the match became difficult:
- Did your team lose the opening because of poor positioning?
- Did you overlap defensive cooldowns?
- Did the enemy healer cast freely during your burst?
- Did you use crowd control without creating pressure?
- Did you switch targets without a clear reason?
- Did you fail to recognize the enemy’s offensive cooldowns?
Fix one recurring mistake at a time. Beginners improve faster by correcting positioning or cooldown usage than by changing their entire class setup after every loss.
Practical Starting Order for New Arena Players
- Learn your class rotation, interrupts, defensives and crowd-control abilities in normal content.
- Play unrated skirmishes to become comfortable with targeting and map layouts.
- Enter 2v2 with a consistent partner and use short voice or text calls.
- Review which enemy abilities caused your deaths.
- Practice one offensive setup and one defensive response before adding more combinations.
- Move into 3v3 when you can track your partner, healer positioning and enemy cooldowns without losing awareness.
Do not judge your progress only by rating. Consistently surviving a major enemy cooldown, forcing a healer’s trinket or correctly peeling for your partner are meaningful improvements even when the match ends in a loss.
Common Beginner Arena Mistakes
- Chasing behind pillars: You may lose healing and expose your team to a counterattack.
- Using every cooldown at once: This leaves no answer for the next enemy setup.
- Ignoring the healer: Damage is often wasted when the enemy healer can cast without interruption.
- Holding defensives too long: A cooldown used before a kill attempt is safer than one used after the enemy has already secured the kill.
- Overlapping crowd control: Two abilities used together may provide less control than a properly timed sequence.
- Changing targets constantly: Frequent swaps reduce pressure unless they are planned.
- Blaming composition first: At beginner ratings, positioning, communication and cooldown usage usually decide more games than theoretical tier lists.
How 2v2 and 3v3 Differ
| Bracket | Best use | Main challenge |
|---|---|---|
| 2v2 | Learning fundamentals and building partner chemistry. | Every mistake affects a larger share of the team’s survival. |
| 3v3 | Practicing coordinated setups, swaps and team defense. | Tracking more cooldowns and avoiding overlapping abilities. |
Neither bracket is a substitute for the other. 2v2 teaches discipline and personal responsibility, while 3v3 teaches team coordination and broader awareness. Use both if you want to become a complete Arena player.
Midnight PvP Season 2 Context
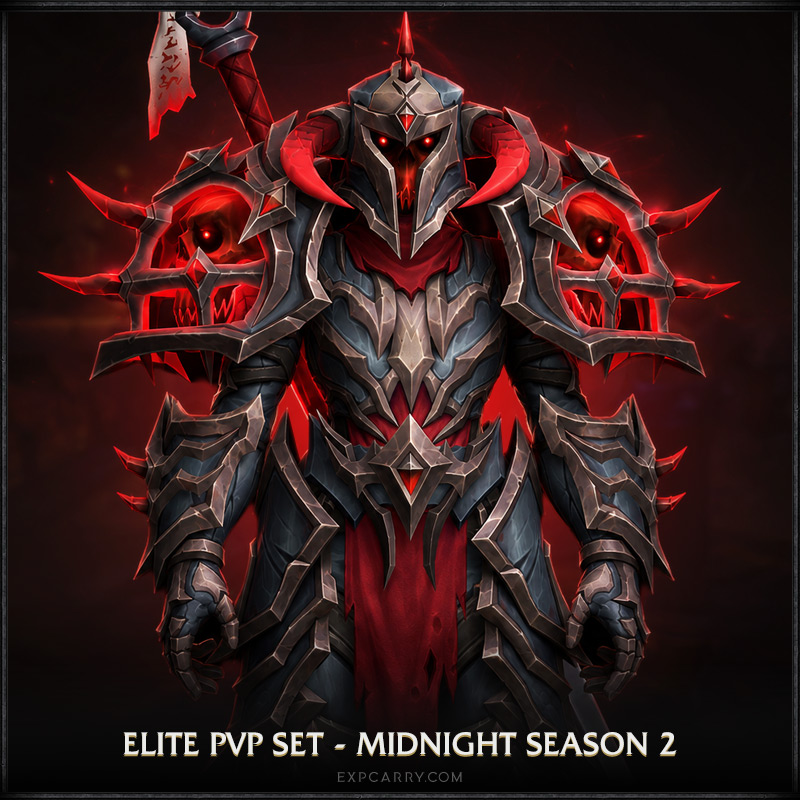
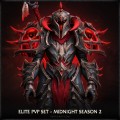
Midnight Season 2 is not live as of July 17, 2026. Patch 12.1 remains in pre-release testing, so this beginner guide focuses on durable Arena fundamentals rather than class rankings, final compositions or tuning-based recommendations.
Blizzard’s official Midnight PvP information confirms that Arenas remain part of the seasonal rated PvP structure, alongside battleground formats and Solo Shuffle. The live Season 2 reward requirements, rating thresholds and final class balance should be checked after release before making specialization-specific recommendations.