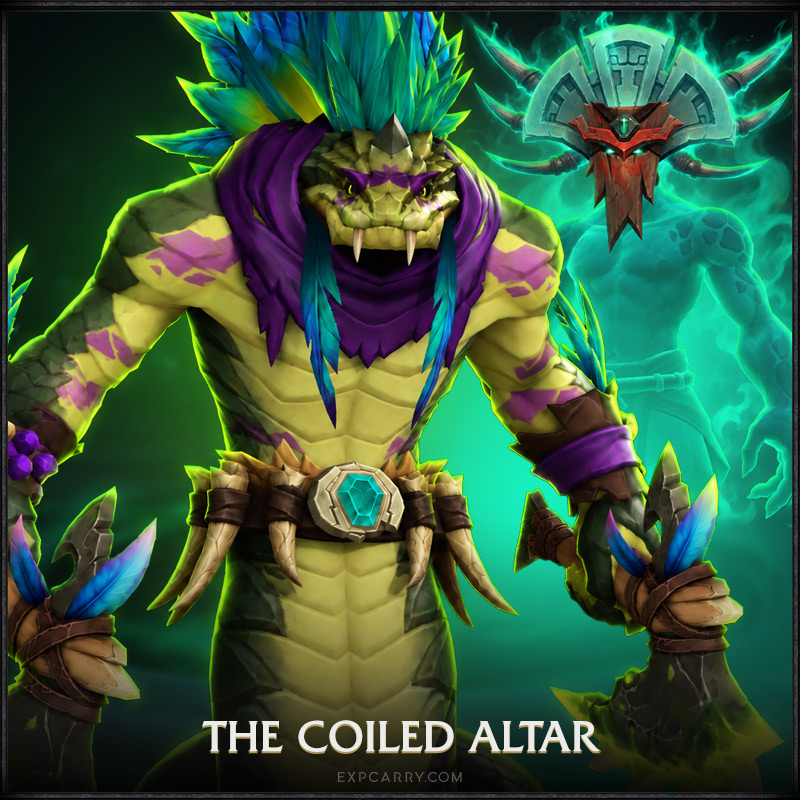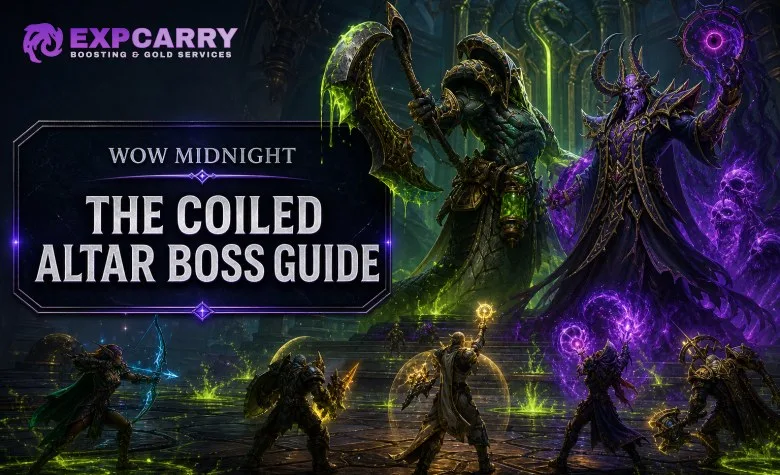
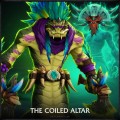
The Coiled Altar is a raid encounter in The Venomous Abyss, the eight-boss raid arriving with Curse of Ula’tek and Midnight Season 2. The fight against Zul’jan and Hex Lord Malacrass is divided into three stages: Zul’jan’s poisoned opening phase, Malacrass’s possession phase, and a final two-boss burn. The encounter tests raid positioning, controlled handling of venom pools, coordinated soaking, target selection and rapid reaction to fear manifestations.
| Difficulty | Key difference | Primary danger |
|---|---|---|
| Normal | Basic venom, axe and possession mechanics | Failure to manage Guillotine, Dreadmarch or Gravebound |
| Heroic | Stronger venom explosions, additional healing absorbs and more punishing possession effects | Stacking Venom Rupture and uncontrolled Manifestations of Dread |
| Mythic | More restrictive handling of Dread mechanics and additional spirit pressure | Invisible-to-others Manifestations, Mythic intermission effects and final-stage overlap |
The Coiled Altar Encounter Strategy
Keep Zul’jan positioned away from the raid and turn him away from the group for Sever. The raid should remain spread enough to limit poison hazards, but players must collapse quickly for Guillotine. During the possession phase, break Dreadmarch shields, handle Manifestations of Dread by facing them, collect Soul Fragments created by Soul Sever and destroy Malacrass’s Veil of Twilight before Eternal Nightfall completes.
At 50% health, Malacrass possesses Zul’jan. After the possession intermission, both enemies return for the final stage. They become Soulbound, meaning defeating one too early causes the survivor to enter a powerful berserk state. The final phase should therefore be controlled so both bosses die close together.
Raid Composition and Preparation
The encounter uses a conventional raid setup with two tanks, healers and damage dealers. No unusual class requirement is indicated by the current encounter design, but reliable interrupts, movement tools, external defensives and strong healing cooldowns are valuable.
- Assign at least one clear group for Guillotine soaking.
- Establish a direction for tank movement so Sever does not cleave the raid.
- Mark or announce players affected by Dreadmarch and Soul Sever.
- Reserve major healing cooldowns for Fangs of the Crucible, Defilement of the Crucible, Eternal Nightfall and the final phase.
- Use personal defensives for unavoidable raid-wide damage rather than spending every cooldown on movement mistakes.
- Plan a Mythic callout system for Manifestations of Dread, since their visibility is restricted to their fixated target.
Stage One: Serpent’s Bargain
Stage One begins against Zul’jan alone. He uses the power of Ula’tek through Fangs of the Crucible, creates poisonous ground beneath the snake statues, throws axes and repeatedly challenges the raid with group-soak mechanics.
Fangs of the Crucible
Zul’jan infuses himself with venom, deals raid-wide Nature damage and gains stacks of Fangs of the Crucible. His attacks consume these stacks to apply Twinfang Toxin to the current tank. At the same time, the snake statues create Noxious Ground beneath them.
- Tanks should keep Zul’jan positioned so the raid has as much safe space as possible.
- Move out of Noxious Ground immediately. Do not attempt to preserve a position at the cost of repeated area damage.
- Use tank defensives when Twinfang Toxin overlaps with other physical or Nature damage.
- Healers should expect increased tank damage during the venom infusion and prepare for raid-wide damage at the start of the cast.
Toxic Deluge and Coalesced Venom
Toxic Deluge launches coagulated poison around the arena. Each impact damages players near the landing point and creates a Coalesced Venom globule. The globules apply periodic raid damage and can be picked up by a player, applying Volatile Venom.
Volatile Venom damages nearby players for several seconds and creates another Coalesced Venom when it expires. The affected player should move away from the raid and avoid dropping the resulting globule in a central safe area.
Coalesced Venom can be destroyed, but doing so triggers Venom Rupture. On Heroic, Venom Rupture deals damage over time and stacks, making careless destruction especially dangerous. Destroy globules deliberately, keep the resulting explosion away from the raid when possible and avoid allowing multiple ruptures to overlap.
Guillotine
Zul’jan throws a massive axe at a random player. The initial impact is split among players within the required soak area and applies Guillotined. The axe then erupts with Widow’s Kiss, while players far from the impact point are affected by Widow’s Touch.
- The targeted player should remain calm and move to the assigned soak location.
- Several players must stack for the initial impact. If too few players are present, the entire raid suffers additional damage.
- Players with Guillotined must not be selected for the next Guillotine soak because the debuff increases subsequent damage taken.
- After the initial soak, follow the assigned positioning call for the axe explosion. Do not remain near the impact point unless the strategy specifically requires it.
- Use a defensive cooldown when your group is small or when Guillotine overlaps with Fangs of the Crucible.
Sever
Sever is a frontal cleave directed at Zul’jan’s current target. It deals heavy Physical damage, increases subsequent Sever damage and destroys Coalesced Venom caught in the cone.
The active tank should face Zul’jan away from the raid. The off-tank should be ready to take the boss when the Sever increase becomes dangerous. Tanks can use the cleave to remove a dangerous Coalesced Venom, but this should be planned rather than done accidentally through the group.
Venomfang and Axegrinder
Venomfang throws a poison-coated axe between multiple players and applies a periodic Nature effect. Axegrinder creates dangerous axes at impact points. These axes remain active in the arena and continue moving, dealing damage and knocking players away.
- Spread according to the raid leader’s positioning plan for Venomfang.
- Keep track of moving Axegrinder weapons throughout the fight, not only when they first appear.
- Avoid being knocked into Noxious Ground, Coalesced Venom or the edge of the arena.
- Prioritize survival and clean movement over chasing Zul’jan during heavy arena clutter.
Explore services related to this guide, selected from our The Venomous Abyss catalog.
View All The Venomous Abyss Services
Stage Two: Usurper’s Reprisal
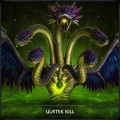
At approximately 50% health, Malacrass possesses Zul’jan. This stage introduces Dreadmarch, Manifestations of Dread, Soul Sever, Gravebound, Eternal Nightfall and Spiritcackle.
Dreadmarch and Manifestations of Dread
Dreadmarch sends tendrils into affected players, applying an absorb shield equal to part of their maximum health and forcing them toward the edge of the arena. When the shield is removed, or when the player reaches the edge, Manifestations of Dread emerge.
Manifestations of Dread fixate on players and move toward them whenever the target is not looking at the manifestation. If one reaches its target, it applies Dreadmarch. The manifestations are immune to damage while their fixation mechanic is active, so the target must face the enemy rather than attempting to kill it immediately.
- Players affected by Dreadmarch should turn toward their Manifestations and avoid walking toward the edge.
- Damage dealers should break the Dreadmarch absorb shield quickly, but not at the expense of ignoring the fixating manifestations.
- Once the manifestations become vulnerable, kill them before they reach another player.
- Keep manifestations away from the raid’s movement lanes and avoid allowing multiple targets to overlap.
On Heroic, Manifestations apply Dreadmarch when they reach their target. On Mythic, each manifestation can be seen only by the player it is fixating. Mythic players must therefore communicate clearly and react to their own visual target instead of waiting for another player to call it out.
Soul Sever and Gravebound
Soul Sever is a frontal Shadow attack that also creates Soul Fragments and applies Gravebound. Gravebound threatens to remove the affected player from existence after its duration unless the player collects Soul Fragments.
- The tank must face Soul Sever away from the raid.
- Players struck by Gravebound should collect the Soul Fragments created by their own Soul Sever effect.
- Do not leave fragments in dangerous ground or assume another player will collect them for you.
- The tank can use Soul Sever to destroy Manifestations of Dread caught in the frontal cone.
- Do not overlap Soul Sever with the raid unless the encounter position requires it.
Eternal Nightfall and Veil of Twilight
Malacrass surrounds himself with Veil of Twilight before casting Eternal Nightfall. The veil absorbs damage and applies Suffocating Darkness, a stacking healing absorb, to the raid. Eternal Nightfall becomes interruptible only after the shield is broken.
All damage dealers should switch to Veil of Twilight immediately. Save offensive cooldowns for this shield if the cast is close to completing. Healers should prepare for a large healing check as the absorb effects accumulate. Players must also avoid additional Twilight impacts on the ground, since standing near them adds further Suffocating Darkness.
Spiritcackle and Gloombomb
Spiritcackle summons Abandoned Soulcoilers. These enemies use Wail of Terror to fear the raid and Retaliatory Malice to damage random players. Interrupt or quickly control the Soulcoilers so the raid is not feared during another major mechanic.
Gloombomb marks players for several seconds. When the mark expires, the affected player explodes and damages nearby allies. On Heroic, players hit by the explosion also receive Gravebound. Marked players should move away from the group while maintaining enough room to collect Soul Fragments afterward.
Intermission: The Claimed Vessel
During the intermission, Malacrass binds his soul to Zul’jan through Soulbinding. Zul’jan receives Ghastly Regeneration and heals rapidly while taking increased damage. Fragments of Malacrass travel across the arena toward Zul’jan.
- Damage dealers should attack Zul’jan during the increased-damage window.
- Players must step on the fragments before they reach Zul’jan.
- Stepping on a fragment triggers Spirit Erasure, damaging the raid and increasing the player’s damage taken from further Spirit Erasure temporarily.
- Do not allow fragments to reach Zul’jan, because Reclaim Essence heals him.
- On Heroic and Mythic, Malacrass becomes immune during this process, so direct damage against him is not useful.
Coordinate fragment collection between players rather than sending one player through every fragment. Excessive Spirit Erasure overlaps can overwhelm healers, particularly if the raid is already carrying Suffocating Darkness or Gravebound.
Stage Three: Coiled Union
After the intermission, Zul’jan and Hex Lord Malacrass fight together. They are Soulbound: if one boss dies before the other, the surviving boss receives a major attack-speed and damage increase. The raid should keep both health pools close and finish them nearly simultaneously.
Defilement of the Crucible
Zul’jan replaces the earlier venom effect with Defilement of the Crucible. The ability applies healing absorbs to the raid, empowers Zul’jan’s attacks with Corrupted Toxin and creates Defiled Ground beneath the snake statues.
- Move out of Defiled Ground immediately because it applies a healing absorb over time.
- Healers should prioritize players carrying Corrupted Toxin and players who must survive the next raid-wide event.
- Use healing cooldowns during Defilement when it overlaps with Grim Guillotine or Eternal Nightfall.
- Continue managing Coalesced Venom; the final phase still includes Toxic Deluge and Venom Rupture.
Grim Guillotine
Grim Guillotine is the final-stage version of the axe soak. The initial Shadow impact is split among players within the soak area, applies Guillotined and adds a healing absorb. The axe then detonates with Death’s Embrace, while players far away are struck by Death’s Whisper.
Use a dedicated rotation for Grim Guillotine so players with the increased-damage debuff are excluded from later soaks. Keep the explosion area clear and use raid defensives when the axe overlaps with Defilement of the Crucible.
Blighted Sever
Blighted Sever is a frontal Shadow cleave that increases subsequent damage taken and applies Gravebound. It destroys Coalesced Venom and Manifestations of Dread caught in the cone.
The active tank should face Zul’jan away from the raid and use the cone to remove dangerous objects only when doing so does not expose the group. Players affected by Gravebound must collect their Soul Fragments before the effect expires.
Final-stage Malacrass Mechanics
Malacrass continues to use Dreadmarch, Manifestations of Dread, Eternal Nightfall and Veil of Twilight during the final stage. Mythic groups must also manage Spiritcackle and the additional pressure from Abandoned Soulcoilers.
Do not allow one boss to die significantly ahead of the other. If one target is close to death, switch damage to the other while continuing to interrupt Eternal Nightfall and eliminate dangerous adds. Once both bosses are within execute range, coordinate the final burn and use Bloodlust or Heroism according to the raid’s progression plan.
Normal, Heroic and Mythic Differences
| Mechanic | Normal | Heroic | Mythic |
|---|---|---|---|
| Venom Rupture | Raid damage after a globule is destroyed | Damage-over-time effect also stacks | Uses the stronger Heroic-style handling |
| Dreadmarch | Manifestations appear when the absorb is removed or the player reaches the edge | Manifestations apply Dreadmarch when they reach their target | Manifestations are visible only to their fixated target |
| Gravebound | Collect Soul Fragments to reduce the effect | Additional mechanics can apply Gravebound through Gloombomb | Fragment handling becomes more punishing |
| Soulbinding | Fragments can heal Zul’jan if ignored | Malacrass gains defensive protection during the intermission | Spirit Erasure damage taken increases when fragments are collected |
| Spiritcackle | Abandoned Soulcoilers appear during the possession sequence | Gloombomb and Gravebound create stronger overlaps | Additional Soulcoilers increase interrupt and control pressure |
Role Responsibilities
Tanks
- Face Sever, Soul Sever and Blighted Sever away from the raid.
- Position Zul’jan so Noxious Ground and Defiled Ground do not remove the entire safe area.
- Swap or use defensives for Twinfang Toxin and Corrupted Toxin.
- Use frontal cones to remove Coalesced Venom or Manifestations only when safe.
- Keep Zul’jan and Malacrass close enough for coordinated damage in Stage Three without forcing the raid into overlapping hazards.
Healers
- Prepare for raid-wide Nature and Shadow damage during Fangs of the Crucible, Defilement of the Crucible and Eternal Nightfall.
- Track Venom Rupture stacks, Suffocating Darkness and Gravebound.
- Prioritize players affected by Corrupted Toxin and players carrying healing absorbs.
- Use major cooldowns for shield breaks and final-stage overlaps rather than isolated movement damage.
- Watch players collecting Malacrass fragments because Spirit Erasure can create sudden damage spikes.
Damage Dealers
- Swap quickly to Veil of Twilight and kill Abandoned Soulcoilers before fears disrupt the raid.
- Break Dreadmarch shields and defeat vulnerable Manifestations of Dread.
- Collect Malacrass fragments during the intermission.
- Keep both bosses close in health during Stage Three.
- Use movement and defensive abilities during Guillotine, Grim Guillotine and Axegrinder rather than remaining in dangerous ground for minor uptime.
Common Wipe Causes
- Too few players soak Guillotine or Grim Guillotine.
- A player with Guillotined joins a later axe soak.
- Coalesced Venom is destroyed while the raid is already carrying heavy periodic damage.
- The tank turns Sever, Soul Sever or Blighted Sever through the group.
- Players ignore their Manifestations of Dread or look away while the enemy is close.
- Dreadmarch targets reach the arena edge.
- Soul Fragments are not collected before Gravebound expires.
- Malacrass’s Veil of Twilight is not broken before Eternal Nightfall completes.
- Fragments during Soulbinding reach Zul’jan and restore his health.
- One boss dies too early in the final phase and triggers the Soulbound berserk.
Loot from The Coiled Altar
The Coiled Altar has difficulty-specific raid loot from Zul’jan and Hex Lord Malacrass. The encounter’s listed rewards include armor pieces, weapons, trinkets and special-effect items such as Aman’muso, Warlord’s Vengeance, Baleful Hexblade, Maze-roa, Warlord’s Fury, Hex Lord’s Dooming Idol, Zul’jan’s Guillotine Technique and Pillar of the Coiled Isle. Exact item levels and final reward details should be checked again when the raid opens.
Recommended Progression Order
- Learn the Stage One positioning for Sever, Toxic Deluge and Guillotine.
- Practice handling Coalesced Venom without creating overlapping Venom Ruptures.
- Assign clear calls for Dreadmarch and Manifestations of Dread.
- Rehearse Soul Fragment collection during Soul Sever and the intermission.
- Set a damage plan for Veil of Twilight and Eternal Nightfall.
- Enter the final phase with enough space preserved for Grim Guillotine and Defilement of the Crucible.
- Balance both bosses and coordinate the final kill to prevent the Soulbound berserk.