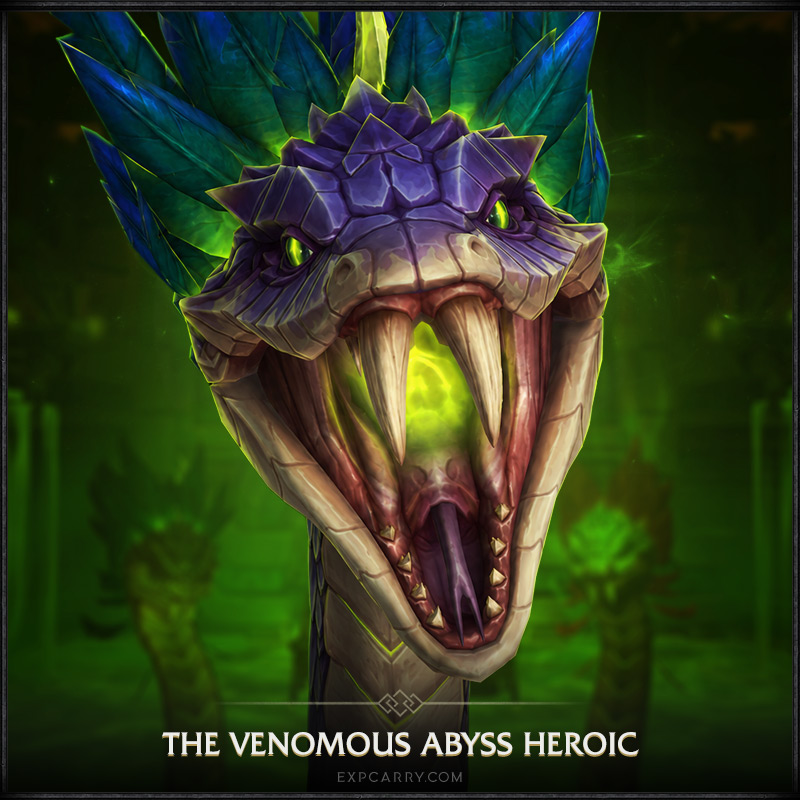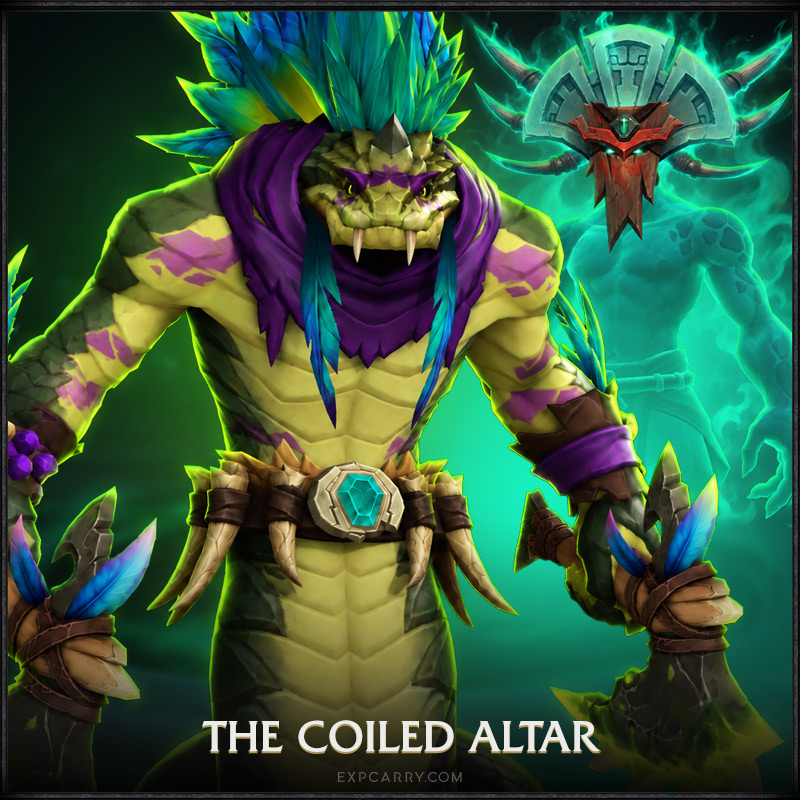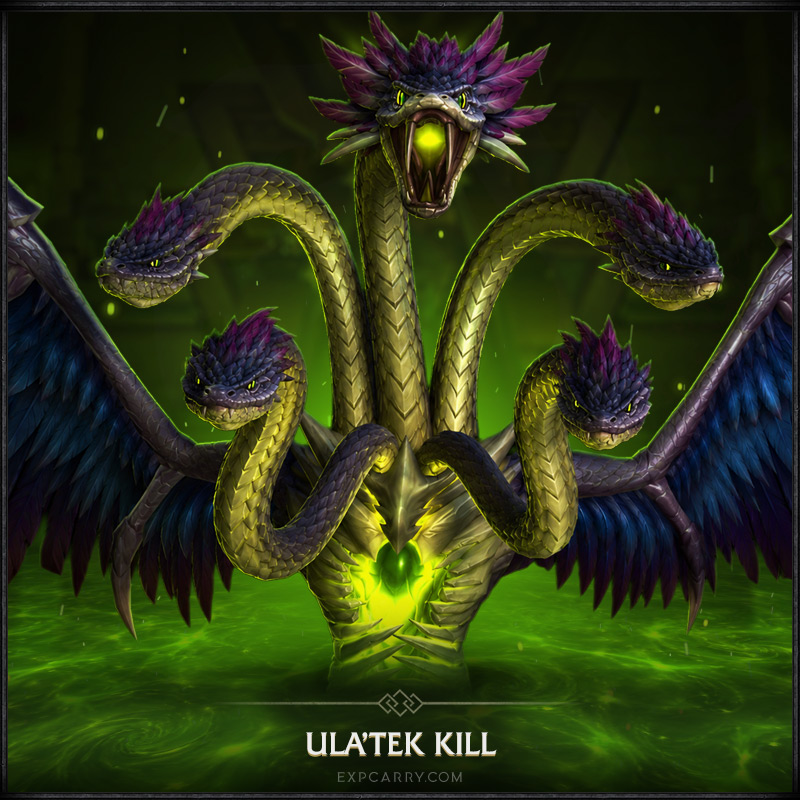
Ula’tek is the eighth and final boss of The Venomous Abyss in WoW Midnight Season 2. The encounter combines Caustic Waves, movable eggs, coordinated Spectral Coils soaks, tank positioning, several add types and progressively reduced arena space across three stages and an intermission.
Fast strategy: prevent Ula’tek’s offspring from maturing, never let Caustic Waves cross uncontrolled eggs, keep a tank in melee range, execute Spectral Coils soak assignments, and treat dangerous adds as higher priority than boss damage when necessary.
Heroic adds stricter soak rotations, Petrifying Sting, Mass Gestation and raid-wide consequences from Blight Vein. Mythic fundamentally changes egg handling through Hardened eggs, Noxious Shell, Toxic Womb, Toxic Incubation, Revenge and additional wave placement requirements.
Ula’tek Strategy Cheat Sheet
- Dodge Caustic Waves. They deal heavy Nature damage and instantly hatch eggs they touch.
- Never leave Ula’tek without a melee target. Rattler Slam and other tank punishment can become raid-wide.
- Soak Spectral Coils. More players inside the impact reduce the raid-wide hit.
- Rotate Coil groups on Heroic and Mythic. Soul Constrictor prevents the same players from mitigating consecutive Coils.
- Use Rage of the Shackled as a burn window. The exposed Venomous Heart takes 200% increased damage for 20 seconds.
- Control Doomscale Eggs. Prevent full Ravenous Doomscales from creating Dread Roar problems.
- Interrupt Anguished Cry and face Weakened Doomscales away during Desperate Thrash.
- Coordinate Grasping Fangs removals. Blight Vein creates dangerous raid-wide damage on Heroic and Mythic.
- Handle Serpent’s Bite through assigned partners. The helper receives Volatile Purge and must immediately spread.
- Preserve platform space in Stage 3. Circling Prey progressively removes safe areas.
Maintain melee contact, recover immediately after Mother’s Wrath, manage Stone Venom swaps, face Doomscales away and avoid wasting safe platform space.
Plan cooldowns for Spectral Coils, Rage of the Shackled, Blight Vein, add overlaps and the increasing Nature-damage pressure of the encounter.
Swap aggressively to Vipers, Clutches, Wardens, Doomscales and other dangerous adds. Ula’tek is not always the correct target.
Recommended Raid Setup
Normal and Heroic support flexible raid sizes. Mythic requires 20 players. The encounter rewards clean assignments more than unusual class stacking.
| Role | Main Responsibility |
|---|---|
| Tanks | Mother’s Wrath, Stone Venom, boss melee contact and dangerous-add positioning. |
| Healers | Spectral Coils, Rage of the Shackled, raid-wide add effects and escalating Nature damage. |
| DPS | Eggs, Vipers, Wardens, Doomscales and priority-add control. |
| Everyone | Dodge Caustic Waves, execute soaks and preserve safe arena space. |
A normal Mythic starting point is 2 tanks, around 4 healers and 14 DPS, with healer count adjusted around live tuning and roster strengths.
Ula’tek Encounter Phases
Caustic Waves, eggs, Spectral Coils and tank mechanics.
Doomscale Eggs, Wardens and gestating adds.
Coil assignments and escalating environmental damage.
Circling Prey, Serpent’s Bite, adds and shrinking safe space.
Explore services related to this guide, selected from our The Venomous Abyss catalog.
View All The Venomous Abyss Services

Stage 1: Fury of the Serpent Mother
Caustic Waves — Protect the Eggs
Caustic Waves travel across the platform. Players hit take heavy Nature damage and receive a stacking damage-over-time effect.
The more dangerous interaction is with the eggs: a Caustic Wave touching a Blightscale Spawn instantly hatches it into a Blightscale Viper.
- Identify safe wave lanes early.
- Move through gaps instead of crossing the wave.
- Track nearby egg positions before using movement abilities.
- Avoid moving eggs into likely future wave paths.
- Kill accidental Vipers immediately.
Core wipe condition: one bad wave can turn a movement error into multiple additional adds and much heavier raid damage.
Blightscale Vipers
Fully hatched Vipers cast Acidic Burst at random players. Each hatch also adds Putrid Membrane, increasing persistent healing pressure.
On Heroic and Mythic, Vipers additionally use Petrifying Sting. The target should separate from nearby players because allies within 10 yards can be petrified and receive a large healing absorb.
DPS priority: do not leave Vipers alive through a major Spectral Coils or Rage of the Shackled overlap.
Call of the Serpent
Ula’tek’s offspring fall into marked areas. Avoid the impacts, then group manageable adds for cleave. If an add is close to maturing, killing it is normally more valuable than several extra seconds of boss damage.
Mother’s Wrath — Tank Mechanic
Mother’s Wrath knocks back the active tank and then repeatedly strikes that player while they remain within reach, applying Stone Venom and Hobbled.
If the tank ends up outside Ula’tek’s reach, the effect can be redirected onto the raid.
- Pre-position for the knockback.
- Use movement tools immediately.
- Coordinate Stone Venom swaps.
- Do not drag Ula’tek unnecessarily.
- Never leave a window where neither tank is available in melee.
Gore Rattle
| Ability | Threat | Response |
|---|---|---|
| Rattler Slam | Raid punishment if no valid melee target exists | Keep a tank in melee |
| Mephitic Thrash | Heavy Nature damage and knockback | Control distance and positioning |
| Spectral Coils | Raid-wide hit reduced by players in the impact | Use assigned soak groups |
Spectral Coils
Spectral Coils damages the entire raid, but the hit is reduced based on the number of players standing within the impact area.
On Heroic and Mythic, players who soak gain Soul Constrictor and cannot help mitigate the next Coil.
Heroic/Mythic: create at least two soak groups before the pull and rotate them. Do not assume the melee stack can soak every cast.
Rage of the Shackled — Burn Window
Rage of the Shackled deals repeated raid-wide Nature damage while Falling Debris strikes the arena.
At the same time, Ula’tek exposes her Venomous Heart for 20 seconds. The Heart takes 200% increased damage.
- Pre-position before the cast.
- Dodge Falling Debris.
- Assign healing and defensive cooldowns.
- Save suitable offensive cooldowns for the Heart.
- Only abandon the burn window for adds that would otherwise cause a wipe.
Stage 2: Children of the Doomscale
Stage 2 is built around Doomscale Eggs, Wardens and controlled gestation.
Doomscale Eggs and Ravenous Doomscales
If a Doomscale Egg hatches normally, it creates a Ravenous Doomscale capable of using Dread Roar, a dangerous raid-wide channel with a stun.
Interrupting the normal gestation produces a Weakened Doomscale instead. It:
- takes 100% increased damage;
- cannot cast Dread Roar;
- uses Anguished Cry;
- uses Desperate Thrash as a dangerous frontal.
Interrupt Anguished Cry. Tanks should face Weakened Doomscales away from the raid.
Mass Gestation — Heroic and Mythic
On Heroic and Mythic, disturbing one Doomscale Egg triggers Mass Gestation, starting gestation on remaining Blightscale Spawn on that side.
- Prepare the whole side first.
- Have DPS ready to swap.
- Do not start a gestation cycle during major healing pressure.
- Never activate both sides randomly.
Doomscale Wardens
Wardens are high-priority because Writhing Gestation transforms nearby Blightscale Spawn into dangerous Clutches. Kill or control the Warden before multiple add waves mature together.
Warden’s Protection
While Warden’s Protection covers an egg, players cannot simply interact with that egg. Do not stack unnecessary players around a protected egg and create avoidable Nature damage.
Grasping Fangs and Blight Vein
Grasping Fangs deals periodic Nature damage and slows its target until removed. Breaking the effect causes Blight Vein.
On Heroic, Blight Vein affects the entire raid. On Mythic, the raid-wide effect can stack.
- Do not instantly remove every Fang.
- Coordinate removals with healers.
- Avoid breaking one immediately before Spectral Coils.
- On Mythic, avoid unnecessary stacked applications.
Intermission: The Shattering
Continue the planned Spectral Coils rotation while environmental pressure rises. Players with Soul Constrictor cannot contribute to the next soak.
Necrotic Vapors adds increasing raid-wide Nature damage, creating a soft timing check. Slow cleanup makes the healing requirement steadily worse.
Stage 3: Ula’tek’s Ascension
Stage 3 combines previous venom and add mechanics with progressive platform destruction.
Circling Prey — Preserve Safe Space
Circling Prey destroys part of the arena. Players close to the impact take massive Nature damage and knockback.
Move out without crossing Caustic Waves or wasting future safe space. Raid movement should be deliberate rather than splitting randomly across surviving platform sections.
Blightscale Shriekers
Later Call of the Serpent waves can contain Blightscale Shriekers. Kill priority serpents before their casts overlap with Circling Prey, Serpent’s Bite or another major raid-damage event.
Serpent’s Bite and Volatile Purge
Serpent’s Bite injects venom into several players. If it expires untreated, the victim becomes a Calcified Corpse.
An assigned nearby player removes the venom and receives Volatile Purge, which explodes after five seconds within a 7-yard radius.
- Bite target moves to the assigned helper.
- Helper enters range and removes the Bite.
- Original target becomes safe.
- Helper immediately spreads with Volatile Purge.
- After the explosion, the helper returns.
Do not improvise Bite pairs at the last second. Preassigned pairs or fixed positions dramatically reduce collisions.
Heroic Ula’tek Strategy
| Heroic Mechanic | Change | Strategy |
|---|---|---|
| Soul Constrictor | Previous Coil soakers cannot mitigate the next Coil | Rotate soak groups |
| Petrifying Sting | Nearby players can be petrified and absorb healing | Target spreads |
| Poisonous Bite | Rawlings apply stacking Nature damage | Kill quickly |
| Mass Gestation | Disturbing one egg triggers the rest of that side | Prepare the side before activation |
| Blight Vein | Grasping Fangs removal becomes raid-wide | Coordinate with healer cooldowns |
Heroic Progression Checklist
- Did Caustic Waves hatch eggs?
- Did the correct Coil group soak?
- Did a tank lose melee contact?
- Were Vipers and Clutches killed quickly enough?
- Was Blight Vein triggered during another major hit?
- Did Serpent’s Bite pairs execute correctly?
- Did Circling Prey waste too much platform?
Mythic Ula’tek Strategy
Mythic changes the encounter mechanically rather than simply increasing numbers.
Hardened Blightscale Spawn
Eggs begin Hardened. Their shell absorbs significant damage, and they cannot be moved until the shield is broken. DPS must break the correct shells early enough to preserve the planned egg route.
Noxious Shell and Rancid Yolk
Picking up a Mythic egg applies Noxious Shell. Two carriers moving within 3 yards trigger Noxious Splash, immediately hatching the egg and dealing severe damage.
When Noxious Shell expires, the carrier receives Rancid Yolk, increasing subsequent Noxious Shell damage by 200% for 20 seconds.
Use dedicated egg lanes. Egg carriers should never cross through one another.
Toxic Womb and Blightscale Wretch
Toxic Womb creates a Blightscale Wretch. Its Fester Burst particularly punishes players who remain more than 10 yards away, so avoid unnecessary spreading during its cast.
Toxic Incubation
A spectral Ula’tek sends venom toward the Wretch. If it arrives, the add receives Mother’s Boon, reducing damage taken and increasing damage dealt.
Assigned players can intercept the venom and receive Toxic Burn. Each interception also creates Caustic Waves from the interceptor’s position.
- Assign each interception.
- Rotate players when Toxic Burn becomes dangerous.
- Place interceptors so resulting waves are predictable.
- Never send a wave through eggs or other assigned players.
Revenge
When one Weakened Doomscale dies, its surviving clutchmate gains Revenge, increasing Haste and damage by 100%.
Keep both Doomscales at similar health and kill them close together.
Boiling Venom and Acidic Expulsion
Rawlings and Shriekers eventually become dramatically stronger through Boiling Venom and gain Acidic Expulsion, creating long-lasting raid-wide Nature damage.
These adds have real DPS checks. Kill them before their escalation timers finish.
Mythic Serpent’s Bite
Mythic retains the Bite → helper → Volatile Purge sequence, but additional Caustic Waves erupt when the relevant aura expires.
Choose resolution positions that do not:
- hatch nearby eggs;
- cut off the tanks;
- cross another Bite pair;
- push players into a Circling Prey danger zone.
Fury Unleashed
Fury Unleashed creates extreme final-stage raid pressure. Treat it as a hard finishing window and enter it with major offensive cooldown planning already completed.
Role-by-Role Checklist
Keep melee contact, recover from Mother’s Wrath, coordinate Stone Venom, face Doomscales away and use defensives during raid-damage overlaps.
Plan Coils/Rage cooldowns, track Putrid Membrane, Petrifying Sting absorbs, Blight Vein, Volatile Purge and Mythic Toxic Burn/Noxious Shell.
Prioritize Vipers, Clutches and Wardens, interrupt Anguished Cry, maximize Venomous Heart, and meet Mythic add-escalation checks.
Normal vs Heroic vs Mythic
Learn waves, egg control, tank contact and Spectral Coil soaks. Main failure: uncontrolled hatches and missed soaks.
Master Coil rotations, Mass Gestation and raid-wide Blight Vein. Coordination becomes the main difficulty.
Execute fixed egg lanes, Incubation assignments and synchronized Doomscale kills while controlling additional wave origins.
Most Common Ula’tek Wipe Causes
- Caustic Waves hatch several eggs.
- The active tank loses melee contact.
- The wrong Heroic/Mythic Coil group soaks.
- Vipers survive into major raid damage.
- The Venomous Heart damage window is wasted.
- Mass Gestation starts before one side is ready.
- Blight Vein is triggered during another major hit.
- Desperate Thrash hits the raid.
- Serpent’s Bite expires.
- Volatile Purge explodes inside the group.
- Circling Prey leaves the raid badly positioned.
- Mythic Noxious Shell carriers collide.
- Mythic Doomscales die too far apart and Revenge escalates.
- Toxic Incubation reaches the Wretch.
Ula’tek Loot and Rewards
| Difficulty | Ula’tek Loot |
|---|---|
| Raid Finder | Item Level 289 |
| Normal | Item Level 302 |
| Heroic | Item Level 315 |
| Mythic | Item Level 344 |
Important drops include the Slumbering Coil Curio, Venomcursed armor, weapons, two Very Rare daggers and final-boss trinkets.
For the full item database, use the Venomous Abyss Loot Table.
Achievements and Mythic Rewards
- No Egg Scramble: Normal or higher; rewards the Ula’took companion pet and contributes to Glory of the Venomous Raider.
- Ahead of the Curve: Ula’tek: Heroic or higher while the tier is current.
- Cutting Edge: Ula’tek: Mythic while the tier is current.
- Primeval Skyfriend: special mount associated with Mythic Ula’tek.
- Venom’s End: title associated with Mythic Ula’tek.
Ula’tek FAQ
How many phases does Ula’tek have?
Three main stages plus The Shattering intermission.
What is the most important Ula’tek mechanic?
Egg control combined with Caustic Waves. Every wave that touches an egg can increase the raid’s add load.
How do Spectral Coils work?
Raid-wide damage is reduced by players standing inside the impact. Heroic and Mythic require alternating groups because Soul Constrictor prevents consecutive soaks.
What changes on Heroic?
Soul Constrictor, Petrifying Sting, Poisonous Bite, Mass Gestation and stronger raid-wide consequences from Grasping Fangs.
What changes on Mythic?
Hardened eggs, Noxious Shell, Toxic Womb, Toxic Incubation, Revenge, Boiling Venom and additional Caustic Wave interactions.
Does Heroic Ula’tek award Ahead of the Curve?
Yes, while Midnight Season 2 remains the current raid tier.
Do I need an 8/8 clear just to kill Ula’tek?
The AotC and Cutting Edge achievements check the Ula’tek kill itself rather than requiring your character to personally kill all seven earlier bosses in the same clear.