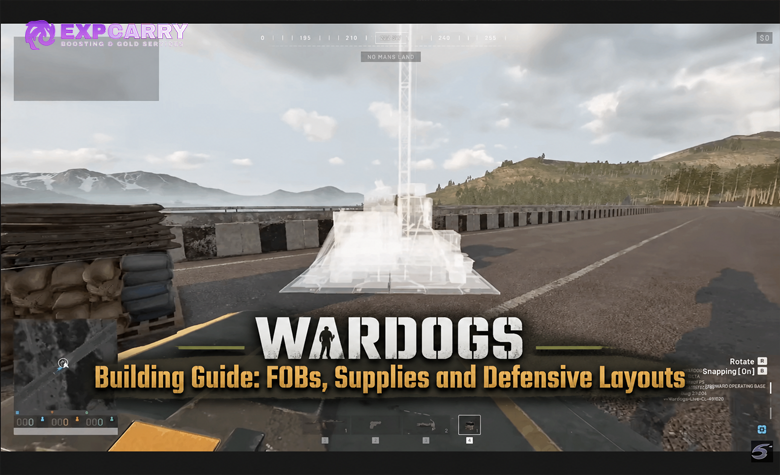
The fastest way to learn WARDOGS is to solve deployment, movement and objective play before worrying about the meta. Join a useful squad, locate the Control Zone, choose HQ or an available forward spawn, reach the fight with teammates instead of walking alone, and give each life one clear job. Season 2 makes that approach even more important because team switching, forward spawning, faction bonuses and progression have all changed.
If you are completely new, do not try to learn infantry gunplay, vehicles, FOB building, logistics and progression at the same time. Your first few matches should teach you how to reach useful ground, understand why your team is moving, survive long enough to contribute and recognize which WARDOGS system you want to learn next.
WARDOGS Beginner Checklist
| Step | What to Check | Best Beginner Action |
|---|---|---|
| 1. Server | Region, ping and population | Choose a populated server in your region instead of accepting unnecessarily high latency. |
| 2. Faction | Team population, friends and Season 2 bonuses | Join the team you actually intend to play; switching now has additional restrictions. |
| 3. Squad | Squad Intent and current objective | Prefer a squad whose intent matches what you want to learn. |
| 4. Loadout | Total cost, not only the weapon | Use a complete but replaceable kit. |
| 5. Spawn | HQ or available Spawn Vehicle | Choose the spawn that leads to a useful next action, not simply the closest icon. |
| 6. Map | Control Zone, Hot Zone, allies and approach | Plan one route before moving. |
| 7. Fight | What your group actually needs | Hold, revive, spot, transport, build, supply or fight with a clear purpose. |
| 8. Death | Why the previous life failed | Fix the first bad decision before rebuying the same plan. |
What Changed for New Players in Season 2?
Season 2 is not just a content update. Several systems that affect a player's first few matches were changed directly.
| Season 2 Change | What a Beginner Needs to Know |
|---|---|
| Squad Intent | Squad leaders can display a preset purpose, making it easier to find a squad focused on building, attacking FOBs, helping beginners or another activity. |
| Team switching restrictions | Switching teams is harder to abuse and can temporarily restrict another switch. |
| Join-in-progress restriction | If you join an active match or switch factions, your map stays obscured until you physically reach the Control Zone once. |
| Spawn Vehicle restriction | Join-in-progress and team-switch players cannot use the Spawn Vehicle until they first reach the Control Zone. |
| Rebuy Last Loadout | The vendor now repopulates your previous kit so you can review, add or remove equipment before buying it again. |
| Bakurani spawn changes | All three faction spawns were moved and rebuilt, so old route knowledge should be rechecked. |
| Lonestar bonuses | Lonestar receives Season 2 cash and XP incentives intended to improve faction balance. |
| Catch-up discount | A team at least 40 points behind second place can receive a 20% vendor discount. |
| Rain | Visibility, spotting and battlefield audio can change significantly during bad weather. |
| Teamkill voting | Victims can Forgive or Punish a teammate who kills them. |
These systems matter because several things that look like bugs to a new player are now intentional. If you join a match and the map is obscured or the forward Spawn Vehicle cannot be selected, reach the Control Zone once before troubleshooting anything.
For the complete update rather than only beginner-relevant changes, use our WARDOGS Season 2 guide.
Choosing a Server in WARDOGS
Season 2 adds region-based ping limits to official servers. High-ping players can be removed when they remain above the regional limit for a sustained period, while temporary server-side spikes are excluded from that calculation.
For a beginner, the practical rule is simpler: prioritize a populated regional server with a stable ping. WARDOGS depends heavily on infantry movement, vehicles, hit registration and team communication, so a bad connection makes every other mechanic harder to judge.
Do not choose an empty server simply because its ping is perfect unless you specifically want to help seed it. Season 2 now rewards players who help populate empty servers and provides a vendor discount when the match begins, but that is a separate activity from learning a normal full match.
Explore services related to this guide, selected from our Wardogs catalog.
View All Wardogs Services

Which WARDOGS Faction Should a Beginner Choose?
WARDOGS uses three factions, but a beginner does not need to optimize faction choice around a permanent statistical advantage. Season 2 specifically adjusts faction balance rather than establishing one universally best team.
Lonestar receives additional Season 2 cash and XP incentives, its uniform was made less visually conspicuous, and all Bakurani faction spawns were moved. There is also a general 20% vendor discount for a team that falls at least 40 points behind second place.
Choose a faction based on your friends, current squad opportunities and the match you actually want to play. Do not repeatedly switch only because another team is temporarily winning; Season 2 deliberately adds friction to that behavior.
Join a Squad Before Leaving Spawn
Season 2's Squad Intent system is one of the most useful beginner additions. Squad leaders can choose a visible intent before you join, so you no longer need to guess whether a group plans to build, attack a FOB, help new players or pursue another objective.
A beginner-friendly squad with a clear purpose is usually more useful than joining the largest squad on the list.
Once inside a squad, learn three things:
- Where the squad is currently located.
- What it is trying to accomplish.
- Whether it is moving, defending or preparing for another action.
You do not need to follow every order perfectly. The important part is understanding why other players are moving so that WARDOGS stops looking like random icons scattered across a huge map.
WARDOGS Spawn Guide: HQ, Spawn Vehicle and FOB
A FOB and a Spawn Vehicle are not the same thing. This remains one of the most common mistakes for players arriving from other tactical shooters.
| Spawn System | What It Does | Beginner Advice |
|---|---|---|
| HQ | Reliable faction deployment area with vendors and vehicles. | Use it when the forward situation is unclear. |
| Spawn Vehicle | Armored mobile forward deployment asset. | Use it when its position reconnects you to a useful and survivable fight. |
| FOB | Logistics, construction, supply and defensive infrastructure. | Do not assume every FOB is a normal infantry respawn point. |
When should you spawn at HQ?
HQ is the best default when you do not understand the current front, your team's Spawn Vehicle is compromised or you need to rebuild your plan.
Before leaving HQ, look at available transport. WARDOGS has a large battlefield, so immediately walking toward distant gunfire is usually the least efficient way to learn the game.
When should you use the Spawn Vehicle?
The Spawn Vehicle is valuable because it can remove a large portion of the travel time after death. Under the established core mode, Spawn Vehicles enter play once the match reaches the relevant team score milestone, after which one must still be driven into a useful forward position.
Do not treat it as an automatic best spawn. If the vehicle is isolated, surrounded or positioned behind a collapsing flank, the shorter travel time can simply produce a faster second death.
Season 2 adds one crucial restriction: if you switch teams or join a match already in progress, you cannot use the Spawn Vehicle until you reach the Control Zone once.
Why is my WARDOGS map hidden after joining?
This is now intentional in Season 2. Join-in-progress and team-switch players have their map obscured until they physically reach the Control Zone for the first time.
The rule prevents players from quickly switching teams to gain battlefield information or exploit the strongest current position.
If this happens, follow roads, teammates, transport and visible battlefield direction until you reach the zone. After that first trip, normal map access returns.
How to Respawn in WARDOGS
After death, use the deployment system rather than treating respawn as an automatic reset button. Check whether HQ or a forward deployment option is currently available, then judge what has changed since your last life.
Before pressing deploy, ask:
- Is my previous position still being held?
- Are my teammates still alive there?
- Is the Spawn Vehicle still safe?
- Has the objective fight moved?
- Was my previous route exposed?
- Do I actually need to buy the same kit again?
WARDOGS rewards players who adapt between lives. Repeating the same spawn, route and loadout after the battlefield has changed is one of the fastest ways to burn cash without learning anything.
How Rebuy Last Loadout Works
Season 2 improves the Rebuy Last Loadout function. Selecting it now populates the vendor with your previous equipment instead of immediately treating the previous setup as an untouchable preset.
This means you can quickly rebuild a successful kit while still removing equipment you did not use or adding something your previous life was missing.
Use it as a starting point, not as an excuse to repeat a failed plan.
How WARDOGS Objectives Work
The core mode is a three-team King-of-the-Hill-style battle built around the Control Zone. The team with the strongest counted presence when the scoring interval completes receives the point, and the first team to 100 points wins.
The smaller Hot Zone sits inside that objective ecosystem and gives players inside it additional value. Hot Zone presence counts more heavily toward control and actions there receive increased rewards, which makes it both strategically valuable and predictably dangerous.
A beginner should therefore think about the objective in layers rather than treating the center of the map as one giant deathmatch.
| Job | Beginner Contribution | Typical Mistake |
|---|---|---|
| Zone presence | Stay alive on useful objective ground. | Sprinting into the most exposed part of the zone. |
| Approach control | Watch a road, ridge, doorway or flank enemies need to cross. | Moving so far away that your position no longer supports the zone. |
| Medic | Revive teammates when they can survive after standing up. | Running into the same lane that just killed them. |
| Recon | Spot important threats and communicate movement. | Watching targets too far away to affect the fight. |
| Transport | Move groups efficiently toward useful ground. | Driving directly into defended enemy positions. |
| Logistics | Deliver the supply a useful FOB actually needs. | Supplying an irrelevant base while the real fight moves elsewhere. |
Control Zone vs Hot Zone
The Control Zone determines the match. The Hot Zone modifies how valuable a smaller part of that area becomes.
Do not make the common beginner mistake of assuming you must always stand directly inside the Hot Zone. Sometimes the most useful position is an approach, building, ridge or defensive angle that protects teammates already contributing there.
Enter the Hot Zone when your group can support the move, when your presence can change the count or when the additional reward is worth the risk.
If your team is already losing every approach into it, feeding another expensive kit into the same lane does not become correct just because the rewards are higher.
How to Read the WARDOGS Map
Do not try to memorize the entire battlefield. Read the information that changes your next move.
- Find the Control Zone. That tells you where scoring pressure ultimately matters.
- Find the Hot Zone. Treat it as a high-value sub-objective, not the only useful place on the map.
- Find your team. Friendly concentration usually identifies the real front better than distant gunfire.
- Find transport and roads. Travel time is a tactical resource.
- Find one landmark. Use a road junction, building, tower or ridge to orient locally.
- Find your fallback. Know where you will move if the current position collapses.
Bakurani faction spawns changed for Season 2, so old videos showing the perfect route from headquarters should not automatically be trusted.
Do Not Walk Across the Map Alone
Walking is sometimes necessary, but it should not be your default opening strategy.
At the beginning of a match, look for:
- A ground vehicle already carrying several teammates.
- A helicopter with a pilot who appears to know the route.
- Your squad's transport plan.
- A logistics vehicle travelling toward a useful forward position.
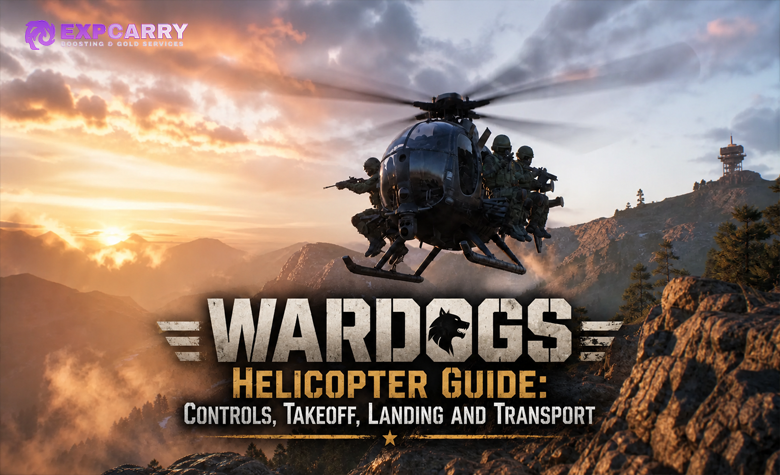
If you decide to learn helicopters yourself, practice before loading a full group of players. Our WARDOGS Helicopter Controls Guide covers flight, takeoff, landing and transport separately.
Best First Loadout for a Beginner
The best first loadout is not the strongest possible gun. It is a complete kit you can afford to replace while learning.
Prioritize:
- A weapon you can control.
- Enough ammunition for the job you intend to do.
- Basic medical equipment.
- Armor appropriate to your budget.
- Only the utility you understand how to use.
Season 2 changes weapon prices substantially and reduces the price of several common rifles and attachments. This makes some practical starter kits cheaper, but it does not remove the need to manage the total cost of each life.
Use our WARDOGS Budget Loadouts Guide for complete low-cost kits and the WARDOGS Weapon Tier List when you are ready to compare individual weapons and attachments.
Cash for Beginners: Do Not Spend Like Every Life Is the Last One
WARDOGS uses a seasonal persistent economy: cash matters across matches during the season, while seasonal transitions can reset progression and economy states.
That means every death has an economic cost. Buying premium equipment does not protect you from poor positioning, bad transport or an unsafe spawn.
For a new player, the most reliable early income usually comes from doing useful actions repeatedly rather than hunting only for kills: objective presence, revives, transport, logistics, spotting and combat can all contribute depending on the situation.
Season 2 also changes economy balance. Lonestar can receive additional Season 2 cash and XP bonuses, and any faction that falls at least 40 points behind second place can receive a 20% vendor discount.
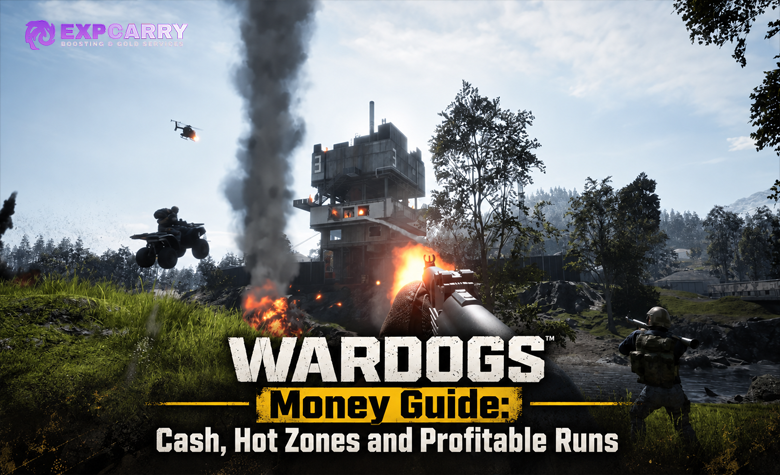
For the full economy rather than beginner-level spending rules, see our WARDOGS Money Guide. If cash itself is the progression bottleneck rather than gameplay knowledge, WARDOGS Cash Farming is the related service.
Season 2 Progression Is Faster Early
Season 2 significantly reduces the XP required through the early role levels. BULKHEAD states that reaching Role Level 20 now takes less than half the playtime required in Season 1.
This changes beginner progression in a useful way: you do not need to optimize every XP action during your first evening just to reach role-defining equipment.
Pick the role whose actual gameplay you enjoy, then let the unlock path follow that choice.
For exact Season 2 levels, role unlocks and XP requirements, use our WARDOGS Progression Guide.
What Role Should a Beginner Play?
| Role | Good Beginner Goal | Do Not Start With |
|---|---|---|
| Assault | Learn gunfights, approaches and attacking positions. | Charging every enemy FOB alone. |
| Medic | Stay with infantry and learn safe revive timing. | Reviving every body regardless of danger. |
| Recon | Learn sightlines and communicate important threats. | Sniping from a location disconnected from the objective. |
| Support | Learn supplies, building and heavier battlefield utility. | Starting a complicated FOB with no logistics plan. |
| Driver | Learn transport and safe routes before heavy armor. | Buying an expensive vehicle before understanding the map. |
| Pilot | Practice control and transport before combat aircraft. | Learning takeoff with a helicopter full of teammates. |
Rain Changes Beginner Visibility
Season 2 adds rain that can reduce spotting range and change battlefield audio. Heavy thunder is synchronized across the server and can be loud enough to mask footsteps.
Do not assume every target became harder to see because your graphics settings are wrong. Weather is now part of battlefield visibility.
Our WARDOGS Settings Guide covers competitive visibility and FPS without duplicating those details here.
How to Use Voice Chat as a Beginner
Useful communication is short.
Use the pattern:
Threat + location + movement.
Examples:
- “Tank north road, moving south.”
- “Two infantry second floor, west building.”
- “Spawn Vehicle taking fire from east ridge.”
- “Need ammo at the FOB.”
You do not need to lead the squad. Reporting one accurate thing is more valuable than filling voice chat with a long description of the previous death.
Season 2 Teamkill Punish and Forgive
If a teammate kills you, Season 2 can present a Forgive or Punish choice.
Forgive when the kill was clearly accidental. Punish is intended for deliberate or repeated team killing; accumulated punishments can lead to kicks and escalating penalties.
If you leave the safe zone after respawning without making the choice, the system can automatically treat the incident as forgiven.
When Should a Beginner Help a FOB?
Help a FOB when it is connected to the fight. Deliver supplies, defend an approach, repair useful structures or help a logistics player complete the job already underway.
Do not start building simply because you have a hammer. Season 2 makes major structures significantly more expensive, so a badly located FOB wastes much more supply than before.
The complete construction system belongs in our WARDOGS FOB Building Guide.
Your First Three WARDOGS Matches
| Match | Main Goal | Success Looks Like |
|---|---|---|
| Match 1 | Deployment and movement | You can reach the Control Zone without wandering across the map alone. |
| Match 2 | Squad and objective flow | You understand why your group is attacking, holding or rotating. |
| Match 3 | One role | You deliberately perform one repeatable job instead of trying every system. |
Match 1: learn how to reach the battle
Learn HQ, transport, map orientation and forward deployment. Do not care whether your weapon is mathematically meta yet.
Match 2: learn why players move
Stay with a squad and watch when it enters the objective, changes approach or abandons a position. This connects map movement to the actual scoring system.
Match 3: choose one contribution
Play infantry, Medic, Recon, logistics, transport or another role deliberately. At the end of the life, ask whether that job helped your group control useful ground.
Common WARDOGS Beginner Mistakes
- Walking from HQ without checking transport.
- Confusing a FOB with the Spawn Vehicle.
- Thinking the obscured map after joining is a bug.
- Trying to use the Spawn Vehicle before completing the Season 2 join-in-progress requirement.
- Joining the largest squad instead of reading Squad Intent.
- Running straight into the Hot Zone alone.
- Following gunfire instead of the objective.
- Ignoring the third faction.
- Buying a more expensive loadout after every death.
- Using old Bakurani routes without checking the Season 2 spawn changes.
- Learning helicopters with passengers onboard.
- Building expensive structures without a logistics plan.
WARDOGS Beginner Strategy: Final Checklist
Join a useful squad, build an affordable loadout, reach the Control Zone efficiently and give every life one clear purpose. Use HQ when the forward situation is unclear and use the Spawn Vehicle when it genuinely reconnects you to useful teammates. If you joined the match late or switched factions, remember that Season 2 intentionally obscures your map and prevents Spawn Vehicle use until you reach the Control Zone once.
Once you understand deployment and objective flow, expand one system at a time: weapons, progression, economy, building, vehicles or aviation. That is much faster than trying to master every WARDOGS mechanic during your first match.
If you want someone to teach those decisions directly in live matches, WARDOGS Coaching is the relevant service rather than a generic leveling option.