Fyrakk the Blazing Guide - Tactics & Strategies
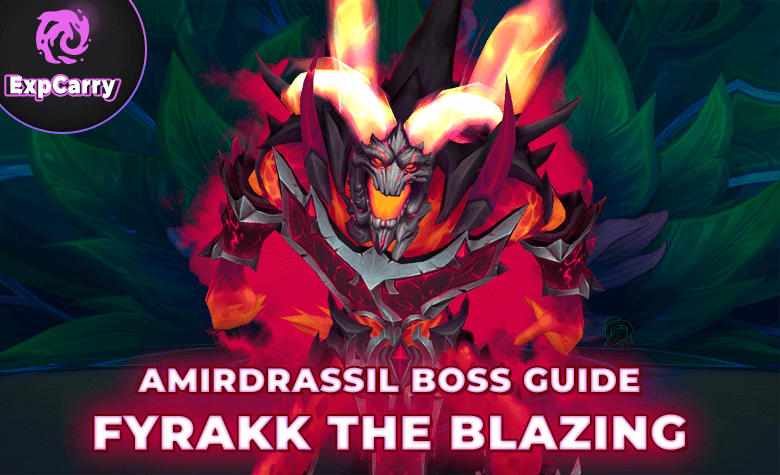
In this comprehensive Fyrakk the Blazing guide, we delve into effective tactics and strategies to conquer this formidable boss in the Amirdrassil, the Dream's Hope Raid from WoW Dragonflight 10.2. This guide is designed to optimize your approach, providing key insights into Fyrakk's mechanics and how to counter them successfully. Whether you're a seasoned veteran or new to the raiding scene, these strategies will enhance your gameplay and improve your chances of victory.
Looking to tackle Fyrakk the Blazing in WoW Dragonflight but feeling a bit overwhelmed? Fret not, ExpCarry's got your back! We're offering a top-notch Fyrakk Kill Boost for all you adventurers out there, tailored for any difficulty you fancy - be it Normal, Heroic, or Mythic. Think of us as your trusty sidekick in this epic battle, bringing expertise and a bit of magic to ensure your victory. So, why slog through the tough bits when you can have a blast with us by your side? Let's dive into this adventure together and show Fyrakk what we're made of!
Before diving into the tactics, it's essential to understand who Fyrakk the Blazing is. As a Primal Incarnate, Fyrakk presents a significant threat with his fiery powers and ambitions. His goal to harness the energy of Amirdrassil and bring Azeroth into an age of flames sets the stage for an intense battle.
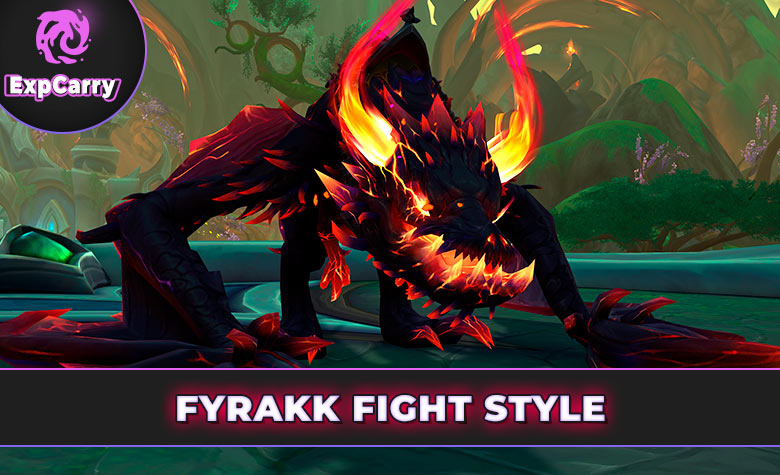
Fyrakk Fight Overview
In the WoW Dragonflight Amirdrassil, The Dream's Hope Raid, the fight style against Fyrakk the Blazing is a critical aspect to understand for achieving success. This guide will expand on the fight style, focusing on the unique challenges and tactics required to effectively counter Fyrakk’s abilities.
Understanding the Fight Style
- Phases and Transitions: Fyrakk the Blazing's encounter is divided into distinct phases, each with its own set of challenges. Recognizing the transition points and adapting your strategy accordingly is essential.
- Single Target and AoE/Cleave Phases: The fight begins with a focus on single-target damage but shifts to include significant AoE (Area of Effect) and cleave damage in later phases. This requires a flexible approach from DPS players who need to adjust their targeting and skill usage.
- Dynamic Positioning: Throughout the encounter, the positioning of both the boss and the raid group is crucial. Movement and positioning strategies change with each phase, and being adaptable to these changes is key to surviving Fyrakk’s powerful abilities.
- Managing Adds and Environmental Hazards: In addition to dealing with Fyrakk's direct attacks, the fight involves managing various adds and environmental hazards. This requires coordinated team efforts and clear communication.
- Balancing Offense and Defense: The encounter demands a balance between aggressive offensive strategies to beat DPS checks and careful defensive play to survive the boss's onslaught. Healers and tanks play a pivotal role in maintaining this balance.
- Utilization of Raid Utilities: Certain raid-wide abilities and cooldowns are particularly effective against Fyrakk’s mechanics. Teams need to strategically plan the use of these utilities to maximize their effectiveness.
- Adapting to Random Elements: Fyrakk's abilities might have random elements that require on-the-fly adjustments. Quick decision-making and adaptability are crucial for dealing with these unexpected challenges.
Preparing for the Fight
- Raid Composition: A balanced composition of tanks, healers, and DPS is crucial. The recommended setup often includes 2 tanks, 5+ healers, and a combination of melee and ranged DPS.
- Gear and Consumables: Ensuring that all raid members are adequately geared and have access to necessary consumables can make a significant difference in the encounter.
Successfully defeating Fyrakk the Blazing in the AMIRDRASSIL Raid is a testament to a raid group’s coordination, adaptability, and understanding of the fight's unique style. By focusing on these elements and continuously refining tactics, raid groups can triumph over this challenging encounter.
Fyrakk the Blazing Mechanics Guide
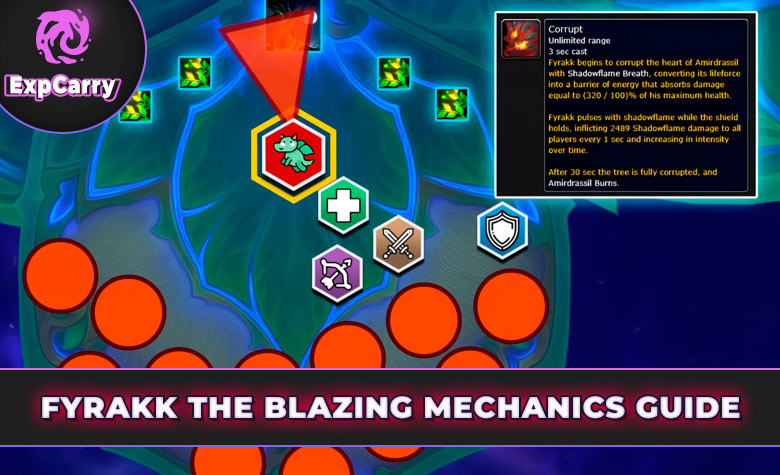
In the Fyrakk the Blazing encounter, understanding the mechanics is crucial for a successful raid. This section expands on the key mechanics that players will face during the battle with Fyrakk in the Amirdrassil, the Dream's Hope Raid in WoW Dragonflight.
Key Mechanics Overview
- Roots of Amirdrassil and Wildfire: These mechanics are intertwined. The Roots of Amirdrassil serve as an enrage mechanic, while Wildfire progressively fills the room and poses a constant threat. Players need to prevent the Wildfire from reaching the roots to avoid triggering the enrage.
- Firestorm: This targets several players with large circles, which need to be strategically placed to minimize damage and disruption to the raid group. The aftermath of Firestorm leaves damaging puddles that players must navigate.
- Dream Rend: Fyrakk summons a rift, pulling players towards it and inflicting damage. The further a player is from the rift, the less damage they receive, making positioning key in this phase.
- Blaze: This mechanic targets players with lines that cannot be avoided by the marked player. It requires careful movement to avoid taking multiple hits, which can be lethal.
- Burning Presence and Aflame: These are consistent damage mechanics that require attention from healers. Aflame targets several players with a stacking debuff, demanding prompt dispels to manage the increasing damage.
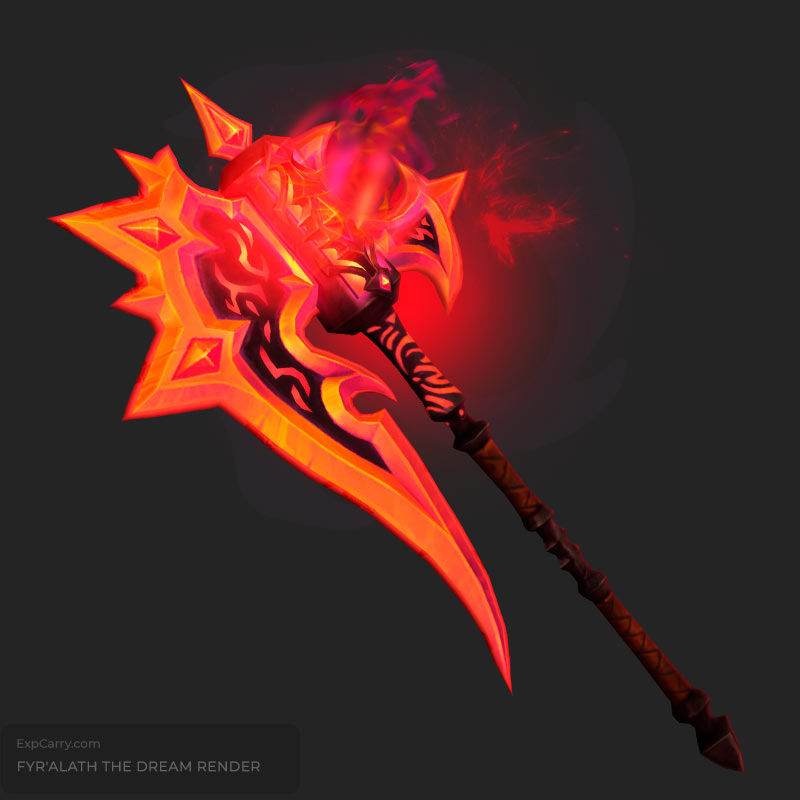
- Fyr'alath's Bite and Flame: Specific to tanks, these mechanics involve a damaging attack and a frontal cone attack, respectively, requiring tanks to manage their positioning and health.
- Predator: This mechanic involves Fyrakk leaping towards a tank if they are out of range, emphasizing the importance of tank positioning.
Phase-Specific Mechanics
- Intermission (Incarnate and Corrupt): During the intermission, Fyrakk transforms and gains a shield, while also dealing AoE damage. Players must manage Shadowflame Orbs that move towards Fyrakk during this phase.
- Phase 2 (Heart of Amirdrassil and Greater Firestorm): The Heart of Amirdrassil must be protected, and players need to manage the Greater Firestorm, which targets tanks and spawns adds.
- Phase 3 (Seed of Amirdrassil and Apocalypse Roar): Players need to handle the Seed of Amirdrassil mechanic to survive the Apocalypse Roar, a massive damage ability.
Tips for Managing Mechanics
- Communication and Coordination: Many of Fyrakk's mechanics require precise coordination and communication among the raid team, especially when handling adds, positioning for attacks, and managing debuffs.
- Adaptability: The raid team must be adaptable, as Fyrakk's mechanics can vary in intensity and combination.
Each phase in the Fyrakk the Blazing encounter demands specific strategies, from careful positioning and movement to precise add management and use of environmental objects. A successful raid team will need to adapt to these changing mechanics quickly, employing effective communication and coordination to navigate the challenges of each phase.
Fyrakk the Blazing Strategy Guide
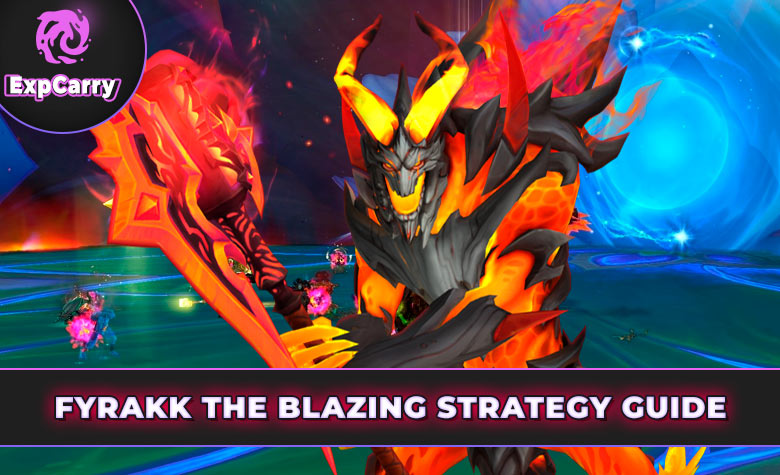
Developing an effective strategy for the Fyrakk the Blazing encounter in the AMIRDRASSIL, THE DREAM’S HOPE Raid requires a detailed understanding of each phase's mechanics and how to counter them. Here's an overview of the strategic approach for tackling this challenging boss.
Phase 1 Strategy
- Positioning: Start with the boss positioned near the edge of the room. This helps in managing the spread of Wildfire and the placement of Meteor Shower.
- Handling Meteor Shower: Players targeted by Meteor Shower should spread out to minimize the area affected by Raging Flames.
- Dealing with Wildfire: Keep moving to avoid the expansion of Raging Flames. Quick footwork is essential here.
- Rifts and Blaze Debuff: Maintain distance from rifts and ensure isolated positioning for players affected by the Blaze debuff to minimize raid-wide damage.
Interlude Strategy
- Corrupting the Heart Barrier: Focus DPS efforts on breaking Fyrakk’s barrier as quickly as possible.
- Orbs of Flame: Assign specific players to intercept the orbs, balancing the risk of the Singed debuff with the necessity of preventing Fyrakk’s healing.
Phase 2 Strategy
- Balancing DPS: Maintain a balance between damaging Fyrakk and the adds to prevent the depletion of the Heart of Amirdrassil’s health.
- Adds Management: Efficiently handle the adds spawned in this phase, using crowd control and focused DPS as necessary.
Phase 3 Strategy
- Seed of Amirdrassil: Assign responsible players to handle the seeds. These players must avoid getting hit by abilities to prevent seeds from turning into Blazing Seeds.
- Surviving Apocalypse Roar: Ensure all players are within the protective range of the seeds when Apocalypse Roar is cast.
General Tips
- Communication: Constant communication is key, especially for mechanics like Meteor Shower, Blaze, and seed handling.
- Cooldown Management: Efficient use of raid-wide cooldowns, especially healing and damage mitigation spells, can be pivotal at critical moments.
- Adaptability: Be prepared to adapt to the dynamic nature of the fight, as Fyrakk's abilities can vary in intensity and timing.
Successfully defeating Fyrakk the Blazing requires a well-coordinated team with a deep understanding of the fight's mechanics and a strategic approach to each phase. Continuous practice and refinement of tactics are essential for mastering this encounter.
Final Thoughts on Fyrakk Boss Tactics & Strategies Guide
Successfully navigating the Fyrakk the Blazing encounter in the Amirdrassil, the Dream's Hope Raid of WoW Dragonflight is a testament to a raid team's preparation, coordination, and adaptability. Here are some final thoughts to consider:
- Team Synergy: This encounter emphasizes the importance of a cohesive team working in unison. Each member's understanding of their role and the mechanics at play is crucial for success.
- Practice and Patience: Like most complex raid encounters, mastering Fyrakk the Blazing may take several attempts. Embrace each run as a learning opportunity, and be patient with the progression process.
- Adaptability is Key: The dynamic nature of this encounter means that no two attempts are likely to be the same. Teams that can quickly adapt to changing circumstances tend to fare better.
- Communication: Clear and concise communication cannot be overstated. Whether it's calling out mechanics, coordinating cooldowns, or repositioning, effective communication is essential.
- Preparation and Research: Coming into the fight with prior knowledge gained from guides, videos, or forums can significantly improve your chances. Spend time outside of the game to study the encounter.
- Utilize Tools and Resources: Make use of raid tools such as DBM (Deadly Boss Mods) or WeakAuras to help track important abilities and cooldowns. These tools can be invaluable, especially in high-stress situations.
- Stay Updated: Game mechanics can change with patches. Stay informed about any updates or changes to the encounter that might affect your strategy.
In conclusion, defeating Fyrakk the Blazing is a challenging yet rewarding experience that will test the limits of your raid team. With the right preparation, strategy, and mindset, this formidable foe can be vanquished, paving the way for further triumphs in the world of WoW Dragonflight. Remember to always learn from each attempt and continually refine your strategy for the best results.

