
Gruul's Lair raid guide is a fast but complete execution guide for Gruul's Lair in TBC Anniversary. It is built for weekly clears and pugs that want reliable kills with minimal talking. The raid has only two encounters, but both punish the same mistakes: bad assignments, sloppy positioning, and late target swaps. If your group can execute a strict plan, Gruul's Lair becomes one of the quickest raids-service">raids in the tier. Most wipes in Gruul's Lair come from predictable failures. On High King Maulgar, the council fight collapses when heals go off, the wrong people stand in the wrong place, or the raid ignores a specific add rule like Krosh being ranged-only and mage-tanked. On Gruul, wipes come from the Ground Slam sequence into Gronn Lord's Grasp and Shatter, and the raid failing to spread properly while Growth ramps damage. This guide is written to stop those problems before they happen.
What This Gruul's Lair Raid Guide Covers
This article is a two-boss raid guide that is quick to read but complete enough to run a clean weekly clear. It explains how each encounter works, what actually causes wipes in real groups, and what each role must prioritize so the raid does not improvise under pressure. You will get a compact checklist table you can read on voice before pulls, then a Maulgar plan focused on assignments, positioning, interrupts, control rules, and kill priority so the council does not spiral out of control, and finally a Gruul plan that drills the exact Ground Slam into Gronn Lord's Grasp timing, spread rules, and recovery behavior so the raid survives every cycle without panic even as Growth ramps damage. The goal is to make both fights feel scripted: you assign jobs once, repeat the same execution every week, and finish Gruul's Lair fast.
Gruul's Lair Quick Checklist
Use this checklist as your pull brief. Read the wipe reason, say the one sentence solution, confirm assignments, then pull. If your raid is inconsistent, make assignments before the first pull, because both fights punish late decision-making.
| Encounter | Most common wipe reason | One sentence solution |
|---|---|---|
| High King Maulgar | Blindeye free-casts Prayer of Healing, Krosh is not mage-tanked, add rules get broken | Interrupt and stop Blindeye properly, follow kill order, keep ranged-only adds isolated with no pets, stabilize Maulgar at 50% |
| Gruul the Dragonkiller | Bad spread for Shatter and panic movement during Gronn Lord's Grasp | Stay spread always, after Ground Slam create distance before you get Stoned, survive Shatter, then reset spread immediately |
Get any TBC Raids service from ExpCarry: raids, dungeons, PvP, leveling, gold, farming, coaching, and custom orders.
Gruul's Lair Boss Guide
High King Maulgar
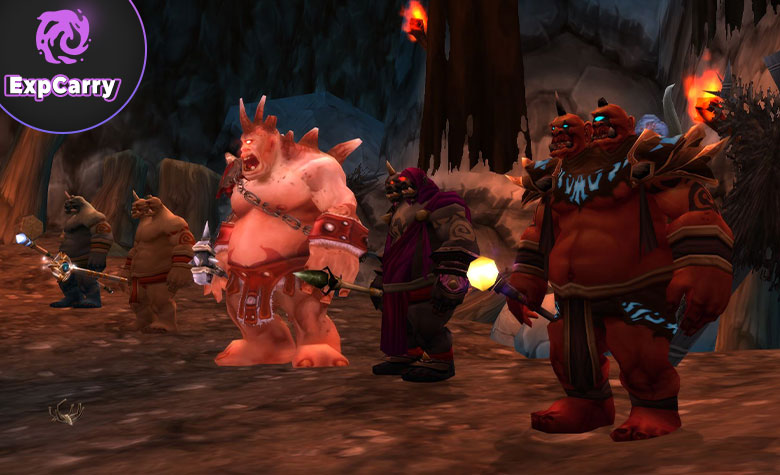
High King Maulgar is a council fight where the raid wins by strict control, not raw damage. You fight Maulgar plus four adds: Blindeye the Seer, Kiggler the Crazed, Olm the Summoner, and Krosh Firehand. The encounter falls apart when Blindeye is allowed to complete Prayer of Healing, when ranged-only rules get broken, when pets drift into the wrong add zones, or when the raid does not respect phase pressure after Maulgar hits 50% and the fight becomes more chaotic. Your raid should treat this as a scripted plan with clear roles, clear positions, and a fixed kill order.
The safest and most common approach is to prioritize stopping Blindeye, because his casts reset progress and extend the fight until something breaks. Many raids kill Blindeye first, then remove other adds based on control needs, then finish Maulgar. The exact kill order can vary by comp, but your assignments cannot. You need a dedicated plan to stop Prayer of Healing, strict ranged-only rules for Krosh and usually Kiggler, and a clear tank plan so Maulgar never cleaves the raid. If you do those things, the encounter feels controlled instead of random.
| Target | Key abilities and what they do | Role reaction |
|---|---|---|
| Blindeye the Seer | Prayer of Healing heals the entire council, and he shields himself before it, making normal interrupts unreliable | Assign a hard stop plan: burn the shield instantly and interrupt, or use Priest Silence to stop the cast through the shield; do not miss Prayer of Healing |
| Krosh Firehand | Blast Wave punishes anyone near him, and Spell Shield must be controlled or he melts normal tanks | Mage-tank Krosh: Spellsteal Spell Shield on cooldown; no melee and no pets near Krosh, keep his zone clean at all times |
| Kiggler the Crazed | Greater Polymorph and Arcane Explosion punish clumping and pets, creating chaos and healer lockouts | Keep him away from the raid, ranged handle him, nobody and no pets near him, keep movement disciplined to avoid chain disruption |
| Olm the Summoner | Dark Decay stacks on the tank and becomes lethal if you do not swap | Tanks swap Olm at a fixed stack count (commonly 4); healers pre-plan coverage for swap windows, DPS follows kill order without tunneling Maulgar |
| High King Maulgar | Heavy tank damage, cleave, and higher chaos after 50% | Main tank faces him away always, off-tanks control adds, healers save cooldowns for the 50% chaos window |
Tanks: assign one tank to Maulgar and separate controllers for the council so the room does not collapse, keep Maulgar faced away, and call the 50% transition so healers can pre-load cooldowns. Healers: the fight is stable until Prayer of Healing is not stopped or the 50% chaos window begins, be ready to cover sudden spikes on tanks and any target carrying heavy DoTs. DPS: follow the kill order, do not freestyle targets, respect ranged-only rules and the no-pets rules, and treat stopping Prayer of Healing as more important than personal damage.
Gruul the Dragonkiller
Gruul is a scaling damage and positioning fight. The longer you stay in, the harder he hits because Growth stacks over time. That means the raid wins by clean execution and steady damage, not by taking extra risks. The mechanic that wipes raids is the Ground Slam sequence, because it forces spread discipline under pressure. The correct pattern is simple: stay spread before Slam, after the knockback immediately create distance from other players while Gronn Lord's Grasp stacks, survive Shatter, then reset your spread immediately so you are ready for the next one.
After Ground Slam, Gruul applies Gronn Lord's Grasp, which stacks a slow. At 5 stacks you become Stoned and cannot move, and then Shatter hits. Shatter damage scales with how close Stoned players are to each other, so your goal is to be 12 to 15 yards away from other players before you get Stoned. Do not run through the raid to get back to a marker, you run away from the nearest players first, then you stabilize and rebuild your normal positions. Growth also means healers must keep the raid disciplined: avoidable damage becomes lethal later, so early sloppiness causes late deaths that look like healing failures.
| Ability | What it does | Role reaction |
|---|---|---|
| Growth | Stacking buff that increases Gruul damage over time | Tanks and healers plan for rising damage, DPS keeps steady pressure to shorten the fight |
| Ground Slam | Knockback that starts the Shatter sequence | Everyone reacts calmly, identify the nearest players immediately and start creating distance |
| Gronn Lord's Grasp and Stoned | Stacking slow that ends with you being Stoned at 5 stacks, locking your position | Create distance fast and early so you are safely spread before you become Stoned |
| Shatter | Heavy damage that scales with how close Stoned players are to each other | Be 12 to 15 yards apart before Stoned, healers top targets quickly after, then reset spread immediately |
| Cave In | Falling rocks zone that forces movement and adds pressure | Move out immediately without collapsing your spread, healers watch for late movers |
| Hurtful Strike | Extra hit that targets the highest-threat non-main-tank in melee range | Off-tank holds second threat and stays in range, melee avoid becoming accidental second threat |
| Reverberation | Silence that disrupts healing at bad times, especially later with higher Growth | Healers plan pre-HoTs and pre-casts around silence windows, raid avoids extra damage that will not get topped quickly |
Tanks: main tank holds Gruul stable and never spins him, off-tank maintains second threat in melee range to absorb Hurtful Strike, and both plan cooldowns as Growth ramps. Healers: the fight is about controlling avoidable damage early so Growth does not turn it into deaths later, pre-plan throughput for post-Shatter recovery, Reverberation windows, and rising tank damage. DPS: spread at all times, execute the Slam into Grasp timing calmly, move out of Cave In instantly, and do not grief Hurtful Strike positioning by drifting into the wrong range at the wrong time.
Practical Preparation Plan
Gruul's Lair preparation is mostly assignment work, not farming. Before you enter, lock the Maulgar plan: who stops Prayer of Healing, who controls each add, what the kill order is, and which targets are ranged-only with no pets near them so the room stays clean. Then lock the Gruul plan: set a default spread formation, confirm who is second threat for Hurtful Strike, call the 12 to 15 yard spread rule for Shatter, and remind everyone that after Ground Slam you create space first and recover positions second. If your raid makes those decisions before the first pull, both encounters become predictable, and predictable clears are fast clears.
Conclusion
Gruul's Lair raid guide comes down to strict execution on two fights that punish chaos. On Maulgar, your raid wins by controlling the council, stopping Prayer of Healing, respecting ranged-only and no-pets rules, and stabilizing the 50% chaos window without losing the room. On Gruul, your raid wins by staying spread, reacting calmly after Ground Slam, creating distance before you become Stoned, surviving Shatter, and resetting formation immediately while Growth ramps pressure. If you treat both encounters like scripts with fixed assignments, Gruul's Lair becomes a short weekly raid where time is spent pulling bosses, not debating mechanics after wipes.


