TBC Anniversary Magtheridon's Lair Raid Guide

Magtheridon's Lair raid guide is a fast but complete execution guide for Magtheridon's Lair in TBC Anniversary. The raid has only one encounter, but it is one of the most coordination-heavy fights in early Tier 4 because a single missed mechanic can wipe a clean pull instantly. If your group can follow a strict cube plan and keep Phase 1 controlled, Magtheridon becomes a reliable weekly kill instead of a random pug breaker.
Most wipes in Magtheridon's Lair come from predictable failures. In Phase 1, the Hellfire Channelers overwhelm the raid when Dark Mending is not interrupted, Shadow Bolt Volley hits the raid because mobs are too close, or fears break tank stability. In Phase 2, wipes are almost always an un-interrupted Blast Nova because cubes were late, not simultaneous, or the click team got disrupted. This guide is built to prevent those problems with clear assignments and simple rules.
What This Magtheridon's Lair Raid Guide Covers
This article is a single-boss raid guide that is quick to read but complete enough to run a clean weekly clear. It explains how the encounter works across all phases, what actually causes wipes in real groups, and what each role must prioritize so the raid does not improvise under pressure. You will get a compact checklist table for pre-pull briefing, then a full plan for Phase 1 Channeler control, a cube rotation plan to stop every Blast Nova in Phase 2, and a Phase 3 survival plan so you close the fight cleanly when the room becomes dangerous.
Magtheridon's Lair Quick Checklist
Use this checklist as your pull brief. Read the wipe reason, say the one sentence solution, confirm assignments, then pull. Magtheridon is not a fight you fix mid-pull with vibes, because one missed interrupt or one missed cube ends the attempt.
| Checkpoint | Most common wipe reason | One sentence solution |
|---|---|---|
| Phase 1: Channelers | Dark Mending or Shadow Bolt Volley casts go off, fears break control | Separate tanks, interrupt every Dark Mending and Shadow Bolt Volley, use fear control and keep mobs away from the raid |
| Blast Nova control | Cubes are late, not simultaneous, or clickers are disrupted | Run two fixed cube teams of five with backups, call early to pre-position, but click only when Blast Nova starts and click together every time |
| Quake into cube timing | Quake disrupts casts and the click team panics | Call Quake, keep the raid calm, and click on the planned Blast Nova call, not on panic or early clicking |
| Phase 3: 30% collapse | Raid dies to room damage, debris, and sloppy movement while cubes fail | Do not push 30% into a Blast Nova window, stabilize after the 30% collapse, keep cube discipline, spread and move cleanly from hazards, then end the fight |
Magtheridon's Lair Boss Guide

Use this section as your pull script. Every block follows the same structure so the raid can brief fast without improvising: a practical overview of what decides the phase, a compact table that focuses on wipe mechanics, and a short role confirmation paragraph so tanks, healers, and DPS know what to prioritize. Read the overview once, confirm assignments out loud, then pull and execute the same way every attempt.
Pre-pull plan that makes the fight easy
Magtheridon is decided before the pull by assignments. You need tanks assigned to handle the Channelers cleanly, you need a real interrupt plan for Dark Mending and Shadow Bolt Volley, and you need a cube rotation that does not depend on last-second hero clicking. The best structure is two cube teams of five players each, plus at least one backup who can replace any clicker if they get feared, stunned, or simply die. Your raid leader should call Blast Nova early so clickers pre-position near their cubes and do not sprint through the raid at the last moment, but the raid must understand one strict rule: you do not click early, you click only when Blast Nova begins.
Phase 1: Hellfire Channelers
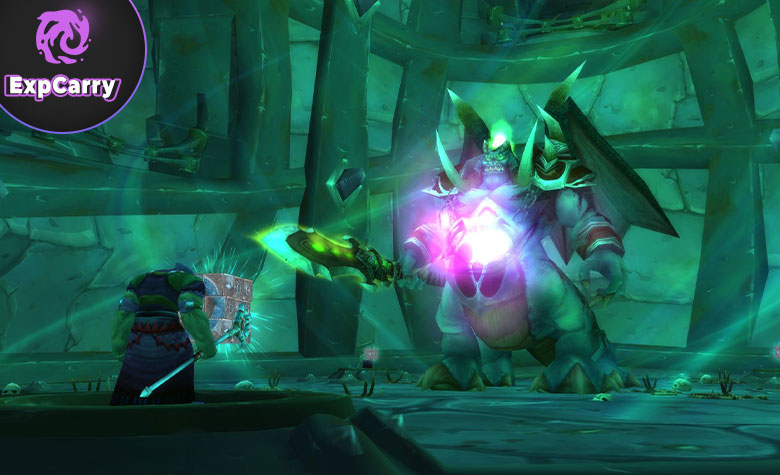
Phase 1 starts with five Hellfire Channelers active and Magtheridon still imprisoned. The raid wins Phase 1 by keeping each Channeler controlled and separated so their raid damage does not overlap into an unhealable mess. The danger is not that any single Channeler is deadly, it is that their casts stack and the room becomes chaos if you let them free-cast or if tanks drag them too close to the raid. Separation also matters because Dark Mending can erase progress and becomes even worse if Channelers are close enough to support each other. Your goal is to kill the Channelers cleanly, with interrupts and control intact, and enter Phase 2 with the room stable and click teams alive.
| Channeler mechanic | What it does | Role reaction |
|---|---|---|
| Dark Mending | Large heal that can erase kill progress | Interrupt every cast, assign an interrupt rotation per Channeler if needed, call misses instantly and keep Channelers separated so they cannot support each other |
| Shadow Bolt Volley | Raid pressure that becomes lethal if Channelers are too close to the group | Tank each Channeler away from the raid, interrupt volley when possible, healers prepare for spikes if it lands |
| Fear | Disrupts tanks and healers and can break cube teams later | Use fear control tools, tanks position so feared players do not drag mobs into the raid, healers stabilize quickly after |
| Burning Abyssals | Additional enemies that create chaos if uncontrolled | Assign control such as banish, trap, fear, or fast pickup and kill, but never sacrifice Dark Mending interrupts for padding |
Tanks: keep Channelers separated, do not stack them, and do not drag them through healers when feared or repositioning. Healers: Phase 1 kills raids when casts land back-to-back and the room collapses, so be ready for sudden spikes and keep key tanks stable while interrupts are re-established. DPS: interrupts win this phase, not meters, so commit to Dark Mending and Shadow Bolt Volley stops and follow target calls without splitting into random cleave groups.
Phase 2: Magtheridon active, cubes decide the kill

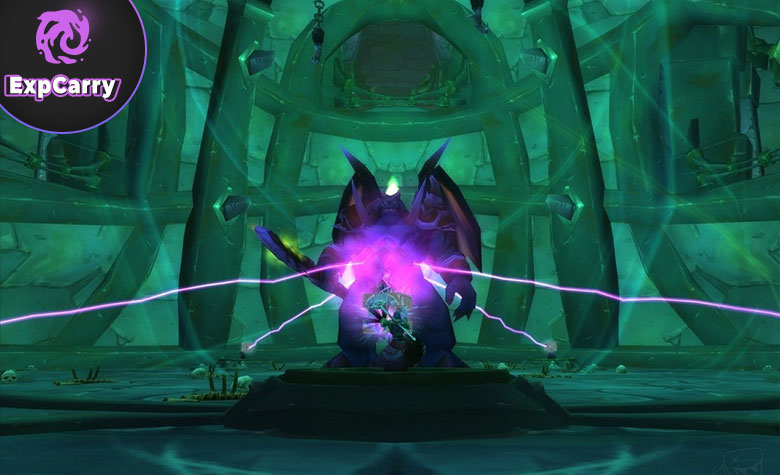
After the initial timer, Magtheridon becomes active and the fight becomes a cube coordination check. Magtheridon's signature wipe mechanic is Blast Nova, a raid-wide damage channel that must be interrupted by having all five Manticron Cubes activated at the same time. Clicking a cube applies a debuff that prevents that player from clicking again for a while, so you cannot rely on the same five people forever. This is why two fixed teams of five is the cleanest solution: Team A clicks the first Nova, Team B clicks the second, then you alternate with backups ready to fill any gap.
The non-negotiable cube rule is simple. Clickers stand at their cube before the cast, but they click only when Blast Nova starts. They click once, channel, and do not move. If someone is missing, the backup replaces them instantly. Early clicking and panic double-clicking are how clean pulls die.
| Magtheridon mechanic | What it does | Role reaction |
|---|---|---|
| Blast Nova | Raid-wide channel that wipes the raid if not interrupted | Five cubes must be clicked simultaneously when Blast Nova begins, click teams pre-position and never freestyle timing or click early |
| Manticron Cube channel | Interrupts Blast Nova and temporarily controls Magtheridon | Clickers stay near their cube, click once on the call, channel without moving, backups replace any missing clicker immediately |
| Mind Exhaustion | Debuff after clicking that prevents immediate re-use | Alternate two teams, do not assign one person to click every time, plan for deaths and backups |
| Quake | Raid-wide disruption that interrupts casting and creates chaos if people panic | Raid leader calls it, healers stabilize after, click teams follow the planned Blast Nova call and do not convert Quake into early clicking |
| Cleave and frontal damage | Heavy melee pressure that punishes bad facing | Main tank keeps boss faced away, melee stays behind, healers treat the tank as the priority during dangerous overlaps |
Tanks: keep Magtheridon faced away and stable so the raid can focus on cubes and not on avoidable cleaves, and keep the boss positioned so clickers can reach cubes without running through danger. Healers: plan your attention around the Nova cycle and Quake disruption, because the raid is most vulnerable when clickers are channeling instead of using defensives and when Quake disrupts casts. DPS: your most important job is not raw damage, it is keeping the click plan alive: do not die to avoidable mechanics, do not drag hazards into cube corners, and if you are a backup clicker you must be ready to step in instantly.
Phase 3: 30% collapse and closing the fight
At low health the encounter becomes a survival check because the room adds extra damage and hazards while your raid is already under pressure to keep cube discipline perfect. At 30% the room collapses and the raid takes heavy disruption, and after that you will keep seeing debris hazards that punish sloppy movement. This is where sloppy movement kills clickers and one missed cube ends a long pull. The win condition does not change: you still stop Blast Nova every time, you still keep the boss faced away, and you still avoid unnecessary damage, but you must also manage the 30% transition cleanly.
The practical rule is to avoid pushing 30% during a Blast Nova window. If the boss is around 35%, slow damage, take the next Blast Nova cleanly, then push through 30% right after so the raid is not dealing with collapse disruption and cube timing at the same time.
| Phase 3 problem | What it does | Role reaction |
|---|---|---|
| 30% collapse and debris hazards | Heavy disruption and lethal ground danger that kills weak targets | Do not push 30% into a Nova window, spread enough to avoid chain damage, move out of hazards immediately, keep cube corners clear |
| Blast Nova under pressure | Same wipe mechanic, harder because people are dying and moving | Keep the alternating cube plan, backups must be ready, raid leader calls early and clearly every cycle, click only on cast start |
| Execution fatigue | People relax and miss the last click or the last interrupt | Keep comms strict until the boss is dead, do not celebrate at 10%, finish the script |
Tanks: stay predictable, do not spin or drag the boss into cube lanes, and call if you need an external cooldown so healers do not over-commit to the wrong targets. Healers: prioritize keeping clickers alive and recovering the raid after disruption, because a living click team matters more than topping meters. DPS: do not tunnel, do not die, and do not make the room harder by dragging hazards into the cube corners, because one dead clicker can cascade into a missed Nova and a wipe.
Practical Preparation Plan
Magtheridon's Lair preparation is assignment work, not farming. Before you pull, lock the Phase 1 plan: tank assignments per Channeler, interrupt assignments for Dark Mending and Shadow Bolt Volley, and a clear method to control Burning Abyssals so they do not run through healers. Then lock the cube plan: Team A and Team B with five fixed clickers each, at least one backup, and a raid leader call that happens early enough for clickers to be standing at their cubes before the cast begins, with the strict rule that cubes are clicked only when Blast Nova starts. Finally, set one rule that prevents most wipes: cube corners stay clear, and nobody drags hazards or panic movement through the click lanes.
Conclusion
Magtheridon's Lair raid guide is about turning a coordination fight into a repeatable script. Phase 1 is won by control: separate the Channelers, interrupt Dark Mending and Shadow Bolt Volley, and keep fears and Abyssals from collapsing the room. Phase 2 and Phase 3 are won by cube discipline: five cubes clicked simultaneously only when Blast Nova begins with two alternating teams and backups, while tanks keep clean facing and healers keep clickers alive through disruption like Quake and the 30% collapse. If your raid treats cubes as the primary mechanic and everything else as support to keep the click plan alive, Magtheridon stops being a pug killer and becomes a reliable weekly kill.
