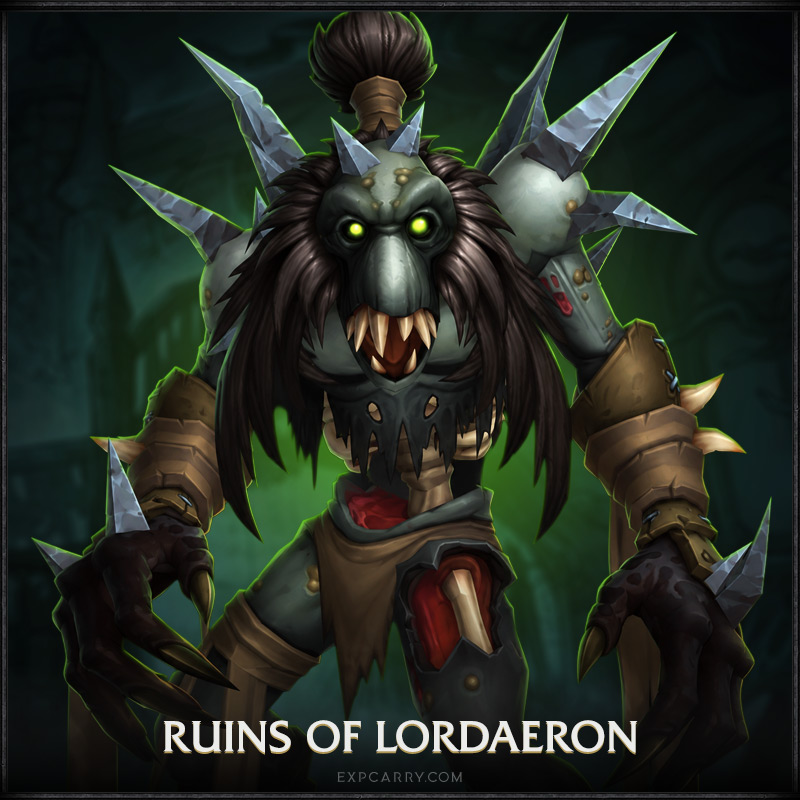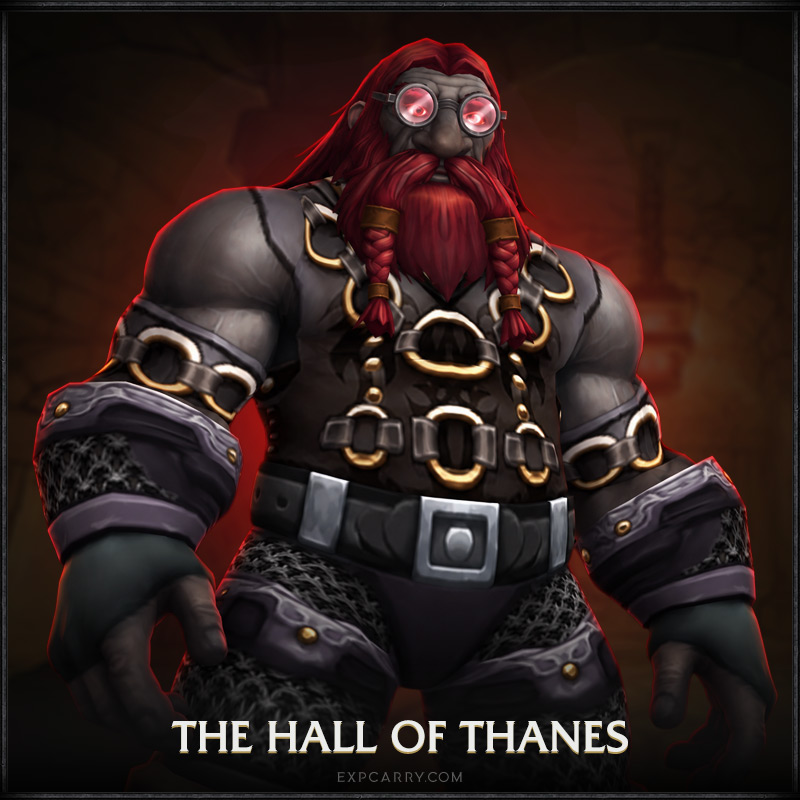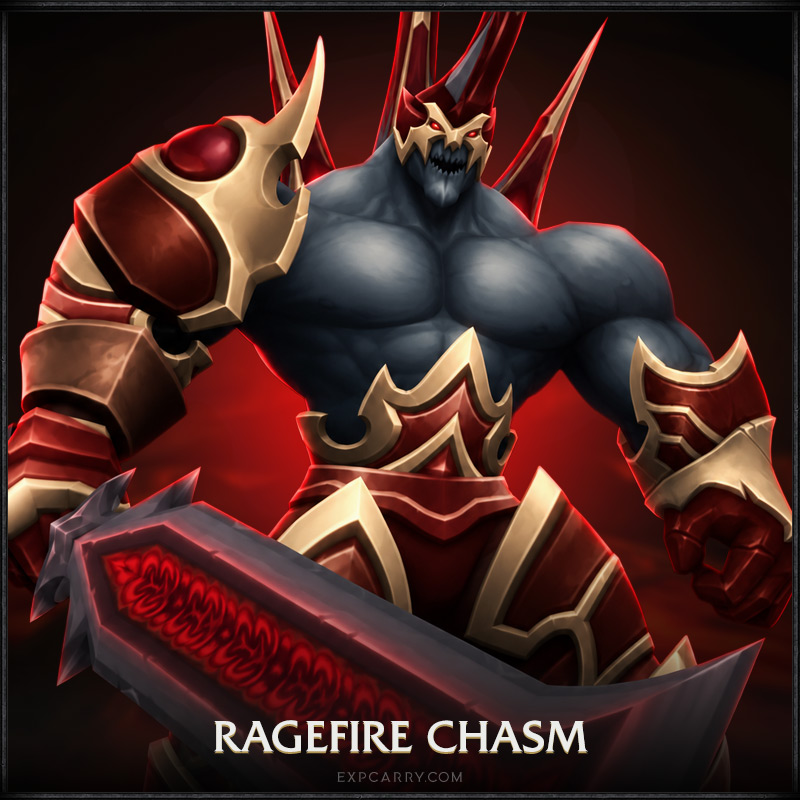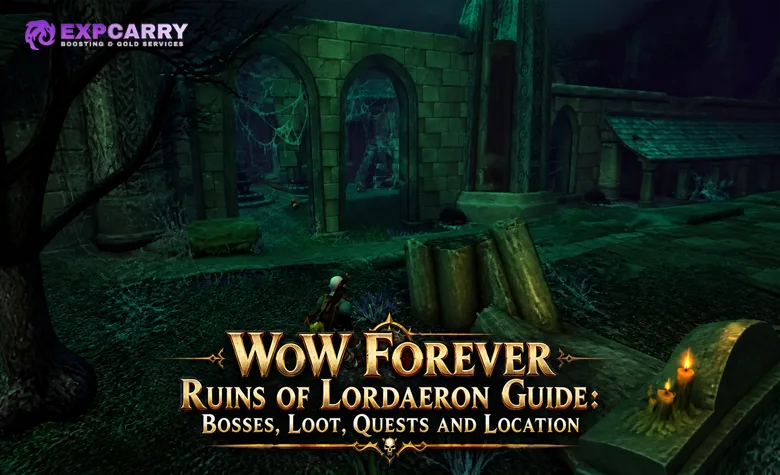
Ruins of Lordaeron is a five-player WoW Forever dungeon for levels 15-20 set in the ruined capital above the Undercity in Tirisfal Glades. Blizzard and Wowhead currently position it as an early Horde-side dungeon, but the beta database also contains Alliance-specific quests tied to the instance. The current beta has six well-documented boss encounters with known loot: Witherfang, The Baron, The Abandoned, Bjork, Rath'mael and the optional Viktor the Vile event.
Short answer: treat Ruins of Lordaeron as an open, quest-heavy dungeon rather than a straight boss corridor. Prepare your faction quests before the run, clear enough space around every encounter to avoid extra patrols, and leave Viktor the Vile until later if your group is struggling with health or Mana.
Updated: September 24, 2026. Boss mechanics, quests and loot below reflect the current WoW Forever beta and can still change before launch.
Ruins of Lordaeron Location and How to Get There
The dungeon is located in the surface ruins of Lordaeron above the Undercity in Tirisfal Glades. The current entrance is around 71.6, 11.4. Horde has the natural leveling route into the area, while Alliance-specific beta quests also point players toward the same instance rather than a separately documented faction entrance.
| Faction | Route | What to Know |
|---|---|---|
| Horde | Travel through Brill toward the ruined Lordaeron capital above the Undercity, then move to the dungeon entrance around 71.6, 11.4. | Pick up the quests in Brill, the Undercity and The Sepulcher before entering. |
| Alliance | Reach Tirisfal Glades from the surrounding northern Eastern Kingdoms and approach the same surface entrance at the Lordaeron ruins. | Current beta data contains Alliance dungeon quests, but no separate Alliance entrance is documented. The approach is through Horde-controlled territory. |
The entrance is on the surface. Do not descend into the normal Undercity interior while looking for the dungeon portal.
Ruins of Lordaeron Map and Recommended Route
The dungeon uses streets, towers, graveyard sections and ruined buildings rather than one linear hallway. Bosses can be approached in different orders, so the sequence below is a recommended clearing route rather than a mandatory boss order. Viktor the Vile can be delayed until later because his wave event is one of the more demanding encounters for healer Mana.
| Order | Encounter | Route Note |
|---|---|---|
| 1 | Witherfang | Watch the spider area near the entrance and wait for the boss patrol before committing to nearby packs. |
| 2 | The Baron | Follow the eastern route through the ruins and clear enough room for his cleave, knockback and heavy melee pressure. |
| 3 | The Abandoned | Approach the statue area and complete the three-wave event that summons the boss. |
| 4 | Bjork | Move through the foggy skeleton section and clear around the patrol before engaging. |
| 5 | Rath'mael | Continue toward the necromancer's area and keep an interrupt or stun ready for Flamestrike. |
| 6 | Viktor the Vile | Optional. Return to the southwest fireplace and trigger the multi-wave event when the group has enough health and Mana. |
This route also gives the group time to search for the Crest of Lordaeron. The Crest does not have one reliable fixed position and has been reported in several towers, rooms and side structures around the instance.
Ruins of Lordaeron Bosses, Abilities and Loot
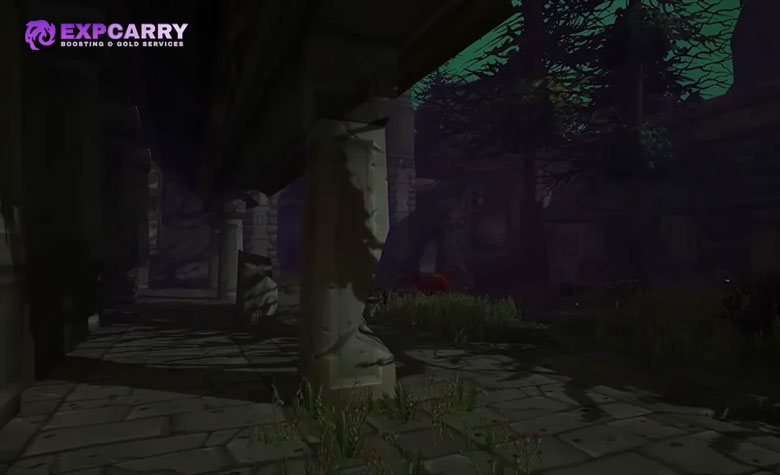
The six current encounters are mechanically simple compared with raid bosses, but several punish careless pulls. The table below combines the currently documented boss abilities or encounter mechanics with each boss's known three-item loot pool. Because Forever is still in beta, exact tuning, spell behavior and loot data can change before release.
| Boss | Abilities / Event | Known Loot |
|---|---|---|
| Witherfang | Long patrol, nearby spiders and Poison pressure. No additional named signature cast is consistently documented yet. | Atrophic Girdle, Witherbite Bracers, Segmented Spider Leg |
| The Baron | Heavy melee attacks, close-range cleave and knockback. Keep the boss facing away from the group and leave space behind the tank. | Meathook Slicer, Abomination Bones, Leftover Abomination Skin |
| The Abandoned | Three add waves before the boss, Frost Armor, Drain Life and Frost Nova. | Wispcloth Leggings, Grip of Fear, Scepter of the Abandoned |
| Bjork | Heavy melee pressure and Anti-Magic Shell, with knockback also reported during current beta runs. | Bonerust Leggings, Tuskwrap Belt, Corpse Chopper |
| Rath'mael | Repeated Flamestrike casts plus persistent close-range pulsing AoE damage. | Mirror of Rath'mael, Frostbane Treads, Coldspire Staff |
| Viktor the Vile | Rapid consecutive enemy waves before Viktor appears. No separate named signature boss spell is consistently documented in current beta guides. | Vilewalkers, Bloodied Chestwraps, Vileblood Scimitar |
Some beta client or cache listings use The Butcher for the encounter that current player-facing runs and loot records identify as The Baron. The guide uses The Baron because that is the name currently associated with the playable encounter, its quest item and its documented drops.
Witherfang
Witherfang patrols the spider-infested section near the beginning of the dungeon, so the pull can start earlier than expected if the group is fighting directly in the patrol path. Clear the nearest spiders first and wait until you have a controlled area before engaging.
Witherfang's main documented pressure comes from Poison and the nearby spider packs rather than a complicated cast rotation. Remove Poison when your group has access to a dispel and avoid engaging while additional spiders are close enough to join the fight. Once the surrounding mobs are removed, the boss is largely a straightforward tank-and-spank encounter.
Witherfang currently drops Atrophic Girdle, Witherbite Bracers and Segmented Spider Leg.
The Baron
The Baron is a direct tank-pressure encounter built around strong melee attacks, close-range cleave and knockback. Positioning matters because a tank or melee player pushed toward an uncleared pack can turn the fight into a much harder multi-pack pull.
Let the tank establish threat before DPS commits fully and keep the boss facing away from the rest of the party. Ranged players and the healer can stay farther out, while melee should avoid standing unnecessarily in front of the boss. Keep clear space behind the tank so knockback does not send the group into additional enemies.
The Baron also matters for both factions' quest progression. His head is required for the Alliance quest Abominable Creatures, while the Horde can begin the Unending Torment chain from the Abominable Head dropped by the encounter.
Current known drops are Meathook Slicer, Abomination Bones and Leftover Abomination Skin.
The Abandoned
The Abandoned does not wait passively in a normal boss room. Approaching the encounter statue begins three enemy waves, and the boss appears only after the event has progressed. Enter with health and Mana restored because the waves reduce the group's recovery time before the actual boss.
The Abandoned uses Frost Armor, Drain Life and a large Frost Nova. Frost Armor slows melee attackers, while Frost Nova roots nearby players. The most important reaction is to interrupt or stun Drain Life so the boss cannot heal while damaging a party member. Save at least one reliable interrupt or stun for that cast.
Its current known drops are Wispcloth Leggings, Grip of Fear and Scepter of the Abandoned.
Bjork
Bjork patrols a foggy section packed with skeletons and other undead. The boss itself is not complicated, but fighting it while another pack is active creates unnecessary pressure on the tank and healer.
Clear enough space first because Bjork hits hard and current beta reports also describe knockback during the encounter. His most clearly documented named ability is Anti-Magic Shell. Casters should avoid spending important damage spells while the shell is active and resume their burst after the protection expires.
Bjork currently drops Bonerust Leggings, Tuskwrap Belt and Corpse Chopper.
Rath'mael
Rath'mael is the main target of the Horde's The Wrath of Rath'mael quest and the most important interrupt check in the dungeon. He repeatedly attempts to cast Flamestrike, which should be interrupted or stunned whenever possible instead of repeatedly healing through it.
Rath'mael also produces persistent pulsing AoE damage around himself. Ranged players can reduce unnecessary exposure by staying away from the boss, while melee should expect additional incoming damage while attacking. Pull him into an already cleared section and keep an interrupt or stun ready for every Flamestrike attempt.
Rath'mael drops Mirror of Rath'mael, Frostbane Treads and Coldspire Staff.
Viktor the Vile
Viktor the Vile is the encounter most reasonable to leave until the end. He is summoned by interacting with the active fireplace in the southwest section of the dungeon, after which several consecutive waves arrive before Viktor himself appears.
The wave sequence is the main documented mechanic. The tank needs to establish threat quickly whenever a new wave appears, while the healer must stretch Mana across consecutive pulls with very little recovery time. Do not start the fireplace event while party members are drinking, recovering or still fighting nearby trash. Current beta guides do not consistently document a separate named signature ability for Viktor himself, so the encounter should primarily be treated as an endurance and threat-management event.
Viktor's current known loot is Vilewalkers, Bloodied Chestwraps and Vileblood Scimitar.
Explore services related to this guide, selected from our Dungeons catalog.
View All Dungeons Services
Ruins of Lordaeron Boss Loot
The current beta loot pool lists eighteen known drops across the six boss encounters above. The table below excludes the separate Lordaeron Captain rare spawn and does not mix dungeon quest rewards into the boss loot list.
| Boss | Item | Type | Required Level |
|---|---|---|---|
| Witherfang | Atrophic Girdle | Mail Waist | 15 |
| Witherfang | Witherbite Bracers | Leather Wrist | 15 |
| Witherfang | Segmented Spider Leg | Two-Hand Staff | 15 |
| The Baron | Meathook Slicer | One-Hand Dagger | 15 |
| The Baron | Abomination Bones | Mail Chest | 15 |
| The Baron | Leftover Abomination Skin | Cloth Chest | 15 |
| The Abandoned | Wispcloth Leggings | Cloth Legs | 17 |
| The Abandoned | Grip of Fear | Mail Hands | 17 |
| The Abandoned | Scepter of the Abandoned | Main-Hand Mace | 17 |
| Bjork | Bonerust Leggings | Mail Legs | 16 |
| Bjork | Tuskwrap Belt | Cloth Waist | 16 |
| Bjork | Corpse Chopper | Two-Hand Axe | 16 |
| Rath'mael | Mirror of Rath'mael | Shield | 19 |
| Rath'mael | Frostbane Treads | Cloth Feet | 19 |
| Rath'mael | Coldspire Staff | Two-Hand Staff | 19 |
| Viktor the Vile | Vilewalkers | Mail Feet | 17 |
| Viktor the Vile | Bloodied Chestwraps | Leather Chest | 17 |
| Viktor the Vile | Vileblood Scimitar | One-Hand Sword | 17 |
The required levels also explain why the later encounters can remain valuable even if you first enter the dungeon at level 15. Rath'mael's current items require level 19, while Witherfang and The Baron already provide equippable upgrades at the bottom of the 15-20 dungeon bracket.
Ruins of Lordaeron Loot by Class
The class table below is not a BiS ranking. It filters the known loot by armor type, stats and normal low-level class use so you can identify which bosses are worth targeting without treating every blue item as an automatic upgrade.
| Class | Useful Drops | Main Reason |
|---|---|---|
| Warrior | Atrophic Girdle, Abomination Bones, Grip of Fear, Bonerust Leggings, Vilewalkers, Corpse Chopper, Mirror of Rath'mael | Several Strength, Stamina, mail, shield and weapon upgrades fit tanking or physical DPS. |
| Paladin | Atrophic Girdle, Abomination Bones, Grip of Fear, Bonerust Leggings, Vilewalkers, Corpse Chopper, Mirror of Rath'mael | Mail, shield and Strength weapon options cover early tanking and melee progression where the relevant weapon skill is trained. |
| Hunter | Witherbite Bracers, Bloodied Chestwraps, Segmented Spider Leg, Meathook Slicer where weapon skills allow | Agility is concentrated in the leather pieces and several physical weapon drops. |
| Rogue | Witherbite Bracers, Bloodied Chestwraps, Meathook Slicer, Vileblood Scimitar | Agility leather and physical one-handed weapons are the main targets. |
| Priest | Leftover Abomination Skin, Wispcloth Leggings, Tuskwrap Belt, Frostbane Treads, Coldspire Staff | Cloth drops provide the strongest concentration of Intellect, Spirit and spell-focused stats. |
| Mage | Leftover Abomination Skin, Wispcloth Leggings, Tuskwrap Belt, Frostbane Treads, Coldspire Staff | The Baron, The Abandoned, Bjork and Rath'mael all provide caster-oriented cloth or weapon options. |
| Warlock | Leftover Abomination Skin, Wispcloth Leggings, Tuskwrap Belt, Frostbane Treads, Coldspire Staff | Multiple bosses provide direct caster upgrades across chest, legs, waist, feet and weapon slots. |
| Shaman | Witherbite Bracers, Bloodied Chestwraps, Scepter of the Abandoned, Mirror of Rath'mael | Physical and caster builds want different pieces; leather, one-handed maces and shields are all relevant at this level. |
| Druid | Witherbite Bracers, Bloodied Chestwraps, Scepter of the Abandoned, Wispcloth Leggings or Tuskwrap Belt when the caster stats beat current gear | Feral benefits from Agility leather, while Balance and Restoration can consider spell-oriented alternatives. |
Always compare the actual tooltip with your current item, specialization needs and trained weapon skills. This level range produces several unusual stat combinations, so armor type alone does not determine whether a drop is useful.
Ruins of Lordaeron Dungeon Quests
Quest preparation is one of the biggest reasons to plan the first run instead of entering immediately. Horde currently has four quests that can be collected before the dungeon plus two quest starts inside. The beta database also contains a separate set of Alliance objectives tied to NPCs and items found in or around the instance.
Horde Quests
Horde should collect the outside quests before travelling to the portal because their objectives overlap naturally with a full clear.
| Quest | Start | Objective | Known Reward |
|---|---|---|---|
| The Wrath of Rath'mael | Deathguard Kristof near Brill | Defeat Rath'mael | Forsaken Greataxe or Gnarled Necromancer's Staff |
| Light's Justice | Morbin Lightbane, Undercity | Collect 25 Intact Limbs | The Stitcher or Spare Part Bindings |
| A Frightened Request | Tabitha Heartweaver, The Sepulcher | Investigate Edward Heartweaver | Edwards' Knife or Tabitha's Cuffs |
| The New Plague | Theodore Griffs, Undercity | Recover the Highly Toxic Strain from Witherfang | Plaguefang or Blight Gloves |
| Unending Torment | Begins from the Abominable Head dropped by The Baron | Take the head into the Undercity and continue the follow-up chain | Continues into a multi-step quest chain |
| Crest of Lordaeron | Starts from the Crest found inside | Bring it to Oran Snakewrithe | Small Sack of Gems |
Alliance Quests
Alliance does not use the same outside quest circuit as Horde. Its current beta objectives are more heavily tied to NPCs and quest-starting items associated with the instance, so check the entrance and loot relevant quest objects as you progress.
| Quest | How It Starts | Objective | Known Reward |
|---|---|---|---|
| Abominable Creatures | Captain Truman is currently reported near the dungeon entrance | Bring back the Head of the Baron | Monstrous Cleaver, Grave Shroud or Slain Baron's Signet |
| Bloodied Insignia | Begins from a Bloodied Insignia | Collect 10 Bloodied Insignias and return them to Stormwind | Duty Bound Leggings or Remembrance Armor |
| Remember That I Love You | Begins from the Blood-Stained Letter found inside | Starts a follow-up story through Stormwind and Duskwood | The chain later rewards Tarnished Locket |
| Crest of Lordaeron | Starts from the Crest found inside | Return it to Lady Dena Kennedy in Stormwind | Small Sack of Gems |
The Crest deserves special attention because current beta reports show several possible spawn locations, including towers, rooms and side structures around the instance. Look for it while following the normal route instead of completing every boss and then searching the entire dungeon again.
Recommended Group Composition and Minimum Gear
Blizzard has not published a minimum item-level requirement for Ruins of Lordaeron. The documented dungeon range is 15-20, but groups closer to the upper half of that bracket naturally have more health, higher ability ranks and more room for mistakes than a fresh level-15 party.
| Role | Preparation | Why It Matters |
|---|---|---|
| Tank | Level-appropriate defensive gear and current ability ranks | The Baron, Bjork and the wave events punish weak threat or uncontrolled extra mobs. |
| Healer | Current healing ranks, drinks and preferably a Mana potion for difficult wave events | Viktor and The Abandoned provide less recovery time than normal single-pull fights. |
| DPS | At least one reliable interrupt or stun in the group | Drain Life and Rath'mael's Flamestrike are much easier to stop than to heal through. |
| Utility | Poison removal and crowd control where available | Useful on Witherfang and dense trash packs, although no specific utility class is mandatory. |
A conventional tank, healer and three DPS setup is the safest first-run composition, but there is no documented requirement that the dungeon must be played with an exact 1/1/3 role split. At low level, controlled pulls, interrupts and useful class utility matter more than forcing a theoretically perfect group composition.
You also do not need to farm a special pre-dungeon set. Level-appropriate quest gear, an up-to-date weapon, trained ability ranks and enough food or drinks are a more realistic preparation target than an invented minimum item level.
Conclusion
Ruins of Lordaeron is built around exploration and preparation more than a rigid boss corridor. Its open layout, patrols and triggered encounters reward groups that clear deliberately, preserve healer resources and collect quest objectives while they are already moving through the instance.
The first run has the most value when the group arrives with the appropriate faction quests and plans around all six encounters. Witherfang and The Baron test clean pulling and positioning, The Abandoned adds Frost Armor, Drain Life and Frost Nova after a three-wave event, Bjork uses Anti-Magic Shell, Rath'mael makes Flamestrike interrupts important, and Viktor the Vile turns resource management into the main challenge through rapid consecutive waves. The current boss loot pool covers physical, caster and tank-oriented characters across the full 15-20 bracket.