Arc Raiders Money Guide – How To Farm Raider Coins Fast And Safely

Arc Raiders is one of those games where you can feel rich in one evening and completely broke the next. Coins vanish into stash upgrades, weapons, meds, and crafting before you even realize it. This guide is not about "how to win fights" - it is about how to turn every raid into profit, stack Raider Coins consistently, and stop living paycheck to paycheck between vendors. Everything below is built around what actually works right now: proven coin routes, smart selling, and spending rules taken from the current economy-focused guides and community experience - not pure theorycraft.
How Arc Raiders Money Actually Works
Arc Raiders looks like a "loot first, money second" game - and that is true. The core of your progression is still gear and materials extracted from the surface. But Raider Coins are the glue that holds your entire account together: without steady coins, you cannot afford meds, ammo, stash expansions, or a safety net when raids go bad.
There are three main pieces to understand:
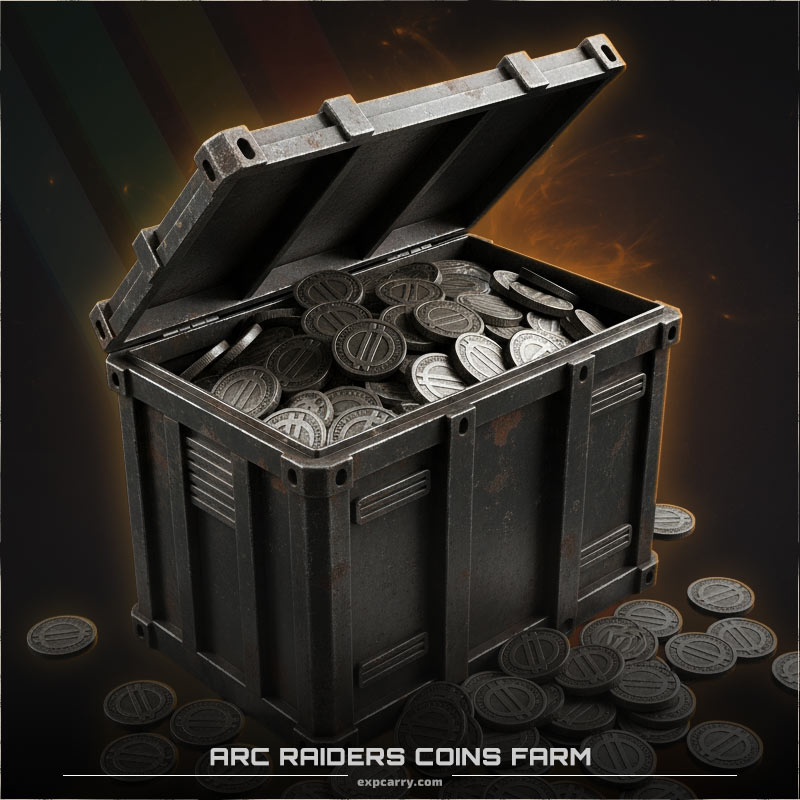
- Raider Coins - your main gameplay currency. You get them from extractions, selling loot, completing missions and contracts, and some in-hub activities. You spend them on weapons, armor, consumables, crafting materials, and most stash upgrades.
- Loot and materials - weapons, trinkets, rare components, and modules that you either use or convert into coins at vendors. High-value loot is where most of your real income comes from; the coin "reward" line at the end of a raid is usually just a bonus.
- Premium currency (Raider Tokens) - a premium currency mostly tied to cosmetics, cosmetic bundles, Raider Decks (battle pass-style tracks), and some higher-end account upgrades or requisitions. You do not grind Raider Tokens in the same way as Coins; they mainly come from purchases, Raider Deck progress, and occasional bundles or events, so they are not part of your normal money-per-hour loop.
Stash upgrades eat a lot of your Raider Coins over time, and depending on the tier and version you play, some later expansions and premium tracks can also ask for Raider Tokens on top of coins. The important part for your day-to-day economy, though, is simple: Coins are the backbone of progression and the only currency you reliably scale by playing well.
Think of every raid as an investment run. Your goal is not "stay as long as possible and hope for a miracle" but "turn time and risk into reliable profit per hour". Once you look at raids this way, a lot of your money problems disappear.
Early Game Money Routes - From Broke To Stable
In early game you do not have perfect guns, deep blueprints, or maxed benches - and that is fine. What you do have is the ability to choose low-risk routes and extract on time. Your entire economy at this stage is built on three pillars: safe routes, smart looting, and zero ego.
Simple Low-Risk Coin Loops
Different guides highlight different "best" spots, but they all agree on the same principle: short, focused runs in medium-value areas beat long, greedy marathons in hot zones.
- Buried City - Library quick scavenge & extract
Hit the Library and nearby offices for trinkets, weapons, and locked containers, then rotate directly to the nearest safe extract. You are not here to clear the whole map - just to vacuum the dense indoor loot and leave before third parties arrive. - Dam Battlegrounds - Research & Administration mid-floor sweep
Stick to mid-level floors and office wings, where lockers, safes, and cabinets cluster together. These zones have good loot density but are not as contested as big central POIs. Extract as soon as you fill a safe chunk of your bag. - Blue Gate - village and checkpoints mini-loop
Focus on the village houses, small checkpoints, and any indoor structures near a hatch or close extract point. These areas spawn enough weapons, trinkets, and materials to pay for your run without forcing you into the most dangerous urban fights.
At this stage, your ideal raid is 10-15 minutes long: land, hit 1-2 high-density POIs, extract with a half-full bag of tradable items, repeat. The goal is income consistency, not chasing "god runs".
What To Loot, What To Ignore
Picking up everything you see is the fastest way to go home poor. You need a simple mental filter for loot:
- High priority: trinkets and valuables (watches, jewelry, rare electronics), guns beyond basic starter tier, rare crafting components, modules, and anything highlighted by contracts. These typically sell for much more than raw materials.
- Medium priority: solid mid-tier weapons and armor you do not want to use but can offload at vendors, plus compact resource stacks that you know you need for upcoming bench or stash upgrades.
- Low priority: bulky low-value materials and generic junk that eats space for very few coins. Early on you can pick some of this up to learn prices, but once you roughly know vendor values, leave it on the ground.
A simple rule: if an item does not either sell for good money, directly move you toward an upgrade, or complete a contract, it is probably not worth dragging home when your bag is filling up.
Safe Pocket And Extraction Timing
Most dedicated money guides stress the same safety mechanic: always use your safe pocket for the single most valuable item in your inventory before you head toward extraction. If everything goes wrong, you still keep a "seed" item to sell and restart your bankroll.
Combine that with disciplined extraction timing: if you have one or two big-ticket items in your bag and the raid is getting loud, leave. A boring 15-minute raid that earns you coins is worth more than a heroic 40-minute run that ends in a wipe.
Mid And Late Game - Turning Raids Into A Coin Machine
Once you can extract reliably and know your maps, your goal shifts from "not going broke" to "maximizing Raider Coins per hour". This is where you start stacking contracts, committing to stronger routes, and thinking about your average session profit instead of individual raids.
Stack Contracts, Dailies, And Vendor Missions
Every serious money guide repeats one point: contracts and missions are guaranteed coin injectors that you should treat as mandatory whenever possible.
- Always grab dailies and vendor contracts before entering a raid. Many of them require actions you would take anyway - looting certain POIs, killing specific ARC units, or extracting with a type of item.
- Plan your route around objectives instead of pure random wandering. If two contracts are pointing at the same region, you are effectively getting paid twice for one route.
- Prioritize coin and resource payouts over marginal XP-only tasks when your goal is money. XP is nice, but coins buy you the tools that make XP farming easier later.
A "perfect" mid-game money raid is one where you complete multiple contracts, scoop up high-value loot, and extract cleanly - even if you only fought when it was necessary.
High-Yield Coin Routes (Mid Risk, High Return)
Community and site guides have highlighted several farming patterns that balance loot density with manageable risk. The names and exact loops vary from guide to guide, but the structure is similar.
- POI rush and early extract
Hit one of the strongest POIs near your spawn - for example, Library in Buried City or Research & Administration in Dam Battlegrounds - loot fast, then immediately leave. You are racing other squads; speed and path knowledge is everything. - Two-POI sweep
Chain two medium-hot locations (for example, offices plus a nearby industrial block) and extract from the safest exit. This balances risk and reward; you still leave before endgame storm chaos and late-raid stacked squads. - Targeted rare enemy and event farming
Some routes focus on specific enemies, ARC pods, or event spawns that drop higher-value items and components. Map conditions like Husk Graveyard on Spaceport massively increase the number of ARC husks, letting you breach multiple destroyed units for rare ARC parts and upgrade materials in a single run. During these windows, your profit per hour in parts and high-end crafting mats spikes hard, so it is worth adjusting your schedule around them when they are active. - Stella Montis event and blueprint runs (late-game)
Once you have stable gear and map knowledge, Stella Montis becomes your premium money and progression map: indoor trains, business centers, and event chains spawn high-tier weapons, blueprints, and rare materials. The risk is much higher - more players, more third parties, more ARC - but a clean Stella run can pay for several safer Dam/Buried/Blue Gate sessions. Treat Stella as your high-variance, high-reward option once you are out of the "broke" phase. - Spaceport material and blueprint sweeps (high risk, high reward)
Spaceport is a dangerous map, but its warehouses, Fuel Lines, Container Storage, Shipping Warehouse, and underground routes are packed with containers, rare components, and blueprint boxes when you know where to look. If you are comfortable with the layout and ready for heavier PvP pressure, targeted Spaceport runs can be some of the most profitable material and blueprint farms in the game.
Pick two or three routes you like, learn every spawn and shortcut, and run them on repeat. Familiarity cuts downtime and dramatically increases your profit per hour.
Sell Smart, Craft Smarter
You do not make money only by picking up items - you make it by converting the right subset of those items into coins.
- Sell unused weapons and redundant gear instead of hoarding six versions of the same rifle you never actually equip. Keep one or two backups of each piece you truly like, sell the rest.
- Turn junk into coins, not clutter. Many guides recommend picking a threshold price: if an item sells below that, you simply do not bring it home unless it is needed for a specific upgrade.
- Craft instead of buying when possible. Buying finished gear from vendors can be convenient but often more expensive than crafting from materials you already have. Save coins by crafting mid-tier items and spending cash only on must-buy pieces and upgrades.
What To Spend Coins On (And What To Skip)

Making money is only half the game. If you waste it on the wrong things, you will always feel broke no matter how good your routes are.
Top Spending Priorities
- Stash and storage upgrades
More space means you can hold more loot between sessions and avoid panic-selling valuable items just because you hit capacity. Early and mid stash expansions cost Raider Coins and are easily some of the best long-term investments you can make. Depending on how far you push your stash and which version or branch you play, later expansions or premium variants can also ask for Raider Tokens on top of coins, so it is smart to plan ahead for that cost. - Workshops and benches
Upgraded crafting stations let you turn materials into better gear and consumables instead of buying everything for coins. Long term, this dramatically reduces your ongoing expenses. - Reliable meds and ammo
Always budget for healing and enough bullets to run your best routes. Dying because you "saved money" on medkits is the most expensive mistake you can make.
Things To Treat With Caution
- Impulse weapon purchases
Buying every shiny gun that appears in a vendor window drains your funds. Buy only pieces that clearly improve your primary loadouts; let the rest come from drops and crafting. - Over-upgrading low-tier gear
Sinking coins into mediocre weapons early, then abandoning them when you unlock Bettina, Renegade, or other top-tier primaries is a classic trap. Invest heavily only once you are sure a gun belongs in your long-term kit. - Cosmetics while your economy is weak
Raider Tokens are mostly for cosmetics, cosmetic bundles, and premium track content. Until your economy is stable, cosmetics and token-only luxuries should be your last priority. Focus your real and in-game currency on upgrades that actually change how you play.
Common Money Mistakes (And How To Avoid Them)
Most players who constantly feel broke are making the same handful of errors. Recent money guides and community threads all call out the same patterns.
- Greed extracting - overstaying in raids after you already have good loot, then dying in the last five minutes. Fix: set a mental profit target per run and leave once you hit it.
- Ignoring contracts - running random routes with no objectives and missing out on guaranteed coin payouts. Fix: always stack dailies and vendor missions that align with your routes.
- Looting everything - filling your bag with low-value junk that sells for nothing. Fix: learn vendor prices and only pick up items that are clearly valuable or needed.
- Spending on the wrong upgrades - maxing out niche benches or buying sidegrade guns while your stash is tiny and meds are always short. Fix: stash and core benches first, vanity and experiments later.
- Not using safe pocket / no safety net - going into every raid "all in" with no protected item and no reserve coins. Fix: always keep a small emergency fund and safe pocket something valuable before heading to extract.
Gadgets, Shields & Money Runs
Gadgets and shields might not look like "economy" tools at first glance, but they decide how often you survive to actually cash out your loot. In a money-focused loop, you want tools that help you disengage, reposition, and survive bad situations, not just win highlight fights.
Key Gadgets For Profit-Focused Raids
- Photoelectric Cloak - the best panic button in the game. Lets you break line of sight, slip past ARC patrols, and escape doomed fights. In high-value money runs, Cloak is easily worth the slot.
- Snap Hook - lets you scale structures and cross gaps quickly, using a refillable use bar. It turns vertical maps and exposed sightlines into a playground for fast rotations and safe extracts.
- Zipline - deployable line that connects two points and allows fast traversal between them. Perfect for building repeatable farm routes and safe exits over dangerous streets or open ground.
- Barricade Kit - deployable cover that lets you cross open spaces, hold extracts, or fight from positions that would otherwise be suicide. Great for money runs where you want to minimize exposure.
- Door Blocker - locks metal doors and seals off angles completely, letting you create safe rooms or predictable choke points for traps and crossfires.
- Remote Raider Flare / Noisemaker - portable sources of noise and ARC aggro that bait pushes, fake positions, and mask your own rotations. Very useful for avoiding unnecessary fights around hot POIs.
- Deadline Mine - a pink, epic mine introduced with the Stella Montis event that can one-shot Bastions, tear Leapers apart, and chunk bosses when placed well. Patch 1.3 made it more expensive and toned down multi-part explosive abuse on large ARC targets, but in practice Deadline is still one of the strongest PvE tools in the game. For pure budget money runs you should bring it selectively; for serious boss pushes, Husk Graveyard farming, or high-value PvE events, Deadline remains a top-tier pick whose payoff easily covers its cost when used correctly.
Shields And How They Fit Into Money Runs
Shields decide how much punishment you can take while doing your job. Light shields keep you fast and responsive; medium and heavy shields slow you down but let you survive more mistakes and stray bullets.
For solo and highly mobile money runs, light shields pair well with flexible primaries and mobility gadgets like Snap Hook or Zipline. You rely on position and movement more than raw effective HP. For frontliners and players who anchor angles or hold doorways during contested extracts, medium or heavy shields make more sense; you are expected to soak initial damage and still be alive when your teammates move.
Final Thoughts
Arc Raiders is built around extraction, not around standing in a vendor menu. But if you ignore the money layer, every bad raid will feel like a full reset. When you treat raids as investments, stack contracts, run short focused routes in places like Buried City, Dam Battlegrounds, Blue Gate, and - later - Stella Montis and Spaceport during good conditions, sell smart, and put your coins into stash and core upgrades first, your entire experience changes.
You stop asking "how do I get rich in one run?" and start reliably walking out of most sessions with more value than you brought in. That not only stabilizes your economy, it also prevents the classic late-game burn-out where you sit on a full stash and no clear plan: with a money-focused loop, you always know why you run a route, what you are funding, and when it is time to pivot into new weapons, builds, or high-risk contracts. That is how you move from paycheck-to-paycheck raider to someone who can afford to experiment and push the game hard without sweating every single death - and that is when Arc Raiders really starts to feel like a long-term home instead of a grind.

