Diablo 4 Endgame Builds Tier List Pit Bosses Speed Farm

Diablo 4 Endgame Builds Tier List Pit Bosses Speed Farm is a current-season decision guide for one thing: picking a build that matches what you actually do in endgame when your runs are decided by boss rooms and repeatable clear loops. The Pit is a timed dungeon with a monster-clear phase and a boss arena, and deaths directly remove time, so "good damage" is not enough if you bleed seconds on the way to the boss or chain deaths in the boss room. This tier list is split by job: Pit bosses (clean boss finishes), speed farm (fast repeatable loops like lower Pit tiers and other quick content), and a short Pit push shortlist for players who want to climb higher tiers. The goal is to remove guesswork so you can choose a build path that stays consistent instead of feeling strong only when everything goes perfectly.
How the Pit really tests your build
The Pit has 150 tiers of difficulty and gives you 10 minutes to fill the progress bar by killing monsters, then you enter a boss arena and must defeat the boss before the timer ends. Dying imposes a timer penalty that increases with repeated deaths (30 seconds on the first death, 60 seconds on the second, and 90 seconds on the third and later deaths), and the penalty applies to the whole party if you are grouped. Shadow boss mechanics can also apply a stacking debuff during the boss fight, and the fight becomes more punishing as stacks build, which is why some builds "feel fine" until the boss phase suddenly becomes lethal. If you are choosing a Pit build, you are choosing a time-management plan as much as a damage plan. A build that finishes slightly slower but does not die will often outperform a build with higher peak DPS that pays repeated death penalties.
Endgame tier list for Pit pushing, Pit bosses, and speed farming

This table is deliberately compact. It is not trying to list every viable build. It is showing commonly recommended meta starting points that are currently positioned as strong performers across Season 11 tier lists and build hubs. Use it as a shortlist, then commit to the job your build must do most often. A "boss" setup is built to keep single-target uptime without forcing risky stationary windows. A "speed" setup is built to eliminate downtime and keep you moving. A "push" setup is included as a quick reference for players who want higher tiers, but the main focus of this article is Pit bosses and speed farming.
| Job | What decides success | Reliable picks to start from (Season 11) | Pick this when |
|---|---|---|---|
| Pit Push (high tiers) | Clear speed under the 10-minute timer plus defenses that prevent time loss from deaths | Basic Cleave Barbarian; Shadow Blight Necromancer; Pulverize Druid; Death Trap Rogue; Hydra Sorcerer; Quill Volley Spiritborn | You want higher tiers with fewer failed runs and fewer "random" timer collapses |
| Pit Bosses (clean finishes) | Single-target uptime with safe damage delivery through mechanics so you do not chain deaths | Death Trap Rogue; Shadow Blight Necromancer; Blood Wave Necromancer; Ball Lightning Sorcerer; Basic Cleave Barbarian; Pulverize Druid | You usually reach the boss but lose runs in the boss room or burn too much time there |
| Speed Farm (lower Pit tiers and fast loops) | Mobility, wide AoE reach, low downtime, minimal "setup" between packs | Death Trap Rogue; Shadow Blight Necromancer; Ball Lightning Sorcerer; Hydra Sorcerer; Shred Druid; Basic Cleave Barbarian | You want fast, repeatable sessions where you never stall between pulls |
Pit Bosses: what actually wins the boss room
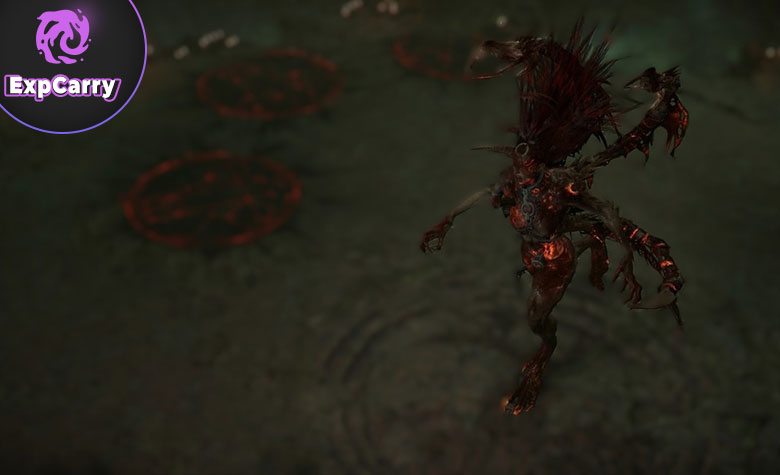
Pit bossing is not a pure DPS check. It is an uptime and survival check under time pressure. The boss room punishes builds that only deal damage in risky stationary windows, because one death is not just a mistake, it is direct time removal that ramps up with each death. The safest boss builds share the same traits: they keep damage on target while moving, they can re-enter uptime quickly after mechanics, and they have reliable defensive tools that prevent one bad overlap from becoming a death chain.
Use these practical boss filters to make the table feel real in your hands. First, prioritize safe uptime: can you deal meaningful damage while repositioning, dodging, or kiting, or do you need long stand-still channels that get you killed. Second, prioritize recovery speed: if you are forced off the boss, how quickly do you resume damage, or do you lose 10-15 seconds rebuilding a ramp. Third, prioritize anti-death layers: barrier, damage reduction, unstoppable, emergency heals, and defensive cooldown loops matter more than a small theoretical DPS edge because they preserve the timer. That is why picks like Death Trap Rogue and Shadow Blight Necromancer remain reliable: they keep pressure without demanding suicidal windows. Builds like Blood Wave Necromancer and Ball Lightning Sorcerer earn their boss slot when they can maintain uptime through mechanics and avoid repeated deaths. If you reach the boss with time left but collapse in the arena, choose from the boss row first and build around staying alive while damage happens.
Speed Farm: what actually makes a run fast
Speed farming is a different game from pushing. The target is repeatable runs with minimal friction, not the highest tier you can barely survive. A fast build deletes packs quickly without long setup, moves between packs without downtime, and keeps its damage loop running even when the map layout is awkward. If you feel like you are constantly waiting on cooldowns, constantly stopping to aim, or constantly stabilizing after near-deaths, your run is slow even if your tooltip damage is high.
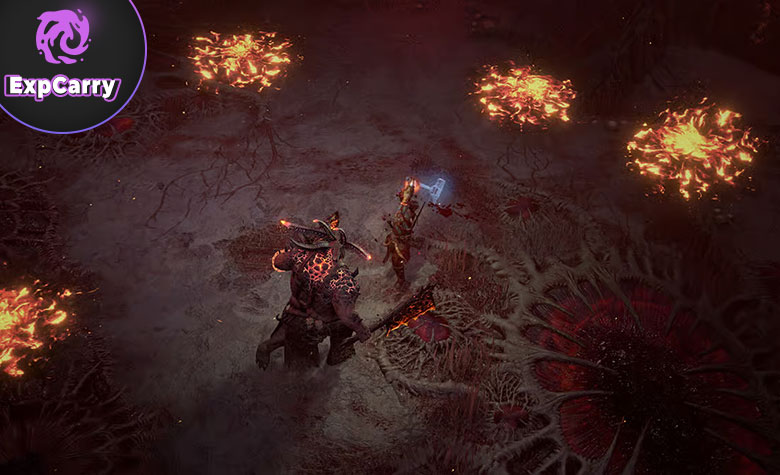
Use these practical speed filters to choose cleanly. First, prioritize movement and flow: your build should move fast by default, not only during a short burst window. Second, prioritize instant AoE reach: the best speed builds hit wide areas quickly without needing a perfect pull or a long ramp. Third, prioritize low downtime: your core clear loop should not require long cooldown resets or frequent resource starvation. That is why speed picks like Hydra Sorcerer, Death Trap Rogue, and Shadow Blight Necromancer tend to feel effortless in low-to-mid Pit tiers and other quick content: they keep you moving while damage keeps happening. If your goal is fast sessions, pick from the speed row, then tune for comfort and consistency instead of overbuilding for a tier that turns every run into a near-death recovery exercise.
How to choose one build without turning the guide into a checklist
If you are deciding between Pit bossing and speed farm, use a simple rule: identify where your time dies. If you consistently reach the boss with time left but the boss room collapses, your problem is uptime and survival, not route. You need a boss-leaning build that can keep damage on target while respecting mechanics, because deaths are not just "lost attempts" in the Pit, they are direct time removal that scales up with each death. If you clear the monster phase quickly but your runs still feel slow overall, your problem is friction: downtime between packs, cooldown gaps, and movement stalls. You need a speed-leaning build that keeps the run rhythm smooth from start to finish.
If you want one build that can cover both Pit bosses and speed farm without constant respec pain, prioritize overlap across the table and then specialize with gear swaps. Builds that appear in multiple jobs are usually strong because their baseline kit is stable: they clear well, they can boss without suicidal windows, and they can farm without stalling. Start with the job you will do most often, then add targeted upgrades to cover the second job, instead of trying to build a "perfect hybrid" from day one.
Pit rules that make your tier list pick perform like a tier list pick

The Pit punishes sloppy execution harder than most endgame content because of its timer design and escalating death penalties. You get more consistent results by playing one tier lower cleanly than by pushing a tier you can only clear when everything goes right. If you are dying repeatedly, you are not progressing, you are converting your run into time debt. The fastest performance boost is often defensive: stop the deaths, then the timer stops collapsing, then your clears become repeatable, then your upgrades start compounding again.
The simplest improvement loop is boring and effective. Choose a tier where you can reliably reach the boss with time left. Run it until your gear upgrades make the run feel comfortable rather than tense. Only then move up. This approach sounds conservative, but it is exactly how you turn the Pit into a consistent progression system instead of a frustration system. In practice, the build that "feels safest" often ends up being the build that climbs faster, because it spends less time failing and less time paying death penalties.
Conclusion
This tier list works when you match the build to the job you are actually doing. Pit bossing is a single-target uptime plus mechanics check: you win by delivering damage safely through the boss phase so you do not chain deaths and delete your timer. Speed farming is a low-friction efficiency check: you win by keeping movement fast, AoE wide, and downtime close to zero so your run rhythm never breaks. Pit pushing is still a valid goal, but it is a different optimization problem, and it belongs behind the boss and speed priorities if your title job is to farm and finish bosses cleanly.
Use the table as a shortlist, then commit to a simple plan: pick one primary goal (boss or speed), choose a proven build that fits that goal, and only then expand into a second goal with targeted swaps instead of forcing a fragile hybrid from the start. If your timer dies on the boss, fix safe uptime and survival. If farming feels slow, remove downtime and movement stalls. That is how you turn the Pit into repeatable progression rather than random-feeling runs.
