
Karazhan boss guides is a fast but complete raid guide for Karazhan in TBC Anniversary. It is built for weekly clears, pugs, and guild groups that want reliable execution without reading a full encyclopedia. Each boss section gives a practical overview, the abilities that actually cause wipes, and direct role callouts so tanks, healers, and DPS know what to watch every pull.
Karazhan wipes usually happen for the same reasons: a critical debuff sits too long, the raid ignores a forced movement rule, or target swaps are late. If your group handles those three categories consistently, Karazhan becomes one of the most stable raids">raids-service">raids in the tier. Use the checklist to set assignments, then use each boss block as a pull briefing.
What This Karazhan Boss Quick Guide Covers
This article is a boss-by-boss quick guide that still reads like a full guide. Every boss section includes how the fight works, what usually causes wipes, and what each role should prioritize, so each encounter feels scripted: you know what is coming, you know who reacts, and you clear without over-talking. It also covers the parts that commonly break pugs: the rotating Opera variants, the Chess event, and Nightbane as an optional boss, with the same structure every time: overview, compact ability table, and a short role confirmation paragraph.
Karazhan Boss Quick Checklist
This checklist exists so you can brief fights in seconds. Read the wipe reason, say the one sentence solution on voice, then pull. If your raid is new or inconsistent, assign jobs before you enter the wing where the boss lives, because most wipes happen when assignments are made late.
| Boss | Most common wipe reason | One sentence solution |
|---|---|---|
| Attumen the Huntsman | People in front, Intangible Presence sits too long, or Charge deletes someone | Face cleaves away, decurse instantly on all targets (tank priority), and keep range disciplined for Charge |
| Moroes | Add control fails and Garrote overlaps overwhelm healers | Lock down adds with assigned refreshers, follow kill order, and run real Garrote coverage plus Enrage awareness |
| Maiden of Virtue | Repentance recovery fails or Holy Fire/Holy Ground pressure snowballs | Pre-plan recovery, dispel Holy Fire immediately, and respect Holy Ground so healers do not fall behind |
| Opera Event | Raid plays the wrong script for the variant | Identify the event, follow kill priority, and protect key targets |
| The Curator | Astral Flares overlap or Hateful Bolt kills an unplanned target | Kill every flare on spawn and control Hateful Bolt with a planned second-threat soaker plus assigned healing |
| Shade of Aran | Someone moves during Flame Wreath or fails Arcane Explosion | Do not move on Flame Wreath and run out for Arcane Explosion every time |
| Terestian Illhoof | Sacrifice chains are not broken instantly | Hard swap to chains every time and keep the target alive until freed |
| Netherspite | Beam soaking fails in Portal phase or raid panics in Banish phase | Use a strict beam plan in Portal, then stabilize and avoid breath/ground hazards in Banish |
| Chess Event | Bishops stay alive and heal forever | Kill bishops first, then push the king with strong pieces |
| Prince Malchezaar | Enfeeble and Shadow Nova overlap in bad positions, axes and Amplify Damage cause sudden deaths | Spread, stabilize Enfeebled targets, manage infernal space, and call axes/Amplify Damage immediately |
| Nightbane | Fear chaos, fire patches, or skeletons not killed, plus air-phase target gets deleted | Use fear control, move from fire instantly, kill skeletons in air phases, and assign coverage for air-phase target damage |
Get any TBC Raids service from ExpCarry: raids, dungeons, PvP, leveling, gold, farming, coaching, and custom orders.
Karazhan Boss Quick Guides
Use this section as a pull script. Every boss follows the same pattern so your raid can brief in under a minute: a short overview of how the fight works, a compact ability table focused on wipe causes, and a final role confirmation paragraph so tanks, healers, and DPS know exactly what to prioritize. Read the overview once, call the one or two wipe mechanics out loud, confirm assignments, then pull.
Attumen the Huntsman

Attumen is a three-step fight: Midnight starts alone, Attumen joins, then they merge into a single mounted boss. It punishes sloppy positioning and slow curse removal more than low DPS. Your win condition is to keep every frontal away from the raid, remove Intangible Presence immediately (on every target it hits), and avoid random deaths from Charge while threat stabilizes through transitions.
| Ability | What it does | Role reaction |
|---|---|---|
| Shadow Cleave | Frontal cleave that can kill non-tanks who drift in front | Tanks face away, melee never step into the frontal, healers treat frontal hits as preventable emergencies |
| Intangible Presence | Curse that reduces hit chance and destabilizes threat and tank intake, and can affect nearby players | Decursers remove instantly with tank priority, remove it from anyone affected, tanks call it the moment it lands, healers expect worse tank stability while it sits |
| Berserker Charge | Charge that can delete a fragile target if positioning and healing are sloppy | Ranged maintain clean spacing, healers react fast to the charge target, raid avoids unnecessary spread chaos that creates bad charge angles |
| Merge into Mounted Attumen | Transition where threat can swing and damage spikes | Tanks stabilize first, DPS ramps after, healers cover the transition spike window |
Tanks: keep the boss faced away, call Intangible Presence instantly, and control transitions so threat does not swing. Healers: the join and merge moments are real spikes, and Charge targets can die fast, plan attention and cooldowns around those windows. DPS: stay out of the frontal, keep threat controlled during transitions, help decurse if your class can, and do not create pointless positioning chaos.
Moroes
Moroes is add control plus sustained healing pressure. The dinner guests define the pull, and Garrote defines the healer load over time. If your raid does not commit to a real crowd control plan or a clean kill order, you will lose control of the room while Garrote drains resources and forces deaths that feel random. The second failure pattern is control breaks when Gouge or Vanish disrupts tanking, followed by Enrage pressure in the final stretch.
| Ability | What it does | Role reaction |
|---|---|---|
| Dinner guests | Adds that must be crowd controlled or killed in a fixed plan | Assign CC targets and refreshers before pull, tanks pick up loose adds instantly, DPS follows kill order without freelancing |
| Garrote | Long duration bleed that creates sustained healing pressure | Healers run a coverage plan, targets use defensives, planned immunities remove it when available, call overlaps so no target is missed |
| Gouge | Short incapacitate that can drop tank control and cause add chaos | Offtank or backup plan must be ready, tanks do not panic chase, raid keeps CC stable so a brief tank disruption does not cascade |
| Vanish | Brief disappear and re-engage pattern that often precedes Garrote | Tanks do not chase, healers pre-react for the next Garrote, raid keeps add control stable |
| Blind | Poison disorient on a nearby target that can disrupt healing or control | Poison removers help, keep key roles from being the closest target when possible, do not let CC refreshers get blinded without backup |
| Enrage | Late-fight damage increase that punishes sloppy stabilization | Tanks plan mitigation, healers hold throughput tools for the last stretch, DPS stays disciplined so the room does not collapse near the end |
Tanks: protect healers by keeping adds controlled and immediately fixing broken CC situations, and have a plan for Gouge disruptions. Healers: Garrote overlaps are the fight, call them and rotate coverage so no target is ignored, and expect heavier pressure near the end. DPS: execute the CC and kill plan perfectly, do not tunnel, and recover fast when Blind or Gouge breaks the clean script.
Maiden of Virtue
Maiden is a raid discipline check built around timed disruption and fast dispels. Repentance forces a recovery moment, Holy Fire deletes players if it stays up, Holy Ground pressures the raid if people stand in it, and Holy Wrath punishes stacking. The fight is clean and fast when the raid is spread and dispels are immediate, but it becomes messy when people clump and healers are forced into late recovery.
| Ability | What it does | Role reaction |
|---|---|---|
| Repentance | Raid incapacitate that stops normal healing and forces recovery | Healers plan the post-effect burst, tanks stay stable, raid avoids extra damage right before it hits |
| Holy Fire | Heavy damage plus a dangerous DoT on one target (magic dispel) | Dispellers remove instantly, healers top the target fast, the target uses defensives |
| Holy Ground | Ground damage aura/zone that drains the raid if positioning is sloppy | Keep positioning stable, step out if needed without collapsing spread, healers expect steady background pressure if people fail this |
| Holy Wrath | Chain damage that punishes stacked players | Raid stays spread, especially ranged and healers, tanks keep positioning stable |
Tanks: hold Maiden steady so the spread formation stays consistent and healers can plan recovery. Healers: track Repentance timing, treat Holy Fire dispels as priority saves, and call out if Holy Ground pressure is getting out of hand. DPS: stay spread, help dispel Holy Fire if you can, and do not greed damage while standing in avoidable ground pressure.
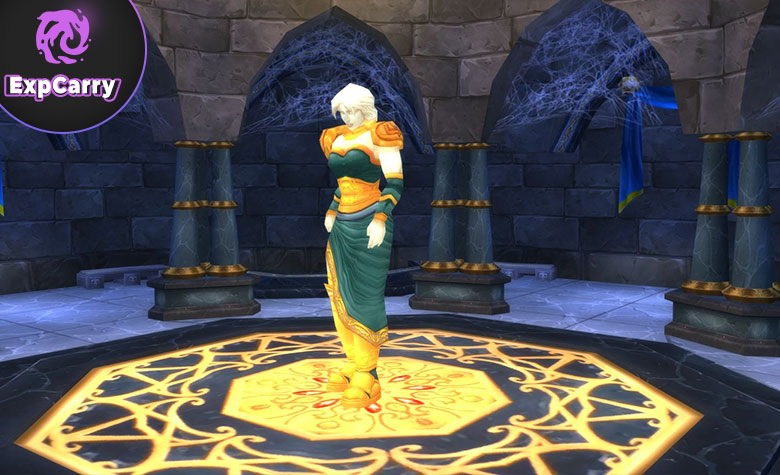
Opera Event
Opera rotates weekly, so the first job is identifying which variant is active. Each variant wipes raids for a different reason: timing and control on Romulo and Julianne, add control and kill priority on Wizard of Oz, or target survival during the chase window on Big Bad Wolf. Treat Opera like a scripted mechanics fight, not free loot, and it becomes one of the easiest stops in the run.
| Variant | What it does | Role reaction |
|---|---|---|
| Romulo and Julianne | Two-target encounter where kill timing and control decide the danger windows | Interrupt and control, manage HP so neither target dies too early, then finish cleanly without creating an uncontrolled overlap |
| Wizard of Oz | Add-driven fight where incorrect priority floods the room | Tanks control dangerous targets, DPS follows strict priority, healers prepare for spikes when adds overlap |
| Big Bad Wolf | Chase mechanic that threatens one target with forced movement | Healers hard focus the chased target, the target kites cleanly, raid avoids dragging chaos into the path |
Tanks: play the variant, not your usual script, especially on Oz where add control decides the pull. Healers: protect the one target that matters in the moment and be ready for fast stabilization after burst windows. DPS: follow the variant rules and do not tunnel when the fight demands control or survival first.
The Curator
The Curator is an add rhythm fight with a burn window. He repeatedly summons Astral Flares that must die on spawn, then he Evocates and becomes vulnerable. If flares overlap, raid damage ramps past healer control, so the fight is won by discipline on swaps and clean execution during the Evocation burn rather than raw boss tunnel. Hateful Bolt is also a real wipe source if it hits an unplanned fragile target, so control it with threat.
| Ability | What it does | Role reaction |
|---|---|---|
| Summon Astral Flare | Repeated adds that create raid pressure until killed | DPS swaps instantly and kills every flare on spawn, tanks keep boss stable during swaps |
| Hateful Bolt | Heavy hit on a non-tank high threat target | Assign a planned second-threat soaker (often OT) and assign healing for that target, DPS controls threat so fragile players are not punished |
| Evocation | Vulnerability window where the boss takes more damage | DPS hard burns the boss, healers stabilize quickly so the burn stays uninterrupted |
Tanks: keep Curator steady, set up an intentional threat plan for Hateful Bolt, and avoid chaos during flare swaps. Healers: flares and bolts are the pressure pattern, keep the bolt soaker alive and stabilize fast entering Evocation so DPS can end the fight. DPS: flares are priority until Evocation, then commit to the boss and end the encounter fast.
Shade of Aran
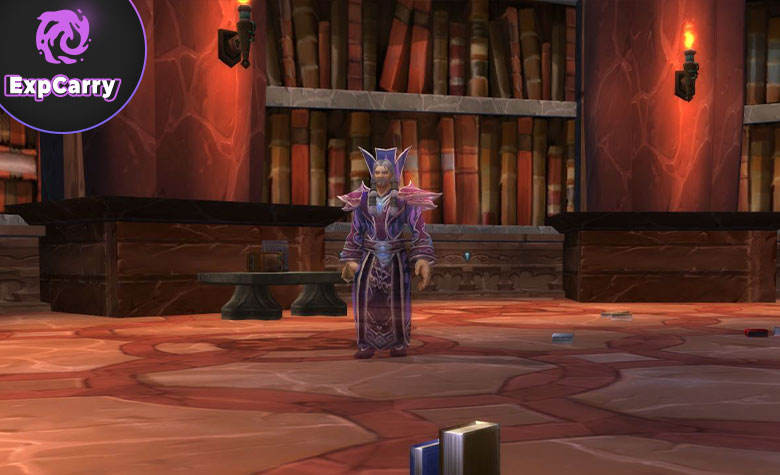
Shade of Aran is the Karazhan mechanics filter. The fight is easy if everyone respects two rules: do not move during Flame Wreath, and run out for Arcane Explosion. Most wipes are a single bad reaction, so call the dangerous mechanics loudly and keep movement clean instead of panicked.
| Ability | What it does | Role reaction |
|---|---|---|
| Flame Wreath | Rings that explode if a player moves | Everyone stops moving completely until it ends, callers announce it immediately |
| Arcane Explosion | Large burst that requires distance from the boss | Run out when it starts, healers stabilize after reposition, then return |
| Blizzard | Ground effect that forces movement | Move out cleanly without dragging it through the raid and clipping others |
| Water Elementals | Adds that increase pressure if left alive | DPS swaps and kills quickly, healers prepare for extra raid damage while they live |
Tanks: your value is stability and not creating chaos, do not drag the boss through players during movement moments. Healers: Flame Wreath mistakes create instant wipe chains, call it and keep the raid calm through reposition windows. DPS: never move on Flame Wreath, kill elementals fast, and do movement mechanics without panic.
Terestian Illhoof
Illhoof is a target swap fight with a hard rule: Sacrifice chains must die immediately. If chains stay up, the trapped player dies and the encounter snowballs because the boss gains too much value from the mechanic. This fight is easy when swaps are instant and the room stays controlled, and it becomes impossible when people tunnel.
| Ability | What it does | Role reaction |
|---|---|---|
| Sacrifice | Traps a player and creates chains that must be destroyed | DPS swaps instantly to chains, healers hard focus the trapped target until chains break |
| Imp spawns | Imps add pressure and can overwhelm healers if unmanaged | Tanks and DPS keep the room controlled with cleave and AoE when safe, without delaying chain swaps |
| Kil'rek | Companion that adds damage and distraction | Handle by plan, but chains always override any other target |
Tanks: keep Illhoof positioned so chain swaps are fast and protect healers from loose imps. Healers: Sacrifice targets are lethal if chains are late, pre-target and commit until the swap finishes. DPS: chains are always priority one, everything else is secondary until the trapped player is free.
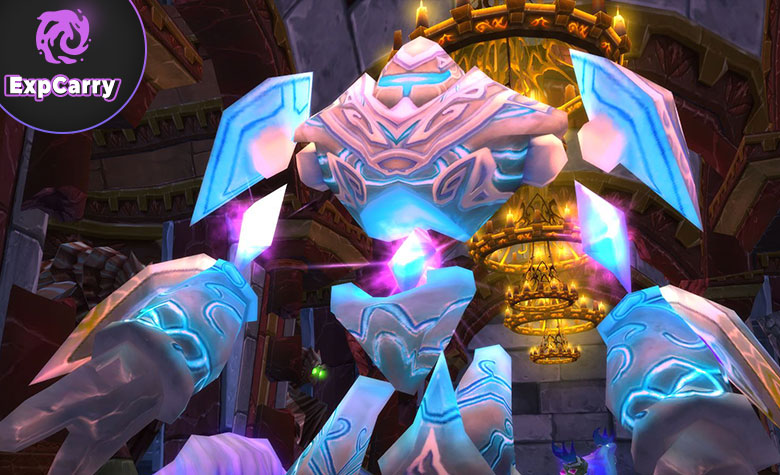
Netherspite
Netherspite is a planned execution fight with two distinct phases: Portal phase, then Banish phase. Portal phase uses three beams that must be soaked according to a strict plan, and the fight becomes chaos when people improvise or cross beams. Banish phase is where pugs panic and die to avoidable damage because they stop following a clean positioning rule. Assign soakers before pull, follow your swaps, then stabilize and avoid breath and ground hazards in Banish.
| Ability | What it does | Role reaction |
|---|---|---|
| Portal beams (Portal phase) | Red, green, and blue beams that must be soaked to control buffs and survival | Assigned soakers hold their beam, nobody crosses beams, rotations follow the plan exactly |
| Beam breaks (Portal phase) | Creates sudden damage swings and loss of control | Soakers call if they must drop, backups step in immediately, raid avoids panic movement |
| Netherbreath (Banish phase) | Breath damage that punishes sloppy positioning and late reactions | Stay disciplined with facing and spacing, healers prepare for spikes, players do not drift into bad angles |
| Ground hazards (Banish phase) | Extra avoidable damage that becomes lethal when combined with other pressure | Move out cleanly, do not drag hazards through the raid, stabilize fast and reset for the next Portal phase |
Tanks: keep positioning predictable and follow the red-beam plan if your group uses it for tanking control, then keep facing and spacing clean in Banish. Healers: beam soakers can take extreme pressure depending on stacks, assign coverage and do not let beam targets die during rotations, then stabilize hard in Banish so the next Portal is clean. DPS: if you are a beam soaker you do your job first, if you are not soaking you never cross beams, and in Banish you do not improvise movement that breaks the room.
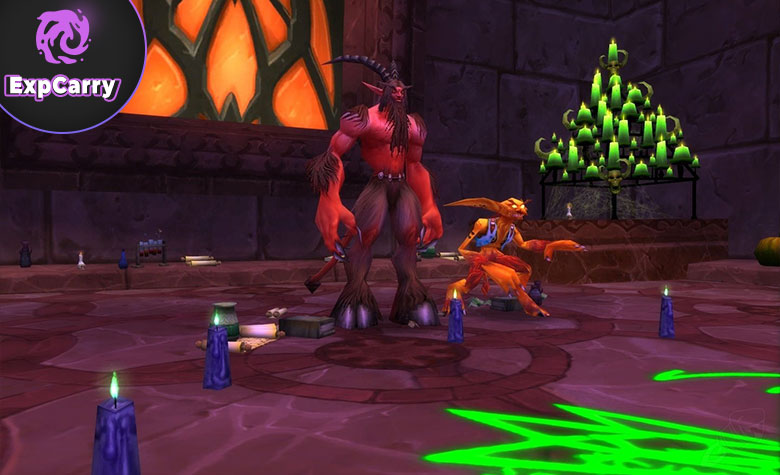
Chess Event
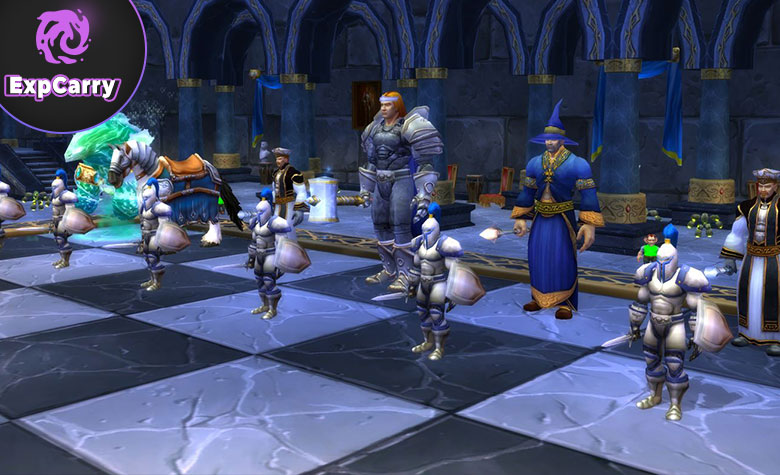
Chess is a control encounter, not a normal boss. You win by removing the pieces that prolong the board, then pushing the enemy king down. Most groups stall because enemy bishops are left alive and keep healing, so the simplest strategy is to kill bishops early and then use strong pieces to apply constant pressure while avoiding fire cheats.
| Priority | What it does | Role reaction |
|---|---|---|
| Kill bishops first | Removes healing and stops the board from resetting | Assign multiple players to bishops and remove them early |
| Push with strong pieces | Breaks the board and opens the king | Use high-impact pieces to pressure while keeping your own line safe |
| Avoid fire | Fire zones waste turns and lose pieces | Move affected pieces immediately and return to pressure |
Tanks, healers, DPS: treat this as clean execution, not improvisation. Kill bishops first, keep pressure with strong pieces, and move out of fire instantly so you do not lose the board to avoidable mistakes.
Prince Malchezaar
Prince is the final boss and the most common full clear blocker. The fight is a space management problem: infernals shrink safe area, Enfeeble creates sudden low-health targets, Shadow Nova punishes stacking, and axes plus Amplify Damage create sudden deaths if the raid is not ready. Your group wins by spreading as a default, stabilizing Enfeebled targets quickly, calling axes pressure, and constantly preserving room to move as infernals land.
| Ability | What it does | Role reaction |
|---|---|---|
| Enfeeble | Drops several players to very low health | Healers triage immediately, affected players hold safe positions and avoid dragging danger into the raid |
| Shadow Nova | Dangerous burst that punishes stacked players | Raid stays spread, leaders call timing if needed, healers prepare for emergency saves after mistakes |
| Amplify Damage | Damage amplification debuff that turns normal hits into lethal hits | Call it when it lands, healers pre-cover the target, tanks and affected players use defensives and play safer |
| Infernals | Creates hazards that shrink usable space over time | Raid rotates positions, avoids cornering, and keeps a planned safe lane open |
| Axes | Phase pressure that can target players and cause sudden deaths if ignored | Call targets, heal through spikes, players keep movement controlled while staying spread so axes do not chain punish the raid |
| Phase changes | Shifts the pressure profile and punishes sloppy control | Tanks plan cooldowns, healers anticipate spikes, DPS stays disciplined while repositioning |
Tanks: position Prince to maximize space and keep movement controlled so healers can reach everyone while spread, and react fast to Amplify Damage windows. Healers: Enfeeble is the stress test, stabilize low targets without losing the tank, and be ready for axes and Amplify Damage spikes. DPS: spread by default, respect Nova every time, treat infernals as a positioning problem you solve early, and do not drift into stacks when axes pressure starts.
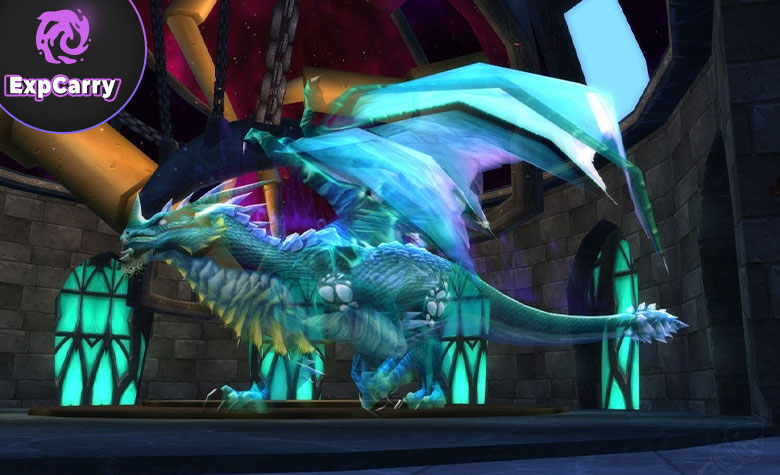
Nightbane
Nightbane is optional and often the hardest fight for newer groups because it stacks multiple failure types: fear chaos, forced movement from fire patches, and an air phase that spawns skeletons and pressures a single target with heavy damage. The clean strategy is to bring fear control, move instantly from Charred Earth, treat skeletons as the only real DPS priority during air phases, and assign how you will keep the air-phase target alive through focused damage patterns.
| Ability | What it does | Role reaction |
|---|---|---|
| Bellowing Roar | Raid fear that can cause tank loss and chain deaths | Use fear control tools, tanks and healers prepare for recovery after fear ends, do not let fear break positioning into fire |
| Charred Earth | Fire patch under a non-tank that must be moved from | Target moves instantly, healers keep them alive while relocating, raid avoids dragging fire into stacks |
| Rain of Bones | Air phase mechanic that spawns skeletons | DPS swaps to skeletons immediately and kills them fast, tanks help control if they reach healers |
| Smoking Blast | Heavy single-target pressure during air phase, often lethal without assigned coverage | Assign who covers the target, use cooldowns if needed, the target uses defensives and avoids standing in fire while being focused |
| Fireball Barrage | Air-phase raid pressure that punishes sloppy positioning and slow stabilization | Stay disciplined with positioning, healers prepare throughput, raid avoids unnecessary spread chaos that makes healing impossible |
Tanks: face Nightbane away and keep positioning clean so the raid can move without getting clipped by frontals, then regain control quickly after air phases and fear windows. Healers: plan fear recovery and assign who hard-covers the air-phase target, because that is where random deaths happen, then stabilize raid damage from air-phase pressure. DPS: move off Charred Earth instantly and kill skeletons first in every air phase, because leaving them alive is how raids wipe, and do not create positioning chaos that forces healers to guess.
Practical Preparation Plan
Karazhan preparation is mostly assignment work, not farming. Before the run, assign curse removal for Attumen with a rule that Intangible Presence is removed instantly on every target (tank priority), crowd control responsibilities and kill order for Moroes plus who covers Garrote overlaps, a loud Flame Wreath caller for Shade of Aran, and beam soakers plus rotations for Netherspite including a plan for Banish phase stability. For Curator, confirm who will be the planned second-threat Hateful Bolt soaker and who heals them. If you are doing Nightbane, confirm fear control tools, confirm who hard-covers the air-phase target damage, and make it clear that skeletons are the air-phase DPS priority, not boss damage.
Conclusion
Karazhan boss quick guides comes down to consistency, not hero plays. Most Karazhan wipes are self-inflicted: a curse or DoT sits too long, someone breaks a movement rule, or the raid tunnels instead of swapping to the mechanic target. If you decurse Intangible Presence instantly on Attumen and respect Charge risk, control Moroes adds while planning Garrote coverage and handling Gouge/Enrage pressure, keep the raid spread and dispel Holy Fire while respecting Holy Ground on Maiden, kill every Astral Flare on Curator while controlling Hateful Bolt targets, never move on Flame Wreath on Aran, break Sacrifice chains instantly on Illhoof, follow a strict beam plan in Portal phase and stabilize cleanly through Banish on Netherspite, and manage space plus Enfeeble, Nova, axes, and Amplify Damage on Prince, the raid becomes predictable. Predictable is fast, and fast is what makes Karazhan feel good week after week. Use the checklist to assign jobs before pulls, use each boss block as a 20-second briefing, and your group will turn Karazhan into a clean weekly clear instead of a debate session.


