Kazeros Raid Act 3 Strategy Guide – Boss Mechanics, Team Comps & Loot

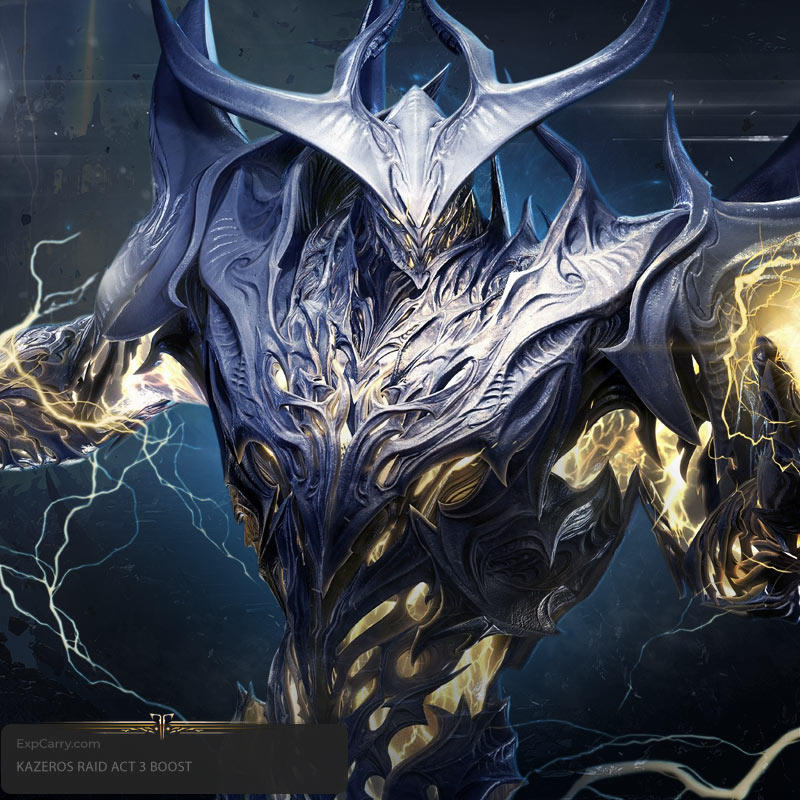
The Kazeros Raid Act 3 launched in the Lost Ark June 2025 patch, introducing a top-tier endgame PvE raid with intricate mechanics and elite rewards. This three-gate, 8-player raid continues the evolving Kazeros storyline and challenges players with a high-skill meta, unique Allied Forces mechanics, limited self-resurrections, and complex wipe conditions.
This Lost Ark Kazeros Act 3 guide delivers a complete breakdown of boss strategies, optimal team comps, loot prioritization, and gear prep tips for Normal and Hard difficulties. Whether you're a progression raider or aiming for Ancient accessories, Relic III gear, or perfecting your Lost Ark raid meta build, this guide helps you stay ahead in the 2025 PvE environment.
Lost Ark Kazeros Act 3 Raid Overview
Kazeros Act 3 features three main gates:
Gate 1: Thaemine (The Black Knight)
Gate 2: Naitreya / Chaos Guardian
Gate 3: Mordum, the Abyssal Punisher
Item Level Requirements
Normal Mode: iLvl 1680+
Hard Mode: iLvl 1700+
Clearing all gates grants access to:
Ancient Accessories with top-tier stats
Lost Ark Relic III gear upgrade materials
Legendary and Relic Engraving books
Class Stones used in meta PvE builds
These rewards play a crucial role in achieving BiS setups for Legion Raids and high-end PvE content.
Resurrection System
Each player is allowed 1 revive per gate, reinforcing the importance of raid-wide awareness and survival discipline. Losing revives early can make late-stage mechanics in Mordum or Chaos Guardian nearly impossible.
Allied Forces System
Introduced exclusively in Kazeros Act 3, Allied Forces function as one-time power boosts per gate. These are critical in damage, cleanse, or survival mechanics:
Azena: AoE burst and stagger utility
Thar: Full-party protective shield for fatal skills
Echinda: Removes harmful debuffs and prevents wipe conditions
Ephernia: Boosts stagger and increases crit uptime for burst windows
Each summon is limited to once per gate and must be coordinated carefully.
Gate 1 – Thaemine Boss Mechanics
Key Attacks
Radiant Wave: A wide frontal cone AoE that deals high holy damage. Can be baited and dodged with proper positioning. Often comboed with a follow-up backstep slash.
Beam Lock: Thaemine targets one player with a channeling beam that increases in intensity. Target must lead it away while others stay spread. Being hit multiple times leads to DoT stacking.
Stagger Check (70% HP): Thaemine teleports to the center and casts a wipe mechanic that must be interrupted with stagger skills and items within 10 seconds. Failure leads to full party wipe.
Shadow Bind (50% HP): Roots random players and pulses AoE. Must be cleansed or shielded. Coordinate support cooldowns.
Light Prison (30% HP): Traps two players in radiant cages. Party must quickly destroy the cage while avoiding AoE waves.
PvE Strategy Tips
Use Ephernia during stagger check to boost stagger damage and crit rate for burst windows.
Assign ranged classes like Sorceress, Gunslinger, or Arcanist to bait and kite the Beam Lock mechanic safely.
Assign burst/stagger builds such as Gunlancer, Destroyer, and Artillerist for high stagger uptime during key phases.
Designate supports to save cleanse/shield skills for Shadow Bind phase.
Use Time Stop potions when trapped in Light Prison if support skills are on cooldown.
Gate 2 – Naitreya & Chaos Guardian Mechanics
Phases
Mirror Dimension Split: The raid group is split into two mirrored arenas, each side requiring simultaneous handling of mechanics and timed orb collection. Failure on either side results in a group-wide punishment.
Aura Reversal: Players are assigned either a red or blue aura and must dodge corresponding colored AoEs while collecting matching orbs. Missteps apply stacking debuffs or trigger instant AoE damage.
Co-op Orb Syncing: Synchronized orb pickups between players on both sides of the arena are necessary to phase the boss or trigger immunity zones. Delay or mistiming can result in failed mechanics and raid wipes.
PvE Tips
Assign class-balanced teams pre-pull (include 1 support and stagger/DPS hybrid per side to maintain uptime and sustain).
Bard or Artist excels in aura cleansing phases; prioritize their positioning for group-wide utility.
Use Azena for AoE burst if overwhelmed by spawned adds during the split phase, or Echinda if a cleanse is needed post-aura swap.
Communicate orb pickup timing and coordinate countdowns via pings or voice chat.
Pre-assign players by aura color during Aura Reversal to reduce confusion and delay mid-fight.
Gate 3 – Mordum Boss Mechanics
Highlights
Rogue Orbs: Random-target AoEs that explode after a short delay, requiring players to stay mobile and spread out. Orbs can overlap if baited poorly, leading to massive team damage.
Abyssal Rupture: A full-arena wipe mechanic with a long channel time. Players must use Thar’s protective shield during the cast or utilize coordinated Time Stop potions to survive. Occurs around 60% HP and again at 20% HP.
Enrage Mode (15% HP): Mordum enters a berserk state with drastically increased attack speed, reduced animation tell time, and more frequent use of overlapping AoE combos. He gains a persistent damage aura and resistance to stagger.
Flame Pillars: Random flame eruptions appear beneath players' feet. These pillars persist for several seconds, restricting movement and punishing clumped positioning.
Shadow Grasp: A tether that attaches to one DPS and gradually reduces their movement speed while stacking debuffs. Must be cleansed or broken with damage.
Strategy
Deploy Thar mid-channel of Abyssal Rupture, especially in second cast when players are low on potions and cooldowns.
Supports must time shields, mitigation buffs, and healing uptime precisely in Enrage Phase. Bard’s Rhapsody and Paladin’s Heavenly Blessings should alternate.
Assign a mobile class like Arcanist or Deathblade to bait Rogue Orbs away from supports and grouped DPS.
Use ranged classes with fast-cast skills (Sorceress, Gunslinger) to kite around Flame Pillars and continue uptime.
Save Time Stop Potions for post-Shadow Grasp combo or if Thar’s shield misses Abyssal Rupture.
Best Kazeros Raid Act 3 Team Compositions
Recommended Setup
2x Support: Bard, Paladin, or Artist
3x Ranged DPS: Arcanist, Sorceress, Summoner – all excel in wide AoE damage and can maintain high uptime during complex movement phases.
2x Melee DPS: Deathblade, Reaper, Scrapper – best for burst windows and phase-skipping due to their high mobility and stagger potential.
1x Utility/Stagger Role: Gunlancer or Destroyer – crucial for stagger checks and shielding during emergency mechanics.
Notes:
Relic III weapons and armor highly recommended for all DPS to meet damage thresholds in Hard Mode.
Ideal engravings include Grudge, Adrenaline, Cursed Doll, and Class Engraving depending on class synergies.
Swiftness should be prioritized for supports to reduce cooldowns on shields, heals, and cleanse skills.
Hybrid builds (e.g., Crit/Swiftness Sorceress) may help bridge damage and survivability in Mordum's Enrage phase.
Include at least one stagger-heavy build per party (Artillerist, Gunlancer, or Destroyer) to guarantee stagger phase consistency, especially for Thaemine.
Kazeros Raid Loot Priority & Rewards
Gate-Specific Rewards
- Gold per gate (scales with difficulty and participation level; Hard mode rewards more raw gold and additional weekly bonus tokens)
- Crafting materials for Relic III upgrades, including Enhanced Harmonizers, Luminous Stones, and Chaos Imprint Fragments
- Engraving books (Legendary/Relic tier) used to unlock key PvE damage and utility engravings; most common drop pool includes Adrenaline, Barricade, Awakening, and class-specific options
- Soul Leaves and Enigmatic Shards used for crafting unique cosmetic rewards tied to the Kazeros legacy
Final Chest (Gate 3 Hard Mode)
Ancient Accessories with 1720+ item level stats and higher chance of double engraving lines or high-quality main stats (Crit, Spec, Swiftness)
Class Stones aligned with PvE meta builds; often BiS for raids requiring high stagger or survivability (e.g., Deathblade, Bard)
Achievement points, collectibles (e.g., Mordum's Crest, Thaemine's Echo), raid titles, and bonus trophies that unlock Stronghold cosmetics or unique guild banners
Best Loot Strategy
Always open Gate 3 Hard Mode chest—best ROI due to gear potential and rare drop pool
Gate 1 and 2 chests are optional but can supplement progression, especially when targeting engraving books or crafting mats
For gold optimization, limit purchases of early chests unless you have excess or are working toward specific meta engravings or collectibles
Use Kazeros Weekly Token Exchange to acquire additional Relic III parts or cosmetic rewards from the vendor inside Trixion
Gear Preparation for Kazeros Act 3
Minimum Requirements
iLvl 1680–1700+ depending on mode: Normal requires minimum 1680, while Hard demands 1700+, with preferred overgearing (1710+) for smoother execution.
Full Relic III armor and weapon: Required for survivability and damage thresholds. Prioritize upgrading weapon and gloves for optimal DPS.
Tripods at level 4–5 (ideally 5/5 on core skills): Focus on damage-enhancing tripods for DPS; cooldown and buff uptime for supports.
Gem Optimization: Level 7+ damage and cooldown gems. Ensure synergy with skill rotations.
Stat priority:
DPS: Crit/Specialization for burst classes (e.g., Sorceress, Deathblade); Crit/Swiftness for uptime and mobility (e.g., Gunslinger, Scrapper).
Support: Swiftness to reduce cooldowns and increase shield uptime; Specialization (especially for Paladin) to amplify buff potency.
Consumables Checklist
Time Stop Potion (phase skip protection, especially during Abyssal Rupture or Light Prison).
Whirlwind Grenade (essential for stagger checks, especially Gate 1 and Gate 3 stagger phases).
Elemental Flask (used pre-buff window to sync with group-wide burst).
Sacred Charm (cleansing tool for Shadow Bind, Aura Reversal debuffs, and Shadow Grasp).
HP Potions (Bound) and Panaceas for healing without triggering shared cooldowns with main potions.
Dark Grenade or Bleed Bomb for optimized DPS during Mordum’s Enrage Phase if team lacks bleed synergy.
Kazeros Raid Advanced Tips
Pre-plan Allied Forces activation per gate, assigning specific players to trigger Azena, Thar, Echinda, or Ephernia based on anticipated mechanics and their cooldown synergy.
Designate res priority clearly before the raid begins, focusing on support classes and highest-output DPS. Use raid markers or macros for visual cues.
Cycle damage buffs like Adrenaline, Awakening skills, and synergy debuffs in sync with stagger checks and burst phases to maximize group DPS.
Use Lost Ark party ping features and Quick Mark to assign orb pickups, safe zones, and interrupt duties for cleaner coordination.
Record each pull using replay tools or built-in capture functions to review mistakes, analyze wipe causes, and optimize positioning and rotation.
Hold brief post-raid team discussions to assess performance, track improvement, and rotate roles or compositions if needed.
Conclusion
Kazeros Act 3 stands as the defining endgame PvE challenge in Lost Ark 2025, demanding mechanical precision, composition balance, and thorough understanding of each boss gate. With evolving metas and high-tier rewards like Ancient Accessories, Relic III upgrades, and Class Stones, it’s a core progression milestone.
From stagger checks to aura fields and enrage mechanics, every phase requires discipline and synergy. This guide aims to equip your team with the meta knowledge needed for successful clears.
Stay current, stay optimized, and rise through the Lost Ark raid meta by mastering Kazeros Act 3.


