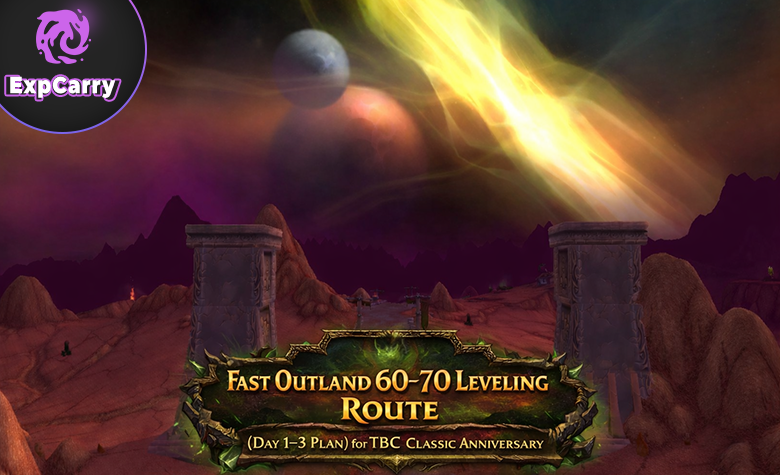
Fast Outland 60–70 Leveling Route (Day 1–3 Plan) for TBC Classic Anniversary

Outland leveling from 60 to 70 in WoW TBC Classic Anniversary is mostly about one thing: tempo under real launch conditions. Quest hubs will be crowded, key spawns will be camped, and the “perfect route” you see in normal leveling guides will break the moment you hit your first bottleneck. The fastest players are the ones who stack quests in batches, rotate objective pockets instead of waiting, and refuse to pay the launch-week tax of standing still.
This guide is intentionally not a full 1-70 leveling guide. You already have dedicated Horde and Alliance versions for that. This is a Day 1 to Day 3 Outland plan built for the 60 to 70 rush: where to start in Hellfire, how to move into Zangarmarsh without wasting time, how to bridge through the mid 60s efficiently, and how to finish 68 to 70 fast without getting locked into contested objectives. The structure is simple, practical, and flexible enough to survive busy servers.
If you follow this plan, you are not trying to complete zones. You are trying to leave each bracket early, at the moment your experience per minute starts dropping. That mindset is the difference between “leveling content” and “launch leveling.”
Start here: Outland rules that prevent wasted minutes
Outland is extremely fast when you keep loops tight. It becomes painfully slow when you chase one camped objective for too long, bounce across the map for single turn-ins, or spam dungeons without quests while wasting time forming groups. These rules are the backbone of the Day 1 to Day 3 plan, and they are the reason this article does not overlap with a normal leveling guide.
- Never wait on a camped named mob. Rotate to a different quest pocket and come back only if your route naturally returns.
- Stack quests in batches of 4 to 8, complete them in one loop, then turn in together for a burst.
- Skip slow drop rate collection quests when you are not making steady progress. RNG farms collapse in launch crowds.
- Use your Hearthstone on the hub you revisit most, not on the closest inn right now.
- Run dungeons as quest cash-ins, not as default spam. One clean run with stacked quests is excellent.
- Leave zones early. Finishing a bracket cleanly is faster than full completion with declining tempo.
If you only follow one rule in launch-week Outland: every time you feel blocked, you should already know your next fallback objective. The fastest players do not fight the crowd. They route around it.
Outland 60–70 Day 1–3 bracket map (your backbone)

Use the table below as your default structure. It is designed to work on crowded servers because it is based on bracket gates and zone handoffs, not on fragile “quest A then quest B” lists that break the moment one camp is contested.
| Day | Target levels | Primary zones | Primary goal |
| Day 1 | 60–63 | Hellfire Peninsula | Fast hub stacking + first dungeon quest cash-in |
| Day 2 | 63–66 | Zangarmarsh | Clean quest loops + optional Coilfang dungeon burst |
| Day 3 | 66–70 | Terokkar into Nagrand, then 68–70 finish | Efficient bridge + sprint + flexible finish choice |
This plan assumes normal questing with optional dungeon turn-ins. If you have a consistent premade 5-man, you can still use the same structure, but you will shift more weight into “one-run quest cash-ins” where they are time-efficient.
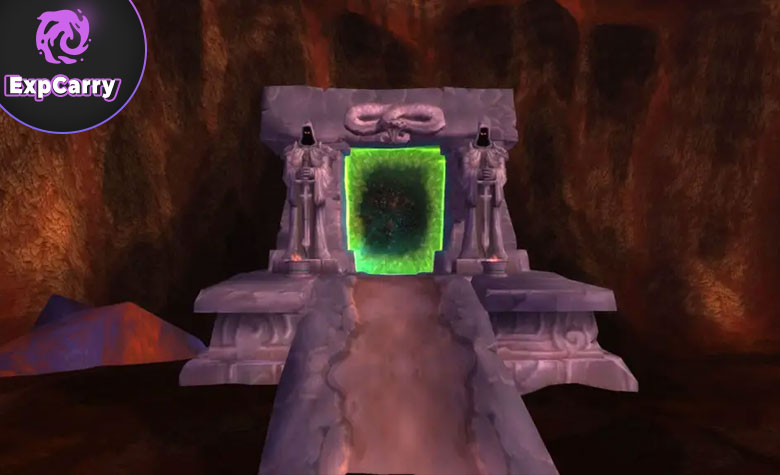
Day 1 (60–63): Hellfire Peninsula tempo start that survives crowds
Hellfire is your launchpad. The biggest leveling mistake you can make on Day 1 is treating Hellfire like a checklist zone and locking yourself into one objective pocket that is permanently contested. Your job is to chain quest stacks around your main hub, rotate through multiple quest pockets, and keep your progress moving even when one area is overloaded.
Hellfire start hubs: Thrallmar (Horde) vs Honor Hold (Alliance)
Hellfire is the only place in this Day 1 to Day 3 plan where Horde and Alliance routing matters immediately, because your starting hubs and early quest chains differ. The tempo logic is the same for both factions: you grab a full stack of quests at your hub, clear a tight loop, return for a burst of turn-ins, then repeat. What changes is the hub you anchor to and which pockets you naturally rotate through first.
If you want to stay fast, treat your faction hub as your control center for the first two levels. Do not roam the zone taking random objectives. Build two to three clean quest loops around your hub and leave Hellfire as soon as your XP per minute drops.
| Faction | Primary hub | Tempo goal | What to avoid |
| Horde | Thrallmar | Stack quests, clear loops, turn in in bursts | Waiting on camped named mobs or forcing deep detours early |
| Alliance | Honor Hold | Stack quests, clear loops, turn in in bursts | Breaking tempo with long travel errands and slow drop quests |
Practical launch-week advice: if your hub area feels too contested, your solution is not to fight for tags. Your solution is to rotate to a different quest pocket, then return when respawns and player density stabilize. Hellfire has enough objective spread that rotation is always faster than waiting.
Step 1: Stack a full quest loop before you leave the hub
Do not run out with one quest. You lose time to travel and competition if you trickle objectives one by one. Your first Hellfire loop should be a real batch: multiple quests pointing into the same direction, finished in one route, turned in together.
- Accept every quest that shares the same objective region before you move out.
- Complete objectives as a loop, not a straight-line chase.
- Return for a burst of turn-ins, then immediately pick up the next batch.
The fastest Hellfire sessions feel like repeated turn-in bursts. If your session feels like long travel and slow progress, your route is too scattered.
Step 2: Rotate objective pockets instead of waiting on bottlenecks
Hellfire is full of common bottlenecks: named mobs, low respawn camps, slow drop objectives. The correct launch-week response is rotation. If you cannot progress in 60 to 90 seconds, that pocket is dead tempo. Move to the next cluster and keep leveling.
| Problem | What it does to your tempo | Best fix |
| Camped named mob | Hard stop and wasted minutes | Skip it and continue, return only if routed back later |
| Low respawn objective | Standing still and competing for tags | Rotate to another quest pocket immediately |
| Slow drop quest items | RNG tax multiplied by crowds | Cut the quest and replace it with a new batch |
In Hellfire, speed comes from movement. If you are standing still, you are losing time.
Step 3: First dungeon cash-in (optional, but strong when stacked)
Hellfire dungeons can be a big XP burst if you use them correctly. Correct means one clean run with quests. Spamming without quests is rarely faster than staying outside, especially on launch week when groups are unstable and travel time breaks your flow.
- Run Hellfire Ramparts once when you have multiple related quests ready.
- Consider Blood Furnace only if your group is stable and starts immediately.
- If group formation takes longer than a full quest loop outside, skip the dungeon.
Your Day 1 target is leaving Hellfire around level 63, while your momentum is still high.
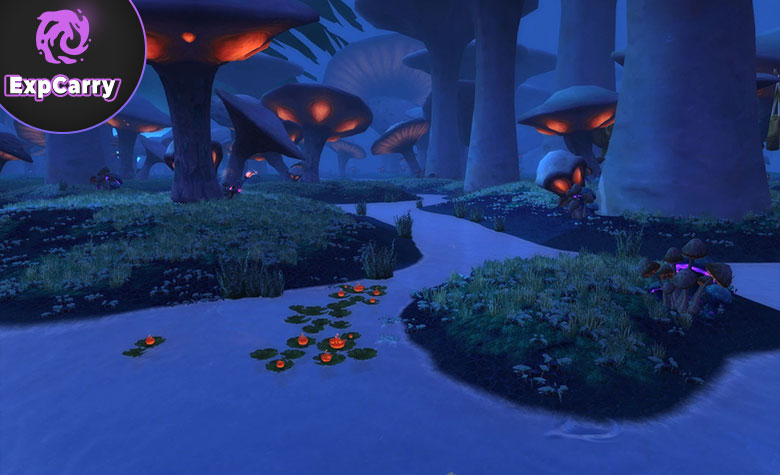
Day 2 (63–66): Zangarmarsh is your best XP engine if you keep it tight

Zangarmarsh is one of the most efficient zones in Outland because hubs flow into short loops and back into heavy turn-in bursts. The main reason players slow down here is bouncing across the map too early or chasing scattered errands that break their loop structure.
How to play Zangarmarsh correctly: one cluster at a time
Zangarmarsh is fast when you commit to one quest pocket and finish it fully before you move. Do not try to collect objectives across the entire zone in one run. That turns your leveling into travel time. Treat it like compact circuits, repeated turn-ins, and steady forward movement.
- Stack a full batch, clear one loop, then turn in together.
- Favor objectives that overlap so each pull progresses multiple quests.
- Skip deep detours that do not stack with anything else.
When you execute this correctly, Zangarmarsh feels like nonstop progress. When you execute it poorly, it feels like running across the map for small rewards.
Slave Pens and Underbog: the one-run model that stays fast
Coilfang dungeons can be excellent XP, but only as quest cash-ins. The best model is one run per dungeon with stacked quests, then back to open world routing. This keeps tempo high and avoids the trap of spam runs with diminishing returns.
| Dungeon | Best level window | Run it when | Skip it when |
| The Slave Pens | 62–64 | You have multiple quests and a group ready now | You are waiting in LFG longer than you would quest |
| The Underbog | 63–65 | You want a quest burst to push into mid 60s | Your group is slow, wiping, or breaking tempo |
Day 2 goal is ending Zangarmarsh around 65.5 to 66. Do not stay just to finish everything. Your speed comes from leaving when the loop quality drops.
Day 3 (66–70): Terokkar into Nagrand, then choose the best 68–70 finish

Day 3 is where flexible routing matters most. Terokkar is your efficient bridge into the upper 60s, Nagrand is your acceleration zone, and the final 68 to 70 bracket is a finish choice based on what is actually playable on your server that day.
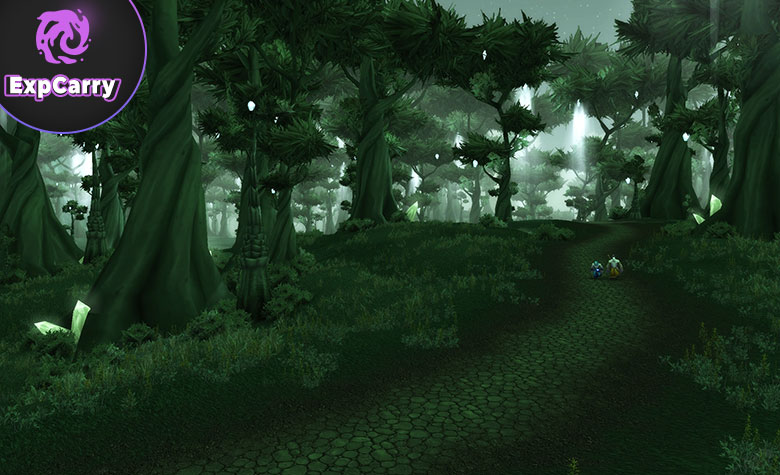
66–67: Terokkar Forest as a bridge, not a completion project
Terokkar is fast when you treat it like a checklist of clusters rather than a zone to complete. Grab a full stack, clear a compact loop, turn in, then move forward. The most common mistake is scattered cross-zone objectives that break your pacing.
- Commit to one quest pocket at a time and finish it fully.
- Skip long travel errands that do not stack with your current loop.
- Bundle dungeon objectives only when you have a ready group now.
Terokkar is a bridge. If you treat it like a destination, you usually slow down.
67–68: Nagrand sprint with the correct focus
Nagrand is where you gain time back if you keep loops tight. Quest density is high and turn-ins come in big bursts, but only if you avoid long detours and low-value errands. Your goal is not full completion. Your goal is hitting 68 fast.
- Prioritize stacked kill quests and circuit-style loops.
- Avoid travel-heavy errands unless they overlap with your route.
- Ring of Blood is worth it only if you can complete it quickly with a group.
If you are behind pace, Nagrand is the bracket that fixes it, as long as you stay disciplined.
68–70: pick your finish zone based on crowding, not on theory
Your fastest 68 to 70 finish depends on real server conditions. Pick one zone and commit until 70. Bouncing between zones usually creates travel waste unless you are forced to swap due to heavy contesting. The best finish is the finish you can execute without waiting.
| Finish option | Where you go | Why it wins | When to avoid it |
| Stable finish | Blade's Edge Mountains | Cleaner routing and consistent quest chains | If your main objective pockets are overloaded |
| Speed finish | Netherstorm | Very fast XP when objectives are available | If quests are heavily camped and tags are impossible |
| Flexible finish | Shadowmoon Valley | Concentrated chains and strong rewards | If PvP pressure breaks tempo with corpse runs |
Reality check: if you are waiting on spawns or repeatedly dying to PvP, swap finish zones. Your only job at 68 to 70 is consistent progress.
Outland dungeon plan 60–70: the quest cash-in model
Outland dungeons are excellent when you use them as planned quest cash-ins. They are weak when you spam them without quests while wasting time forming groups. The correct model for most players is simple: run a dungeon once with stacked quests, turn in, return to open world tempo.
| Dungeon | Recommended level | Best use | Tempo note |
| Hellfire Ramparts | 60–62 | One run with quests | Great early burst, do not spam without quests |
| The Blood Furnace | 61–63 | Optional second burst | Only if your group is stable and fast |
| The Slave Pens | 62–64 | Quest cash-in while in Zangarmarsh | Good value, skip if groups are slow to form |
| The Underbog | 63–65 | One run to push mid 60s | Do it once, then go back outside |
| Mana-Tombs | 64–66 | Strong single-run burst | Only if you can start quickly |
| Sethekk Halls | 66–68 | Optional burst while bridging | Do not force it if it slows your route |
If you are leveling solo and groups are unstable, treat dungeons as optional bonuses, not your core plan. Your main speed still comes from clean hub chaining.
Common Outland launch mistakes that kill tempo
These mistakes are why players feel stuck in Outland during launch week. Fix them and your leveling speed jumps immediately.
- Waiting on named mobs instead of rotating to a different quest pocket.
- Doing slow drop quests in crowded areas and paying RNG tax for weak XP per minute.
- Bouncing between zones too early instead of finishing one clean bracket first.
- Dungeon spamming without quests while wasting time in group formation.
- Traveling for one-off turn-ins that do not stack into your current loop.
The fastest self-correction rule is simple: if your pace feels slow, you are probably waiting, backtracking, or chasing a single objective that does not pay you back. Cut it, rotate, and keep moving.
Conclusion
Outland 60-70 leveling speed in TBC Classic Anniversary comes down to tempo, not zone completion. Your fastest path is a simple Day 1 to Day 3 structure: Hellfire momentum, Zangarmarsh engine, then a clean Terokkar bridge into a Nagrand sprint. The goal is to stack quests in batches, clear tight loops, and turn in in bursts while avoiding bottlenecks that force you to stand still. The most important launch-week rule is rotation. If a named mob is camped, a respawn is slow, or a drop quest is dragging, you do not wait. You swap to another quest pocket, keep your XP per minute stable, and only return if your route naturally brings you back. Dungeons stay optional and are only worth it as single-run quest cash-ins when your quest log is stacked and the group starts immediately.
If you want one self-check that guarantees speed: every time your pace drops, ask yourself if you are waiting, backtracking, or chasing one objective far from your loop. If yes, cut it instantly and move to the next cluster. Outland rewards movement and punishes stubbornness.
