
PoE 2 Best Farming Strategies: Profit per Hour Compared is a practical guide to picking a currency">currency-farm">currency loop that actually converts into spendable wealth on the current live patch, 0.4.0e. It is written for real results, not highlight numbers: what you farm, why buyers pay for it, what slows the loop down, and how to compare strategies using the same rules so your profit per hour stays stable instead of swinging wildly based on one lucky drop.
Most farming plans fail for predictable reasons. Players copy a headline number that assumes perfect uptime, perfect setup, or group play, then wonder why their solo profit per hour is nowhere close. Others choose a strategy that drops items that look valuable but sell slowly, which turns their session into stash management and delayed liquidation. This guide fixes that with a consistent measurement framework and a shortlist of 0.4 endgame farms that keep showing up because they can be run as repeatable loops, not one-off jackpots.
What This Guide Covers on Patch 0.4.0e
This guide compares four farming directions that define most real currency sessions in 0.4: Abyss mapping built around Abyss Tablets and Atlas scaling, Heart of the Well targeting through Abyss-spawned Rogue Exiles, Trials of Chaos for repeatable instanced clears with Trialmaster upside, and Temple loops (Fate of the Vaal / Temple of Atziri) for structured, repeatable sessions. The point is not to crown a universal "best" method. The point is to show which strategy wins for which kind of player, and how to make each loop behave like a profit engine rather than a time sink.
Patch 0.4.0e is not a total endgame rewrite. That matters, because in this kind of patch your profit per hour is mainly driven by execution: clear speed, downtime control, and liquidation discipline. If you can keep a loop moving and you can turn your drops into liquid currency fast, you will outperform players who chase a higher ceiling but spend half their session shopping, rerolling, sorting, or relisting.
Profit per Hour Reality Check That Stops You From Lying to Yourself
Profit per hour is not "value dropped per hour." It is "value you can actually sell per hour," minus your cost per run, minus your downtime. The reason this matters is that PoE 2 farming has two silent killers that do not show up in screenshots: setup friction and slow liquidation. Setup friction is every minute you spend buying inputs, re-rolling tablets, fixing your Atlas chain, or stopping to troubleshoot a loop. Slow liquidation is the pile of items you keep because they are "worth something" but do not move fast, which means your session looks rich while your currency tab barely changes.
If you want a number that does not lie, stop estimating and run a strict timed hour. Do not count items you did not sell. Do not count "potential" value that requires ten whispers and two days of relisting. Track four things: runs completed, value actually sold during or immediately after the hour, total costs paid to run the loop, and downtime minutes. The result is your true profit per hour. Once you measure it this way, you will notice something that changes how you farm: the strongest strategy for you is rarely the one with the highest theoretical ceiling. It is the one you can execute continuously with low friction and consistent sales.
The measurement rules that make comparisons fair
Use the same rules for every strategy or you will always "prove" the farm you already like. Count trading time. Count tablet prep. Count stash sorting. Count deaths and resets if you are pushing content your build cannot handle. Subtract all recurring costs, not just the obvious ones. Most importantly, treat volatility honestly. A method that produces one massive sale every few hours can feel amazing, but it can also be mentally and financially unstable if you rely on it as your only income. The clean approach is to build one steady baseline farm, then add one spike farm as a bonus if you enjoy variance.
| What to track | What it tells you | Decision rule |
|---|---|---|
| Average run time | Whether your loop is fast enough to scale | If run time rises as you invest more, you are overjuicing for your build |
| Costs per run | How fragile your session is to variance | If one bad streak forces you to stop, lower entry cost or switch loops |
| Sell-through rate | How quickly your drops become currency | If items do not sell quickly, stop counting them as session profit |
| Downtime minutes | The hidden tax that kills profit per hour | Batch setup and batch selling, do not interrupt every run with chores |
Profit per Hour Compared: The 0.4.0e Shortlist
The comparison below is about profiles, not fantasy numbers. A profile tells you what makes the strategy profitable, what makes it fail, what actually sells, and who it is actually for. Use it to pick a baseline you can repeat for long sessions without friction, because repeatability is what turns "good drops" into predictable wealth.
| Strategy | Why it pays | Profit per hour profile | Best for |
|---|---|---|---|
| Abyss Tablets mapping with Atlas scaling | High event density in fast map loops; reliable bulk drops that sell steadily (tablets, high-signal crafting bases, and repeatable Abyss rewards) | High ceiling if speed holds and downtime is controlled; scales with investment only when run time stays flat | Fast clear builds and players who can keep sessions uninterrupted |
| Heart of the Well targeting | Chase jewel demand can create large sales; the win condition is hitting a high-demand outcome that the market is actually buying today | Spike-heavy; feels great when hits are liquid, but can stall when rolls are niche and relisting starts | Players who tolerate variance and prefer fewer, bigger trades |
| Trials of Chaos (Trialmaster upside) | Instanced loop with a chase layer; only pays when completion speed is high and failures are rare | Variance-heavy; strong only when completions are fast and consistent, and when current demand supports Trial rewards | Players who enjoy trials and can maintain rapid clear times |
| Temple loops | Structured repetition (Fate of the Vaal / Temple of Atziri) with concentrated rewards per run and clearer loot signals | Stable baseline when flow is smooth; falls off when sustain or re-entry friction forces stops | Players who want predictable sessions over Atlas micromanagement |
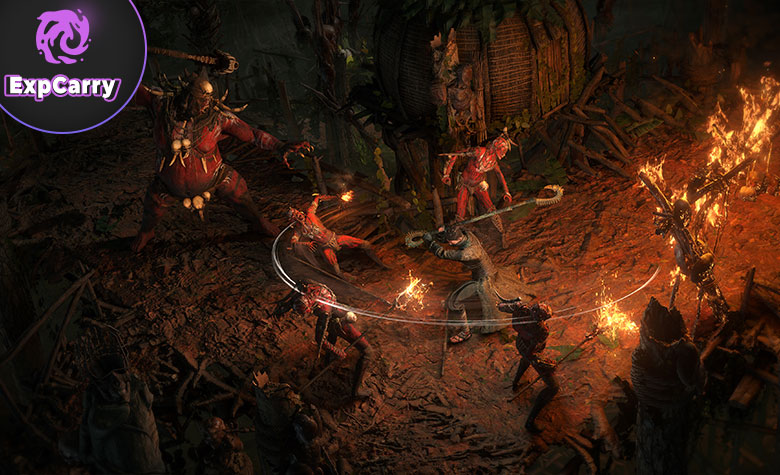
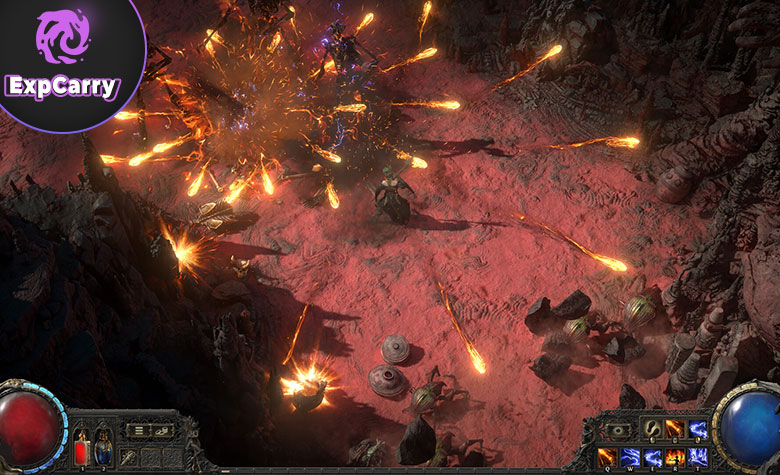
Abyss Tablets mapping: the scalable baseline that defines 0.4 farming
Abyss Tablets mapping is a popular baseline in 0.4 because it is built around the simplest profit formula in an ARPG: more density plus faster clears equals more reward events per hour. The reason this matters for profit per hour is that it is scalable. You can start with a low investment loop that you can clear cleanly, then increase investment only when your speed stays stable. If your build slows down as you push harder content, you are not scaling profit, you are scaling stress and downtime.
The single most important rule for Abyss profit is that setup time must not eat your gains. This strategy can look amazing on paper and still underperform if you keep interrupting your runs. The correct session structure is boring and effective: prepare inputs in one batch, run maps in one continuous block, and sell in one block. Your enemy is not the monsters. Your enemy is stopping every few minutes to buy one more tablet, reroll one more thing, or reorganize your stash because you are half-sorting as you go. The players who make Abyss consistently profitable are the ones with the cleanest loop discipline.
How to keep Abyss profit per hour stable instead of spiky
Stability comes from tightening your loop. First, set a target run time you can hit without risk and stay under it. Second, cap your per-run costs so bad variance does not shut down your session. Third, decide what you are selling before you start. Abyss farming produces a lot of "maybe" items. If you pick up and stash everything because it might be worth something, you will lose more profit per hour to sorting than you gain in extra loot. The goal is to sell more value per hour with minimal friction, not to maximize stash value.
Heart of the Well: fewer drops, bigger sales, and the variance trade
Heart of the Well targeting is attractive because it replaces a thousand tiny transactions with a smaller number of high-impact sales. The practical detail that matters is that this loop is about Abyss-spawned Rogue Exiles and repeatable attempts, not random Exiles you happen to encounter. When a chase jewel is in demand, the time between listing and selling can be short. The downside is that you cannot force the spike, and not every roll is equally liquid.
The correct way to treat this strategy is as a spike layer added to a stable baseline. If you run it as your only farm, you must keep costs per attempt low and you must keep the loop fast enough that variance averages out across many tries. The quickest way to destroy your profit per hour is to tilt: you invest more per attempt because you feel unlucky, you spend more time forcing runs, and then you lose both speed and stability. If you want Heart of the Well to perform, keep a strict ceiling on what you pay per attempt and judge it by what sells quickly, not by what looks expensive in theory.
Trials of Chaos: a speed test with Trialmaster upside
Trials of Chaos can be a real profit loop when your completions are fast, because instanced content reduces some overhead that hurts mapping. But Trials are unforgiving: if you are slow, variance dominates your results and the farm feels terrible. If you are fast, your expected value stabilizes and the chase layer becomes genuine upside instead of false hope. This is why Trials are often recommended with an asterisk: only if you can run them quickly and consistently, and only if the current market is paying for what Trials are producing.
To make Trials work for profit per hour, you must treat speed and consistency as the product. Build your run around avoiding resets and avoiding long stalls. If you die, if you backtrack, if you spend time evaluating marginal loot mid-run, you are paying a massive tax. The clean Trials plan is: finish the run quickly, grab the high-signal drops, and move on. If you enjoy the content, Trials can be a solid secondary loop. If you do not enjoy it, do not force it. A strategy you dislike always turns into downtime.
Temple loops: stable sessions when flow and bottlenecks are controlled
Temple farming appeals to players who want structure. In 0.4 this usually means Fate of the Vaal / Temple of Atziri style sessions where the loop is clear: enter, run, exit, repeat. It can be a stable profit per hour baseline because your session becomes repeatable and your loot signals are cleaner. The difference between a strong Temple session and a weak one is friction. Any issue that slows re-entry, any supply bottleneck that forces you to stop, or any route that makes you spend extra time "fixing" the loop turns a stable strategy into a stuttering one. When you are measuring profit per hour honestly, stuttering is death.
The correct Temple approach is to be ruthless about sustain. If you cannot sustain the ideal version of the loop, downgrade to a version that runs continuously. A slightly lower ceiling that you can run without breaks often beats a higher ceiling that stalls every twenty minutes. Temple profit is not about one perfect run. It is about a clean session chain with minimal interruptions.
How to Choose Your Best Farming Strategy Today
Pick one baseline and one optional spike. For most players on 0.4.0e, the baseline is Abyss Tablets mapping because it scales cleanly and can be run as a repeatable loop if you keep downtime under control. Your spike option is Heart of the Well targeting if you want fewer, bigger sales and you accept variance, or Trials of Chaos if you prefer instanced runs with upside and you can keep completions fast. Temple is the alternative baseline for players who want structure and repetition, especially when Trials value is swingy, but only if they can sustain the loop without constant friction.
Then do one honest timed hour and trust the result. If the number is lower than you expected, the answer is usually not "farm harder." The answer is "remove friction." Batch setup. Batch selling. Tighten your loot rules so you stop hoarding slow movers. Lower entry cost until your speed returns. When you apply this discipline, your profit per hour rises even if your raw drops do not change, because you stop paying hidden taxes that bleed your session dry.
Conclusion
On patch 0.4.0e, the best farming strategies are the ones you can execute continuously with low downtime and fast liquidation. Abyss Tablets mapping is a strong scalable baseline because density plus speed is the most reliable profit formula, as long as you do not let setup time consume your session. Heart of the Well targeting is powerful when you treat it as a spike layer, keep costs controlled, and remember that liquidity depends on what you actually roll. Trials of Chaos can be excellent if your completions are fast enough for the averages to stabilize and the market supports Trial rewards. Temple loops are stable when re-entry friction and sustain bottlenecks are minimized.
Run a loop you can sustain, scale investment only after speed holds, and measure profit per hour by what you sell, not what you hope will sell. If you do that, your currency growth becomes predictable, and you stop wasting time on strategies that look great in theory but fail in real play.