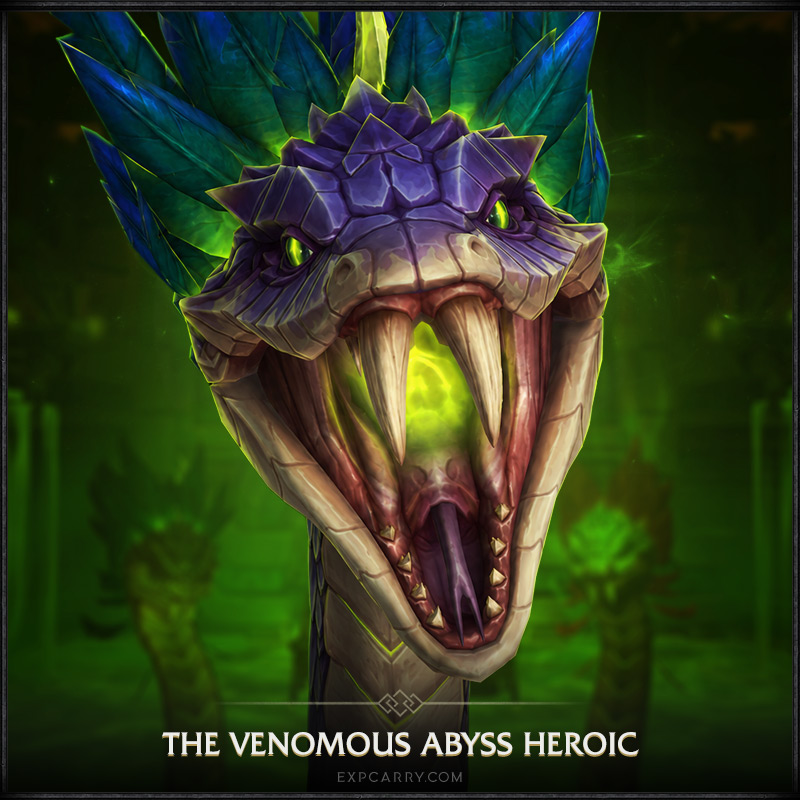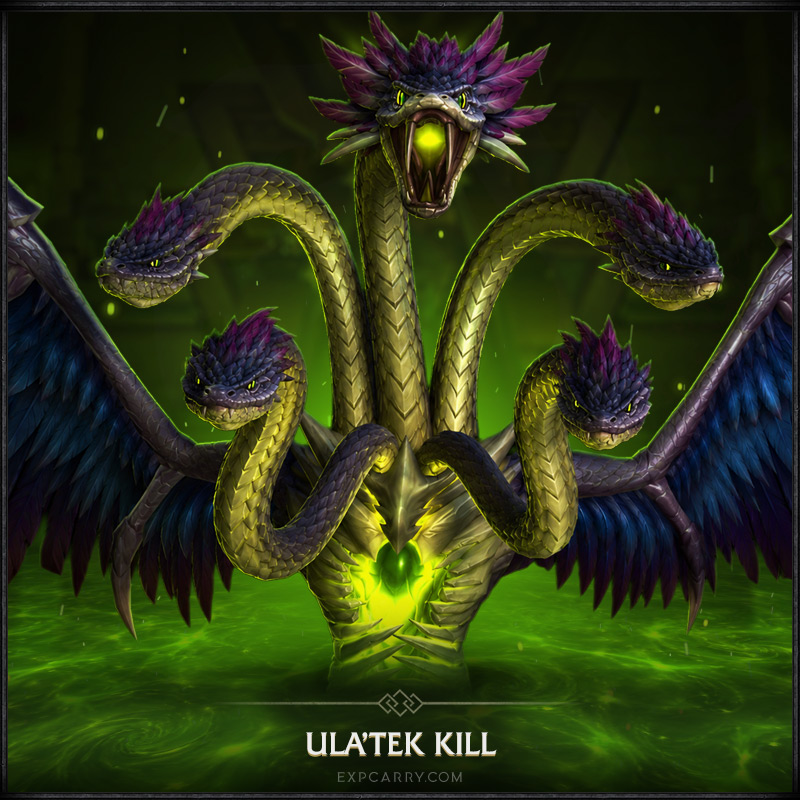
Sszorak is a single-target raid encounter in The Venomous Abyss in WoW Midnight Season 2. The fight takes place on the Altar of the Six Winds and revolves around controlled knockbacks, Venomous Surge cyst placement, tank coordination during Apex Predator and a major damage window during Howling Maelstrom.
Sszorak is reached as the third or fifth boss depending on your route through the branching section of The Venomous Abyss. The encounter is mechanically one repeating fight rather than a conventional multi-phase boss, but Howling Maelstrom creates a distinct burn-and-movement sequence roughly around the two-minute point.
For the complete raid route, loot bands and all eight encounters, use our Venomous Abyss Raid Guide. Current Normal, Heroic and Mythic raid options are available in the Venomous Abyss Raid category.
Sszorak Quick Facts
| Category | Live Season 2 Information |
|---|---|
| Raid | The Venomous Abyss |
| Encounter Position | Third or fifth boss depending on route |
| Fight Style | Single target with movement and knockback control |
| Bloodlust / Heroism | Use on pull |
| Key Assignment | Three Viscous Cyst poppers for Howling Maelstrom |
| Main Burn Window | Dig In during Howling Maelstrom |
| Dig In | Sszorak takes 30% increased damage for 25 seconds |
| Mythic Mechanic | Serpent's Fury, To the Slaughter and Unbound Ferocity |
| Direct Loot | 285 LFR / 298 Normal / 311 Heroic / 324 Mythic |
| Tier Set Slot | Legs |
| Glory Achievement | Jumping Through Hoops |
Sszorak Strategy in 60 Seconds
- Use Bloodlust on pull.
- Read the wind pattern before the fight develops: the three arena sections show one, two or three tornadoes, which indicate the later Howling Maelstrom wind order.
- Tanks coordinate Apex Predator. Ravage points away from the raid; Mutilate requires the assigned soak group.
- Dodge Tempest tornadoes.
- Spread Venomous Surge targets far from the raid and place usable Viscous Cysts in the locations required for the later wind sequence.
- Pair Raging Crosswinds players correctly. Point the knockbacks toward one another and remove Turbulent Gusts by meeting the paired player.
- During Howling Maelstrom, use the assigned cysts. One player pops the matching cyst as each gale starts so its knockback helps counter the wind.
- Use offensive cooldowns during Dig In. This is Sszorak's major damage-taken window.
- On Mythic, stack the required players for Serpent's Fury before 100 Rage. Failing the check causes Unbound Ferocity and usually a wipe.
Read the Wind Pattern Before Howling Maelstrom
The Altar of the Six Winds telegraphs the later Maelstrom sequence before it happens.
Three sides of the arena display different tornado counts:
- one tornado;
- two tornadoes;
- three tornadoes.
During Howling Maelstrom, the gales resolve in that same order: one-tornado side first, two-tornado side second and three-tornado side last.
Players are pushed away from the active wind source. Recognizing this order early lets the raid place Viscous Cysts deliberately instead of discovering the safe movement plan after the Maelstrom has already begun.
Explore services related to this guide, selected from our The Venomous Abyss catalog.
View All The Venomous Abyss Services


Apex Predator – Tank and Soak Strategy
Apex Predator is Sszorak's repeating tank combination. It contains Ravage, Mutilate and Tempest, and taunt effects can change Sszorak's active target during the combo.
The important point is that tanks should actively coordinate the sequence rather than allowing one tank to absorb every hit.
Ravage
Ravage is a frontal Physical attack that dramatically increases subsequent Ravage damage taken for 25 seconds.
Point Ravage away from the raid. Because the vulnerability is extremely large, the same player should not repeatedly absorb consecutive Ravage attacks.
Mutilate
Mutilate is a frontal Nature-damage soak. Its damage is split among players hit, and striking fewer than the required number of players becomes lethal.
On Heroic, a reliable strategy is to divide the raid into two Mutilate groups and alternate them through the Apex Predator sequence.
Players hit receive Mutilated Gash, so the same group should not repeatedly soak consecutive Mutilates.
Practical Apex Predator Tank Swap
Use taunts during the active Apex Predator cast so each tank handles an appropriate part of the sequence. The goal is to avoid stacking Ravage vulnerability or Mutilated Gash on one tank or one soak group.
Keep the boss facing predictably. Sudden turns during the combo are one of the fastest ways to hit the wrong half of the raid with a frontal.
Tempest
Tempest creates poisonous wind vortices that travel around the arena.
Touching one causes Nature damage, additional periodic damage and a movement-speed reduction. Multiple contacts can make the following Crosswinds or Maelstrom significantly harder.
Do not spend movement abilities before confirming where the tornado path is going. Use them to escape an actual overlap rather than to maintain a small amount of unnecessary uptime.
Venomous Surge and Viscous Cysts
Venomous Surge marks several players for 10 seconds. When the effect expires, each target creates a Viscous Cyst and inflicts raid-wide Nature damage that decreases with distance from the affected player.
This creates two separate responsibilities:
- move the Surge target away from the raid to reduce the explosion damage;
- place at least the required cysts in useful locations for the upcoming Howling Maelstrom.
Do not simply drop every cyst in a random outer corner. Cysts are a deliberate movement tool later in the encounter.
How Viscous Cysts Work
When a player contacts a Viscous Cyst, it bursts and knocks all players away from the cyst. The resulting toxin also deals Nature damage and reduces movement speed.
The same toxin helps players adhere more strongly to the ground while active, which is why correctly timed cyst interactions are useful during the major wind sequence.
Before the pull, assign three Cyst Poppers and agree on the three locations needed for the Maelstrom sequence.
Caustic Claws and Caustic Residue
On the higher-difficulty version of the Venomous Surge sequence, Sszorak also throws toxin with Caustic Claws.
The impact creates Caustic Residue, which deals persistent Nature damage and increases damage taken by players standing inside by 30%.
Keep these pools away from the central movement area, Mutilate groups and planned cyst-popping positions.
Raging Crosswinds
Raging Crosswinds marks several players for eight seconds.
When the debuff expires:
- it damages players within 6 yards;
- the target is knocked in the indicated direction;
- the player receives Turbulent Gusts.
Spread before expiration so the 6-yard bursts do not overlap.
How to Pair Raging Crosswinds
Do not treat the arrows as random personal movement.
Pair players whose Crosswinds are pointing toward one another. Position so the resulting knockbacks bring the two affected players together rather than throwing them to unrelated sides of the arena.
Contact between two players carrying Turbulent Gusts removes the effect.
This makes clean pairing much safer than allowing marked players to improvise after the knockback.
Howling Maelstrom Strategy
Howling Maelstrom is the defining movement sequence of the fight.
The Altar unleashes three successive gales according to the tornado pattern identified earlier:
- one-tornado direction;
- two-tornado direction;
- three-tornado direction.
Each gale pushes players across the platform.
Use Viscous Cysts to Counter the Wind
The reliable strategy is to prepare one usable Viscous Cyst for each gale.
When the first wind starts, the assigned player contacts the matching cyst. Because the cyst knocks players away from itself, its position is chosen so the burst pushes the raid against the incoming wind.
Repeat for the second and third wind.
This is why Sszorak groups assign three dedicated Cyst Poppers before the pull. Randomly detonating cysts earlier in the fight can remove the tools the raid needs for Howling Maelstrom.
Dig In – Sszorak's Damage Window
During Howling Maelstrom, Sszorak uses Dig In.
The live encounter effect makes Sszorak take 30% increased damage for 25 seconds.
This is the major offensive window of the fight.
- Use Bloodlust on pull rather than saving it automatically for Dig In.
- Save suitable two-minute or delayed offensive cooldowns for the Maelstrom window when possible.
- Pre-position before the first gale so cooldown time is spent attacking rather than recovering from knockbacks.
- Do not sacrifice wind execution for damage uptime.
The optimal plan is high damage while performing the wind mechanics correctly, not attempting to ignore them.
Mythic Sszorak Strategy
Mythic Sszorak is fully live and adds a major raid coordination check through Serpent's Fury.
Serpent's Fury
Sszorak marks one player and begins gaining Rage.
To stop the Rage cycle, at least 14 players must be within 8 yards of the marked player. Once the requirement is met, Sszorak casts To the Slaughter and consumes his accumulated Rage.
The raid should therefore:
- identify the marked player immediately;
- move the required group to that player;
- reach the 14-player threshold before Sszorak reaches 100 Rage;
- prepare for the subsequent charge and Virulence effects.
What Happens at 100 Rage?
If Sszorak reaches 100 Rage, he gains Unbound Ferocity.
Unbound Ferocity increases:
- damage dealt by 500%;
- attack speed by 50%.
This effectively functions as a Mythic failure/enrage state and rapidly kills the raid.
To the Slaughter
After the Serpent's Fury stack requirement is satisfied, Sszorak consumes his Rage and charges toward the marked player with To the Slaughter.
Players struck by the charge receive Virulence.
Set the stack location so the charge path is predictable and does not unnecessarily cross tanks, cyst positions or players handling another mechanic.
Virulence
Virulence deals Nature damage for several seconds and bursts when removed. The burst can apply Virulence to additional players it hits.
Players carrying the effect should create space before it resolves so the raid does not create a chain of repeated Virulence applications.
Does Sszorak Have an Enrage Timer?
Normal and Heroic are primarily constrained by normal encounter tuning, increasing tank pressure and repeated movement cycles rather than a special visible Rage bar.
On Mythic, Serpent's Fury creates an explicit failure timer: if the raid does not satisfy the 14-player stack requirement before Sszorak reaches 100 Rage, Unbound Ferocity activates and the pull is effectively lost.
Corroding Venom – Tank Swap
Corroding Venom causes Sszorak's melee attacks to increase the target's Physical damage taken by 3% per stack. The debuff lasts long enough that careless tanking can produce dangerous stack levels.
Tanks should coordinate Corroding Venom with Apex Predator rather than using an arbitrary fixed stack number regardless of the fight timeline.
Swap when the other tank can safely take over without pointing Ravage or Mutilate through the wrong section of the raid.
Ula'tek's Presence
Ula'tek's Presence creates constant Nature damage throughout the encounter.
This passive pressure is why small avoidable mistakes matter. A player leaving Tempest late, overlapping Crosswinds or standing in Caustic Residue is taking that damage on top of the encounter's permanent background damage.
Healers should keep the raid stable between major mechanics rather than treating every quiet second as a no-damage period.
Sszorak Tank Guide
- Coordinate the Apex Predator taunt sequence.
- Point Ravage away from the raid.
- Position Mutilate into the assigned soak group.
- Never suddenly rotate the boss across the raid during a frontal.
- Track Corroding Venom and Physical-damage amplification.
- Keep Sszorak clear of Caustic Residue and planned cyst locations.
- During Maelstrom, maintain a stable boss position so DPS can use Dig In effectively.
- On Mythic, keep the Serpent's Fury stack location and To the Slaughter charge path predictable.
Sszorak Healer Guide
- Maintain steady healing through Ula'tek's Presence.
- Prepare for Venomous Surge raid-wide explosions.
- Watch the Mutilate soak groups and Mutilated Gash.
- Keep Raging Crosswinds targets healthy before their debuffs expire.
- Coordinate cooldowns for Howling Maelstrom rather than using every raid cooldown early.
- Be ready for damage when cysts are deliberately popped.
- On Mythic, prepare for To the Slaughter and Virulence resolution.
- Do not let the raid enter Maelstrom at critically low health.
Sszorak DPS Guide
- Use Bloodlust on pull.
- Dodge Tempest tornadoes while maintaining uptime.
- Move Venomous Surge away from the raid and place assigned cysts correctly.
- Resolve Raging Crosswinds with the correct partner.
- Do not accidentally trigger a Viscous Cyst reserved for Maelstrom.
- Save appropriate offensive cooldowns for Dig In.
- On Mythic, stop tunneling and move immediately for Serpent's Fury.
- Spread with Virulence before it resolves.
Normal vs Heroic vs Mythic Sszorak
| Difficulty | Main Difference | Progression Priority |
|---|---|---|
| Normal | Core Apex Predator, Surge, Crosswinds, cyst and Maelstrom gameplay | Learn wind order, cyst placement and tank sequence |
| Heroic | Stricter Mutilate soak planning and higher overlap pressure | Use fixed soak groups and deliberate cyst assignments |
| Mythic | Serpent's Fury, 14-player stack requirement, To the Slaughter and Unbound Ferocity | Execute the Rage check while preserving all Normal/Heroic mechanics |
If you need a raid clear rather than encounter research, compare the Normal Venomous Abyss Boost, Heroic Venomous Abyss Boost or Mythic Venomous Abyss Boost.
Sszorak Loot and Item Levels
Sszorak is part of the boss 4–6 reward band in The Venomous Abyss.
| Difficulty | Direct Item Level | Upgrade Track |
|---|---|---|
| Raid Finder | 285 | Veteran 3/6 |
| Normal | 298 | Champion 3/6 |
| Heroic | 311 | Hero 3/6 |
| Mythic | 324 | Myth 3/6 |
Notable Sszorak rewards include:
- Caustic Chainwrapped Sash — Cloth Waist;
- Ruthless Butcher's Grips — Leather Hands;
- Savage Scale Boots — Mail Feet;
- Venomous Boneglaive — One-Handed Warglaive;
- Slippery Savage's Hammer — One-Handed Mace;
- Elite Brute's Clawring — Ring;
- Sszorak's Ferocity — Strength trinket;
- Idol of the Howling Nexus — Mastery trinket;
- four Season 2 Leg Tier Set tokens.
For the complete raid loot pool, use the Venomous Abyss Loot Table.
Sszorak Leg Tier Set Tokens
Sszorak is the dedicated Leg Tier Set boss in The Venomous Abyss.
| Token | Armor Group | Eligible Classes |
|---|---|---|
| Venomwoven Relic | Cloth | Mage, Priest, Warlock |
| Venomcured Relic | Leather | Demon Hunter, Druid, Monk, Rogue |
| Venomcast Relic | Evoker, Hunter, Shaman | |
| Venomforged Relic | Plate | Death Knight, Paladin, Warrior |
If the missing Leg slot is part of your Season 2 2-piece or 4-piece objective, compare the WoW Tier Set Boost. For broader raid gearing across Tier pieces, weapons, trinkets and non-set armor, use the Raid Full Gear Boost.
For all five fixed token encounters, use our Venomous Abyss Tier Token Guide.
Sszorak Trinkets
Sszorak's Ferocity
Sszorak's Ferocity is a Strength trinket whose offensive effect mirrors parts of Sszorak's own attack kit. It can trigger follow-up Ravage, Mutilate or Tempest-style effects depending on nearby enemies.
Idol of the Howling Nexus
Idol of the Howling Nexus provides Mastery and can trigger empowering winds after dodging, parrying or blocking, increasing Strength or Agility and Speed for a limited duration.
Check current class simulations before treating either trinket as universally best-in-slot. Their value depends heavily on specialization, content type and current tuning.
Great Vault Progress
An eligible Sszorak kill contributes one boss toward the Raid section of the weekly Great Vault.
Raid reward choices unlock after 2, 4 and 6 qualifying boss kills. Sszorak can therefore complete or advance one of these thresholds depending on the rest of your weekly raid progress.
Jumping Through Hoops Achievement
Jumping Through Hoops is Sszorak's achievement for Glory of the Venomous Raider.
The requirement is:
Defeat Sszorak while jumping through each ring that appears in The Venomous Abyss on Normal difficulty or higher.
This achievement deliberately interacts with the encounter's wind and knockback mechanics. If your group is attempting Glory, activate and track the achievement objective from the beginning rather than treating the normal kill strategy as sufficient automatically.
For all eight Glory objectives and the Crimson Venomfang mount, use the Venomous Abyss Achievements Guide or the dedicated Glory of the Venomous Raider Boost.
Do You Need an Addon for Sszorak?
No encounter-specific addon is mandatory, but a current raid-warning addon such as DBM or BigWigs is useful for Apex Predator, Venomous Surge, Crosswinds, Serpent's Fury and Maelstrom timing.
The more important preparation is having clear assignments for:
- the three Cyst Poppers;
- Heroic Mutilate soak groups;
- Raging Crosswinds partners;
- Mythic Serpent's Fury stacking;
- healing cooldowns during Howling Maelstrom.
A WeakAura or assignment note can simplify these jobs, but do not install an outdated aura instead of understanding the live mechanics.
Common Sszorak Wipe Causes
- Ravage is pointed through the raid.
- Mutilate hits too few assigned players.
- The same tank or soak group takes repeated vulnerability hits.
- Venomous Surge is dropped too close to the group.
- Reserved Viscous Cysts are accidentally popped before Maelstrom.
- Raging Crosswinds partners point their knockbacks away from each other.
- Players enter Howling Maelstrom without knowing the 1 → 2 → 3 tornado order.
- The wrong cyst is triggered during a gale.
- DPS fail to capitalize on Dig In.
- On Mythic, fewer than 14 players stack for Serpent's Fury.
- Sszorak reaches 100 Rage and gains Unbound Ferocity.
- Virulence resolves in a stack and chains to additional players.
Sszorak Pull Checklist
- Use Bloodlust on pull.
- Identify the one-, two- and three-tornado directions.
- Assign three Viscous Cyst locations and three Cyst Poppers.
- Assign Apex Predator tank swaps.
- On Heroic, divide the raid into two Mutilate soak groups.
- Assign Raging Crosswinds pairs.
- Keep offensive cooldowns available for Dig In where practical.
- Plan healing cooldowns for Howling Maelstrom.
- On Mythic, mark the Serpent's Fury stack position and ensure at least 14 players can reach it quickly.
- If attempting Glory, prepare the Jumping Through Hoops objective before the pull.
Related Venomous Abyss Guides
- Venomous Abyss Raid Guide — route, all eight bosses and Season 2 rewards.
- Venomous Abyss Loot Table — boss drops, trinkets, weapons and item levels.
- Venomous Abyss Tier Token Guide — all five token bosses and class groups.
- Venomous Abyss Achievements Guide — Jumping Through Hoops, Glory and Crimson Venomfang.
- The Lost Explorers Boss Guide — encounter on the same raid branch.
- Venomous Abyss Raid Services — current Normal, Heroic, Mythic and reward-focused options.
- WoW Raid Services — all current raid content.